Erfahren Sie, wie Sie mit begrenztem Budget eine effektive Barbeleuchtung gestalten. Praktische Layout-Tipps und Beleuchtungsprioritäten für hohe Wirkung bei geringen Kosten.
Kennen Sie Ihren Platz, bevor Sie Geld ausgeben
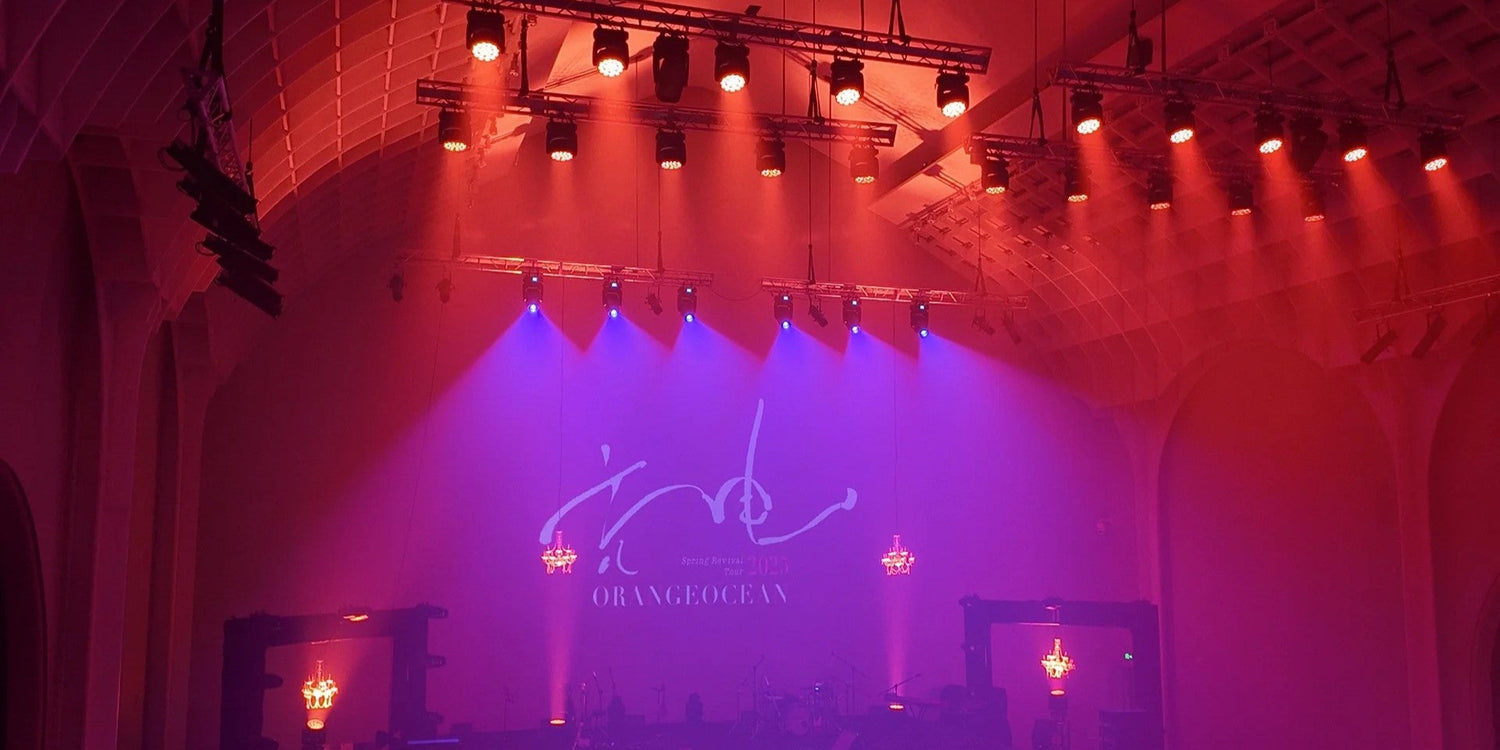
Jedes Lichtdesign beginnt mit einer Raumanalyse. Bevor Sie Ihr Budget festlegen, müssen Sie sich darüber im Klaren sein, wie Ihr Raum funktioniert – und wie die Beleuchtung ihn unterstützen soll.
Die Zoneneinteilung definiert Ihre Beleuchtungsstrategie. Identifizieren Sie die wichtigsten Funktionsbereiche: die Bar (visueller Anker), die Kundensitze (Raumkomfort), den Performance-/DJ-Bereich (dynamische Bewegung) und architektonische Besonderheiten (Akzente setzen). Jede Zone erfüllt einen anderen visuellen Zweck und erfordert unterschiedliche Beleuchtungsarten.
Deckenhöhe und Montagemöglichkeiten beeinflussen die Strahlausbreitung. Beispielsweise erzielen Strahler mit engem Winkel die beste Leistung, wenn sie hoch montiert oder über die Tiefe ausgerichtet werden. Bei niedrigen Decken können kompakte Wash-Leuchten oder Wandstreifen-Techniken erforderlich sein.
Verkabelung, Stromanschluss und Kontrollpunkte sind wichtig. Vergessen Sie nicht, wo Sie DMX- oder Stromkabel verlegen können. Durch frühzeitige Planung vermeiden Sie den Kauf von mehr Geräten, als Ihre Infrastruktur verträgt.
Bauen Sie um Ihre Budgetstufe herum
Beleuchtungssysteme sollten zur Größe Ihres Veranstaltungsortes und zur Phase Ihres Unternehmens passen. Eine mehrstufige Budgetstrategie hilft Ihnen, die richtigen Leuchten zu priorisieren, Mehrausgaben zu vermeiden und eine reibungslose Erweiterung im Laufe der Zeit sicherzustellen.
1.Budgetstufe 1: 500 – 1.000 $
Geeignet für: Kleine Barbereiche (unter 50 m²), minimale Live-Auftritte
Ziel: Grundstimmung schaffen + wichtige visuelle Zonen beleuchten
Empfohlenes Layout:
- 2–4x LED-Streifenleuchten für die hintere Bar und die Deckenkanten (Ambient Wash)
- 2x COB-PAR-Lichter oder LED-Scheinwerfer (LPC120)für Bartheke oder Logowand (Fokuspunkt
- 1 x 4-Kanal-DMX-Controller (optional oder verwenden Sie eigenständige Automodi)
- Installation: Oberflächenmontage oder Magnetclips, um Montagekosten zu vermeiden
Dieses Setup bietet Farbstimmung und Markensichtbarkeit und ist ideal für Veranstaltungsorte, die zunächst ohne DJs oder Tanzflächen auskommen.
2. Budgetstufe 2: 1.000 – 3.000 $
Geeignet für: Mittelgroße Veranstaltungsorte (50–100 m²), Gelegenheits-DJs oder Live-Acts
Ziel: Den gesamten Raum mit Ambiente- und Effektbeleuchtung ausstatten
Empfohlenes Layout:
- 4x Washlights oder Barlichter(LPC1818)für gleichmäßige Bühnen-/Frontbeleuchtung
- 2x kompakte Strahler (LB150)für dynamische Lufteffekte in der Nähe des DJ-Pults
- 1x DMX-Controller der Einstiegsklasse (192 Kanäle oder App-basiertes Wireless-DMX)
- Einfaches Fachwerk- oder T-Trägersystem (2–3 m Spannweite) zur Befestigung von Vorrichtungen
Dieses System ermöglicht Bewegung und Farbmischung. Ideal für Bar-Restaurants, Lounges oder mobile DJ-Setups.
3.Budgetstufe 3: 3.000 – 10.000 $
Geeignet für: Große Bars oder Hybrid-Locations (100–200 m²) mit regelmäßigen DJ-/Live-Events
Ziel: Professionelle Steuerung + immersives Lichtdesign
Empfohlenes Layout:
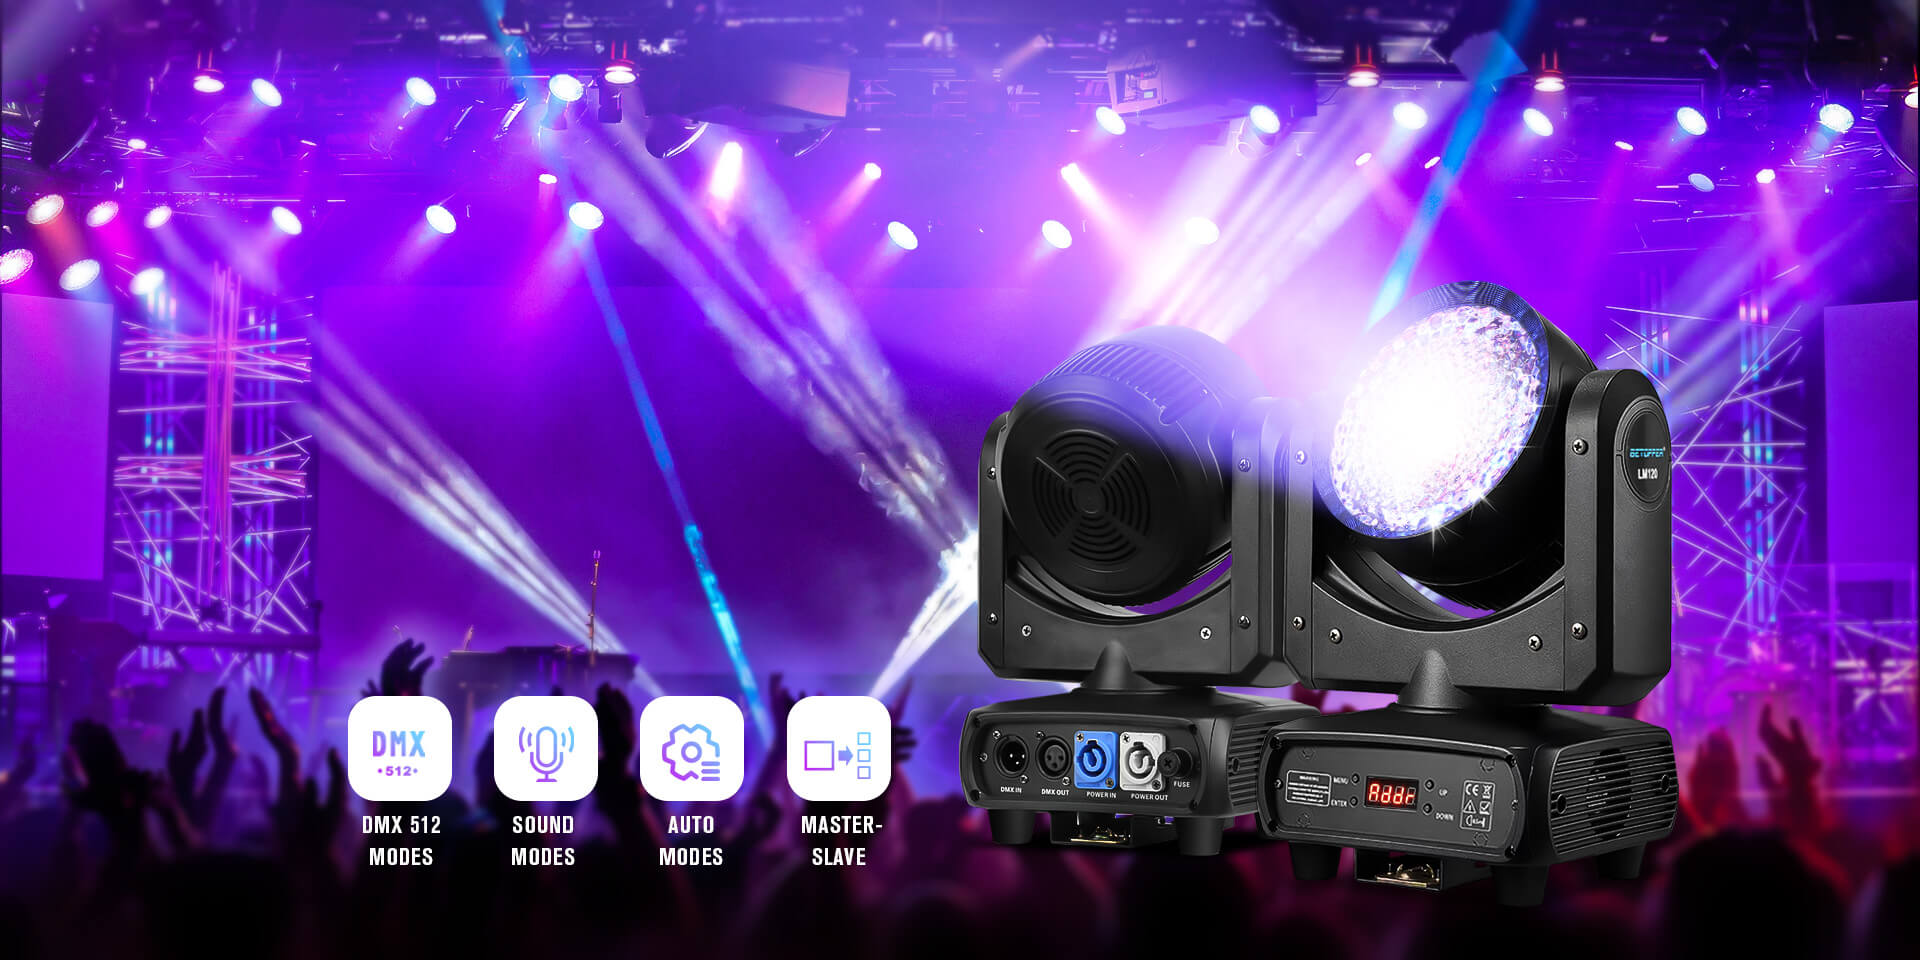
- 6–8x Moving Head Wash oder Zoom-Lichter(LM0740)(Deckenmontage, programmierbar)
- 2–4x Hochleistungsstrahllichter mit Gobos und Prismen(CLB260)(Effekte in der Luft)
- 2x Stroboskop oder Pixelbalken(LF2405)(für Rhythmus und Energie)
- Erweiterter DMX-Controller oder softwarebasierte Lösung (e.g. Wolfmix, Lightkey, Onyx)
- Vollständiges Fachwerkgitter oder permanente Rigging-Infrastruktur
Dieses Setup ermöglicht szenenbasierte Beleuchtung, vollständige Automatisierung und Showsteuerung auf professionellem Niveau.
Profi-Tipp:
Wählen Sie in allen Stufen von Anfang an DMX-kompatible Geräte.Auch Budget-Setups können von einer einfachen Programmierung und synchronisierten Effekten profitieren – so zählt jeder Dollar.
Spartipps aus der Branche
Wenn Ihr Budget knapp ist, geht es nicht nur darum, weniger auszugeben, sondern darum, intelligenter zu wirtschaften.
Hier sind einige bewährte Beleuchtungsstrategien, die Profis verwenden, um Kosten zu senken, ohne Kompromisse bei den Ergebnissen einzugehen:
- Wählen Sie multifunktionale Armaturen
Verwenden Sie vielseitige Ausrüstung wie zoombare Washlights (LM0740), die große Bereiche abdecken oder für Anwendungen im Spotlight-Stil eingrenzen können – wodurch der Bedarf an mehreren Vorrichtungstypen reduziert wird.
- Vereinfachen Sie die Steuerung durch Gruppieren von Kanälen
Weisen Sie für Zonen, die keine vollständige Einzelsteuerung erfordern, mehreren Geräten dieselbe DMX-Adresse zu. Dies reduziert die Controller-Auslastung und die Einrichtungszeit.
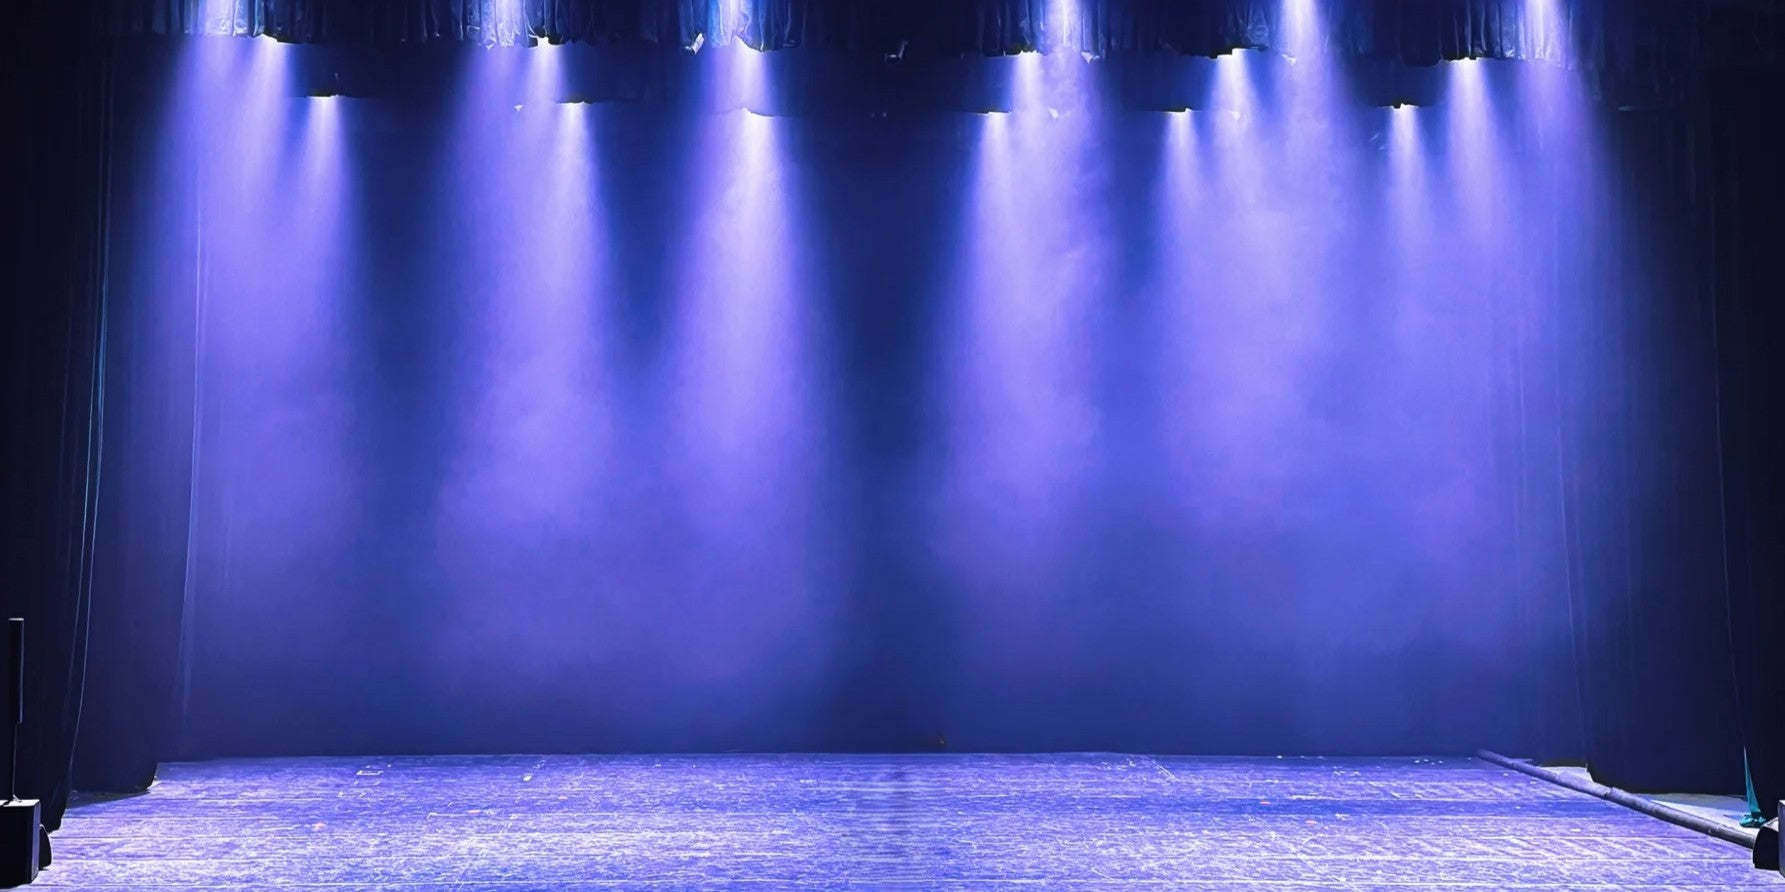
- Nutzen Sie die Wand- oder Deckenabprallung
Anstatt die Helligkeit zu erhöhen, verwenden Sie reflektierende Oberflächen, um das Licht zu streuen. Ein sanfter Lichtschein, der von einer weißen Decke reflektiert wird, kann einen ganzen Raum mit weniger Leuchten beleuchten.
- Kaufen Sie in Etappen, nicht auf einmal
Beginnen Sie mit den wichtigsten Bereichen – Bartheken, DJ-Pulten, Tanzzonen. Erweitern Sie später, wenn es das Budget erlaubt, anstatt zu viel in Bereiche mit geringer Sichtbarkeit zu investieren.
- Vermeiden Sie Geräte für den Verbraucherbereich
Billigere Heimleuchten sind oft nicht langlebig und DMX-kompatibel. Profi-Leuchten der Einstiegsklasse wie LPC120 oder LPC1818 bieten einen besseren langfristigen Wert.
- Verwenden Sie T-Bar-Ständer anstelle von festen Traversen
Bei kleinen oder temporären Räumen spart ein tragbarer Ständer Installationskosten und bietet gleichzeitig eine flexible Positionierung.
Benötigen Sie Hilfe beim Aufbau einer kostengünstigen Beleuchtungsanlage für Ihre Bar oder Ihren Veranstaltungsort?
Wir bieten skalierbare Beleuchtungspakete, die auf unterschiedliche Budgets und Grundrisse zugeschnitten sind – plus weltweiten Versand und freundlichen Expertensupport.
Besuchen Sie unsere offizielle Website:https://betopperdj.com
Hinterlasse einen Kommentar
Alle Kommentare werden vor der Veröffentlichung geprüft.
Diese Website ist durch hCaptcha geschützt und es gelten die allgemeinen Geschäftsbedingungen und Datenschutzbestimmungen von hCaptcha.