Betopper Value Lighting Setup
Looking to upgrade your venue lighting without breaking the bank?
The Betopper Value Setup is built for small venues like bars, clubs, and live shows, combining wash, beam, and high-CRI par lights in one smart package.Enjoy rotating beams, ultra-bright output, and true-to-life colors—everything you need for professional effects at a fraction of the cost.Perfect for DJs, venue owners, and performers who want serious lighting, simplified.
Slow Groove — Our Custom MA2 Setup
Rhythm Ready — Our Custom Wolfmix Setup
Slow Groove — Our Custom Wolfmix Setup

Fast MA2 File Download
Slow MA2 File Download
Fast Wolfmix File Download
Slow Wolfmix File Download

What’s Included in This Lighting Setup?
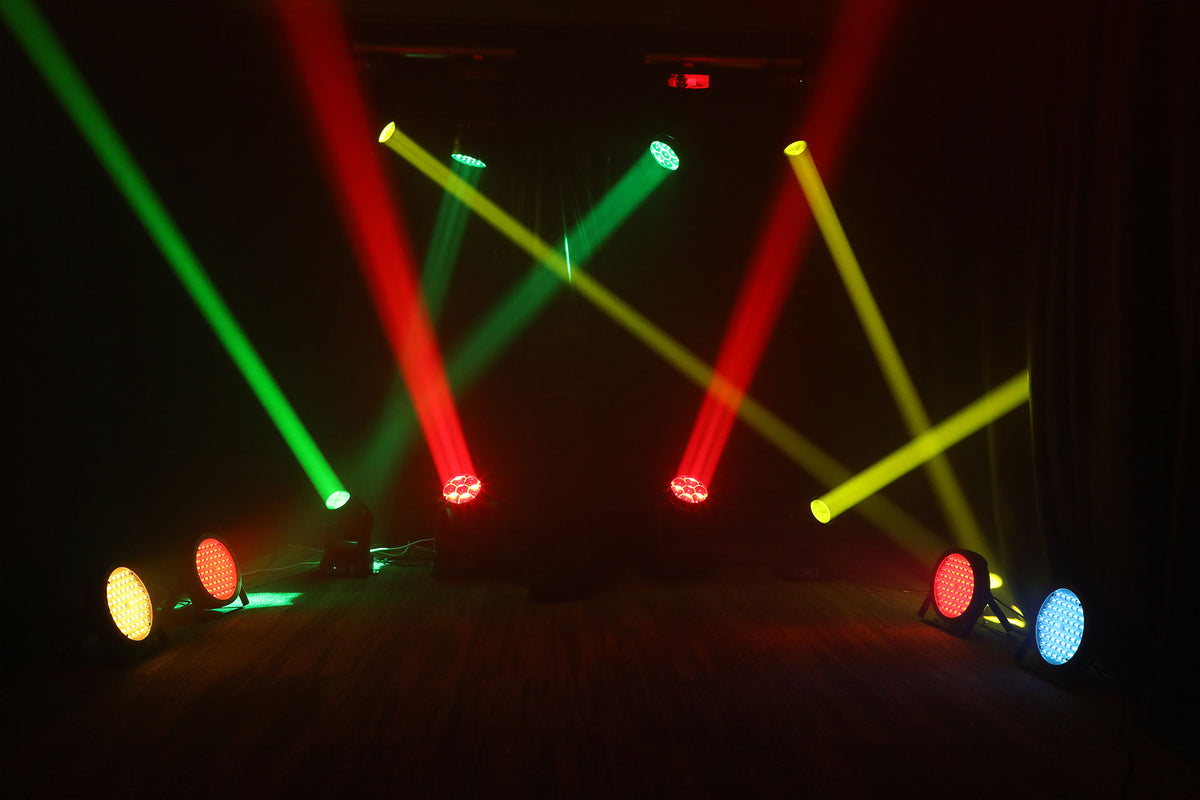
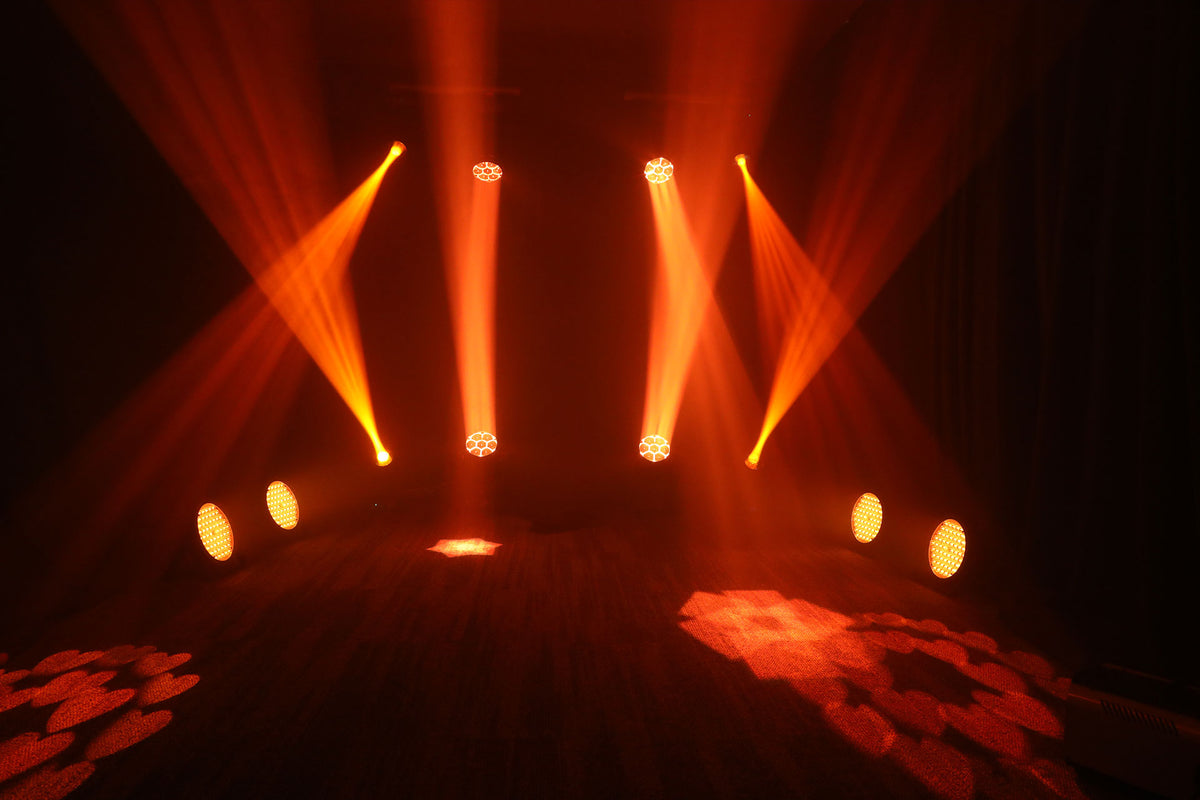
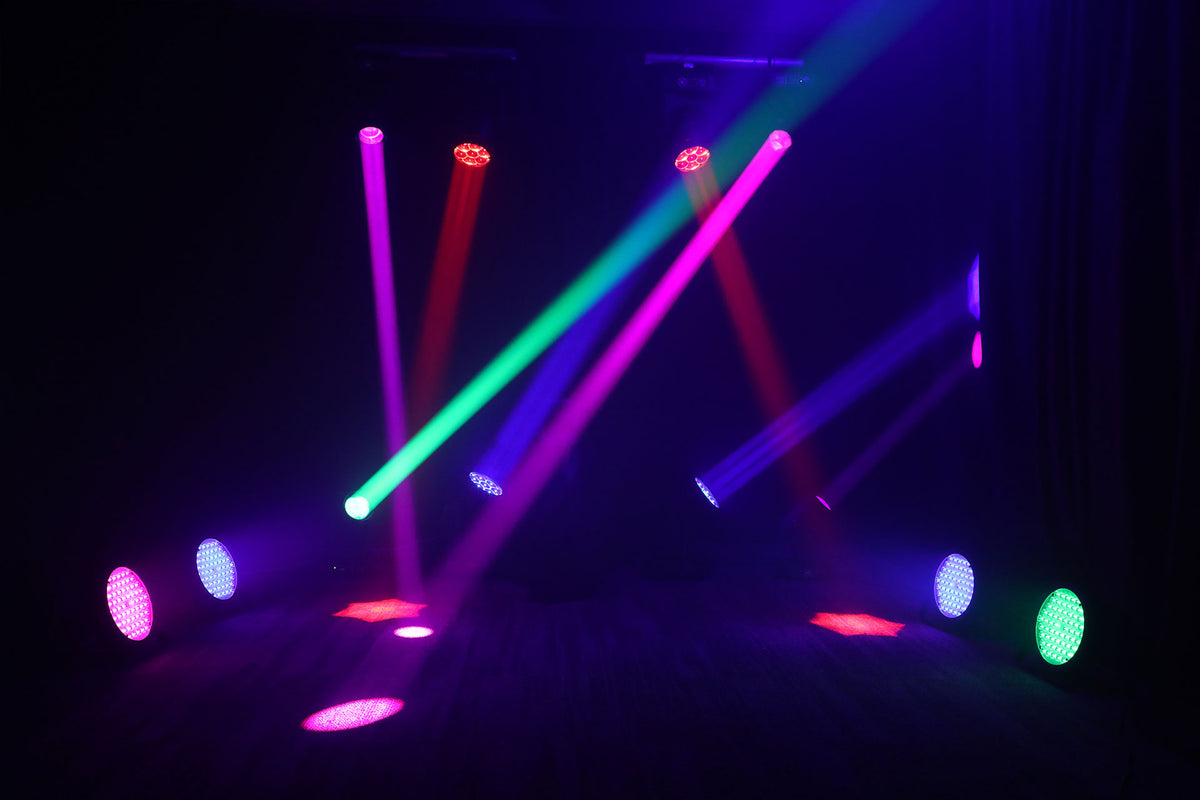
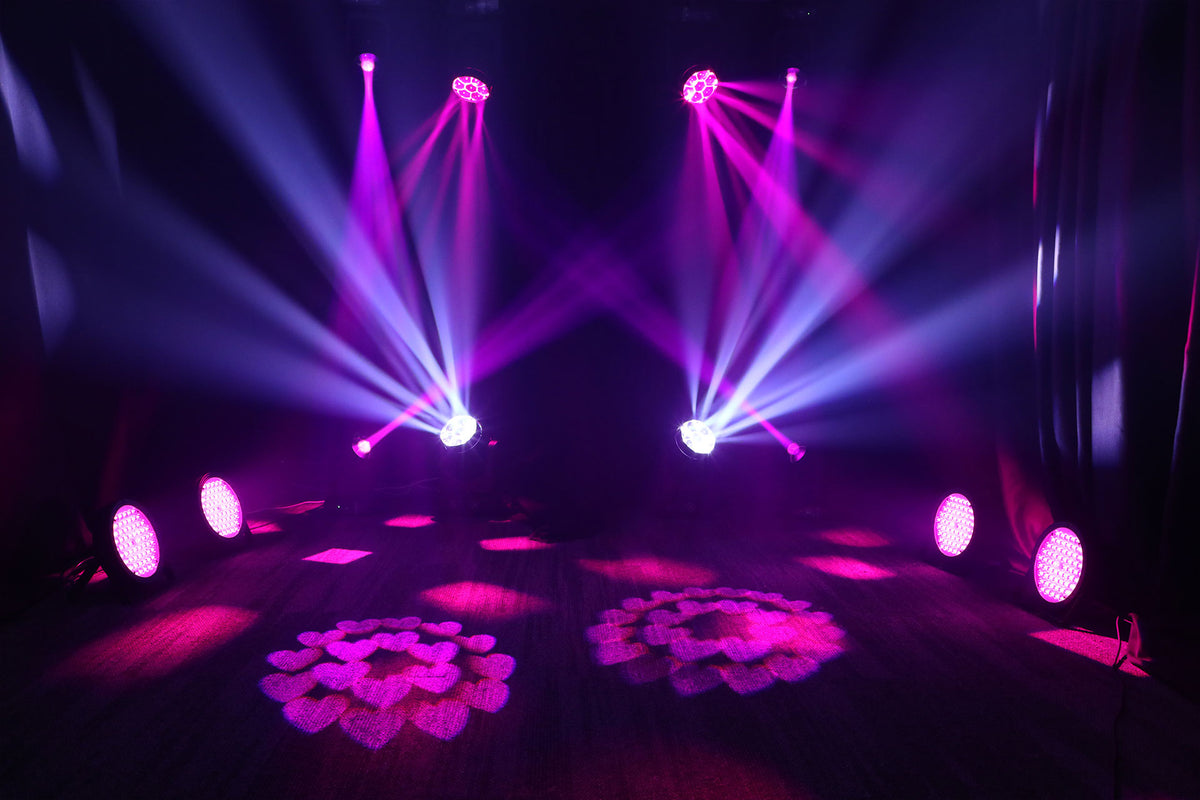
* 4× LM0740 Wash Lights – Smooth color fades with zoom for wide stage coverage.
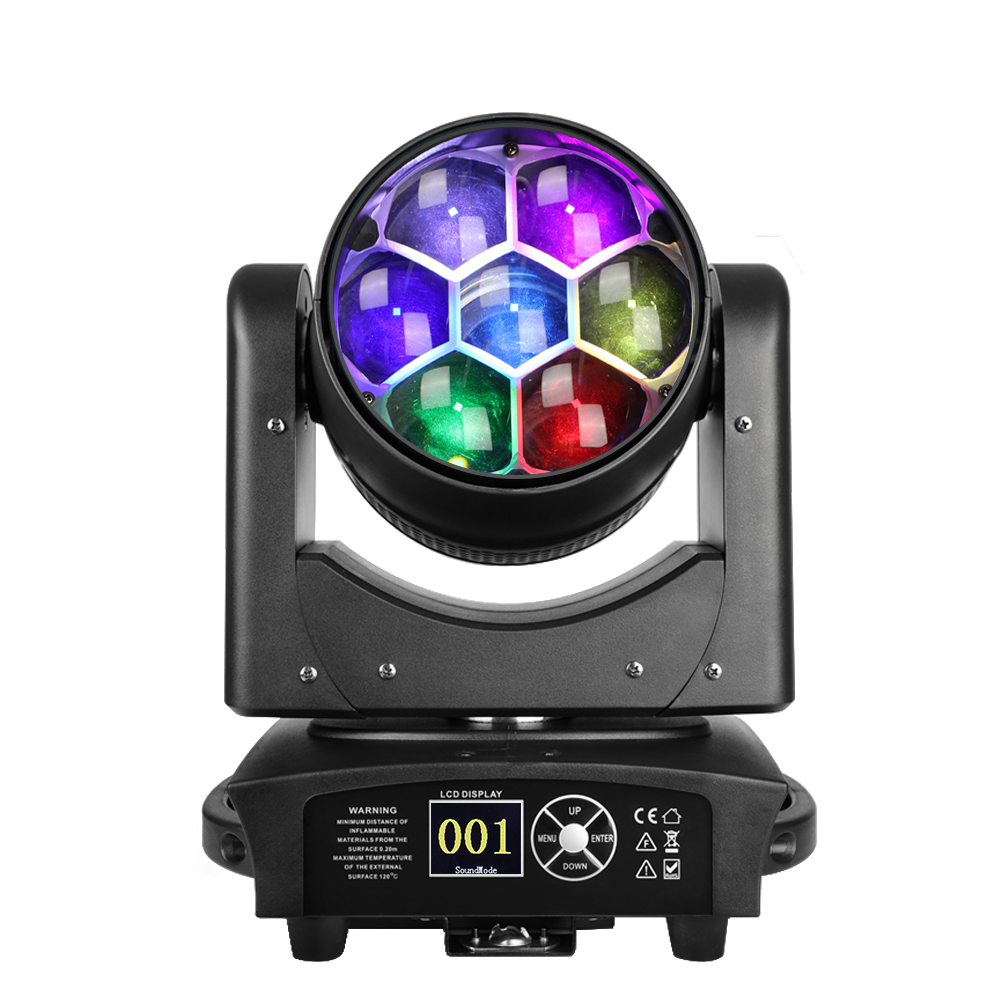
* 4× LB150 Beam Lights – Intense, narrow beams for punchy mid-air effects.
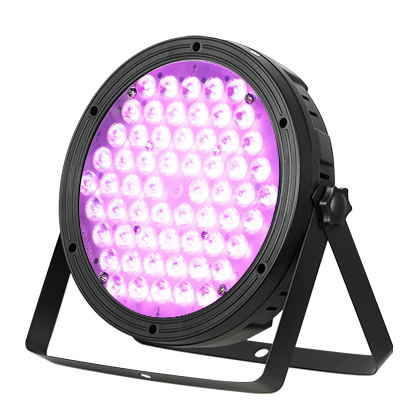
* 4× LPC120 Par Lights – High-CRI LEDs for vivid, natural color rendering.
PRODUCT LINEUP

Betopper LM0740
- 7 powerful 40W LEDs for wash and beam effects.
- Compact and versatile for various lighting needs.
- Rotating and zooming beams with vivid dispersion.

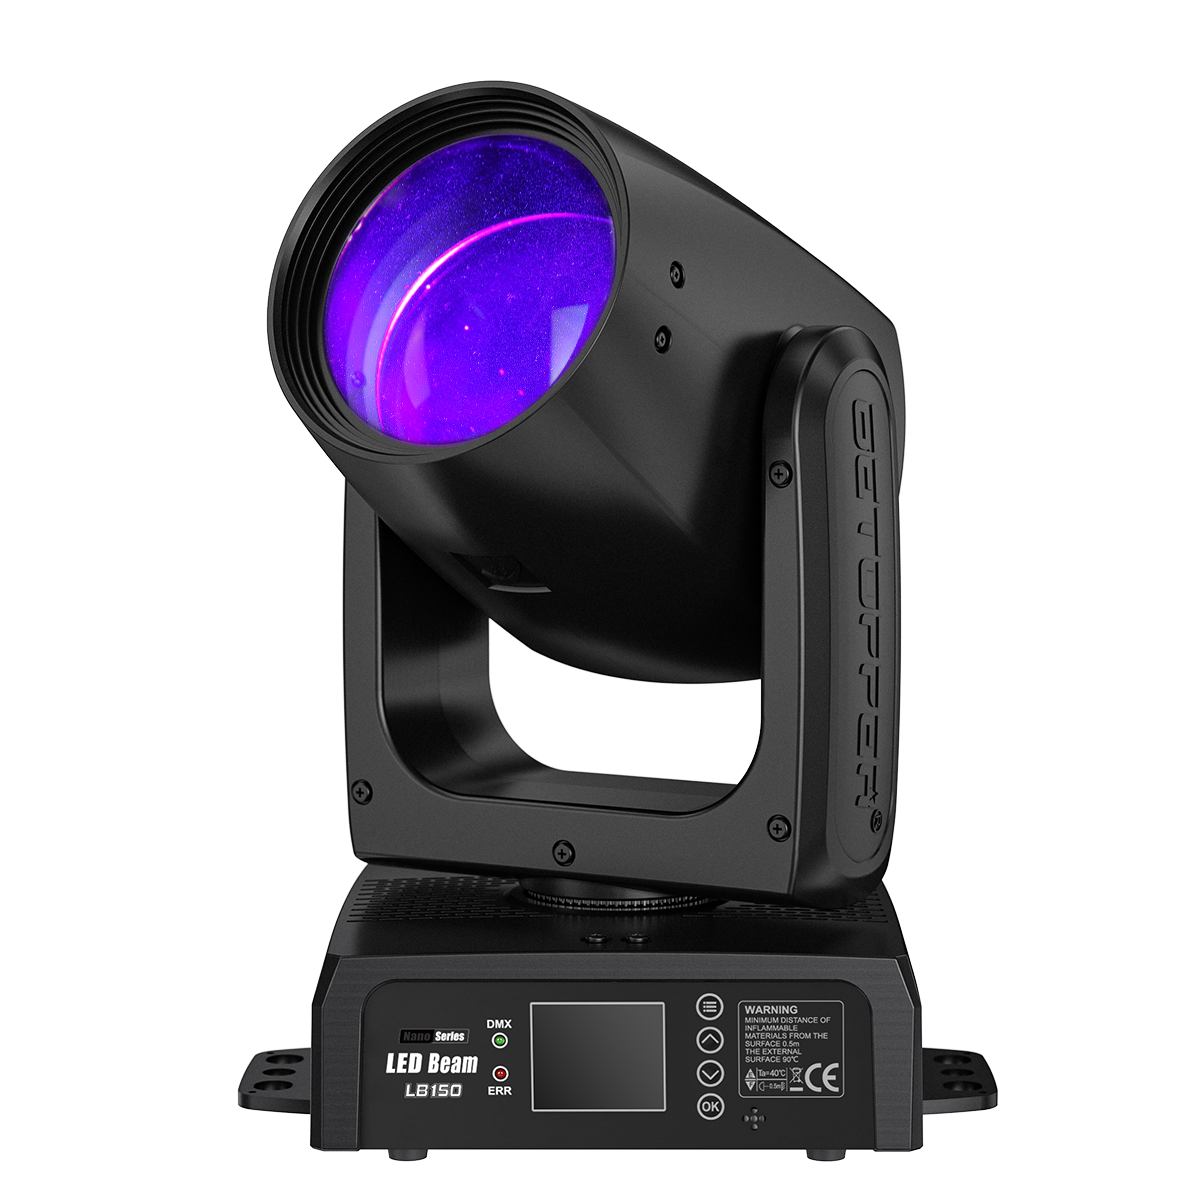
Betopper LB150
- LCD panel with auto and sound modes.
- Easy install with flexible mounts.
- 1.72° beam outshines standard 200W lights.
- Professional performance for versatile settings.

Betopper LPC120
- High CRI (90+) for Natural Color Rendering
- 3500 Lumens – Ultra Bright, Great Value
- RGBW LEDs for Pure, Vibrant Colors
- DMX/Auto/Sound Modes + Reliable Cooling


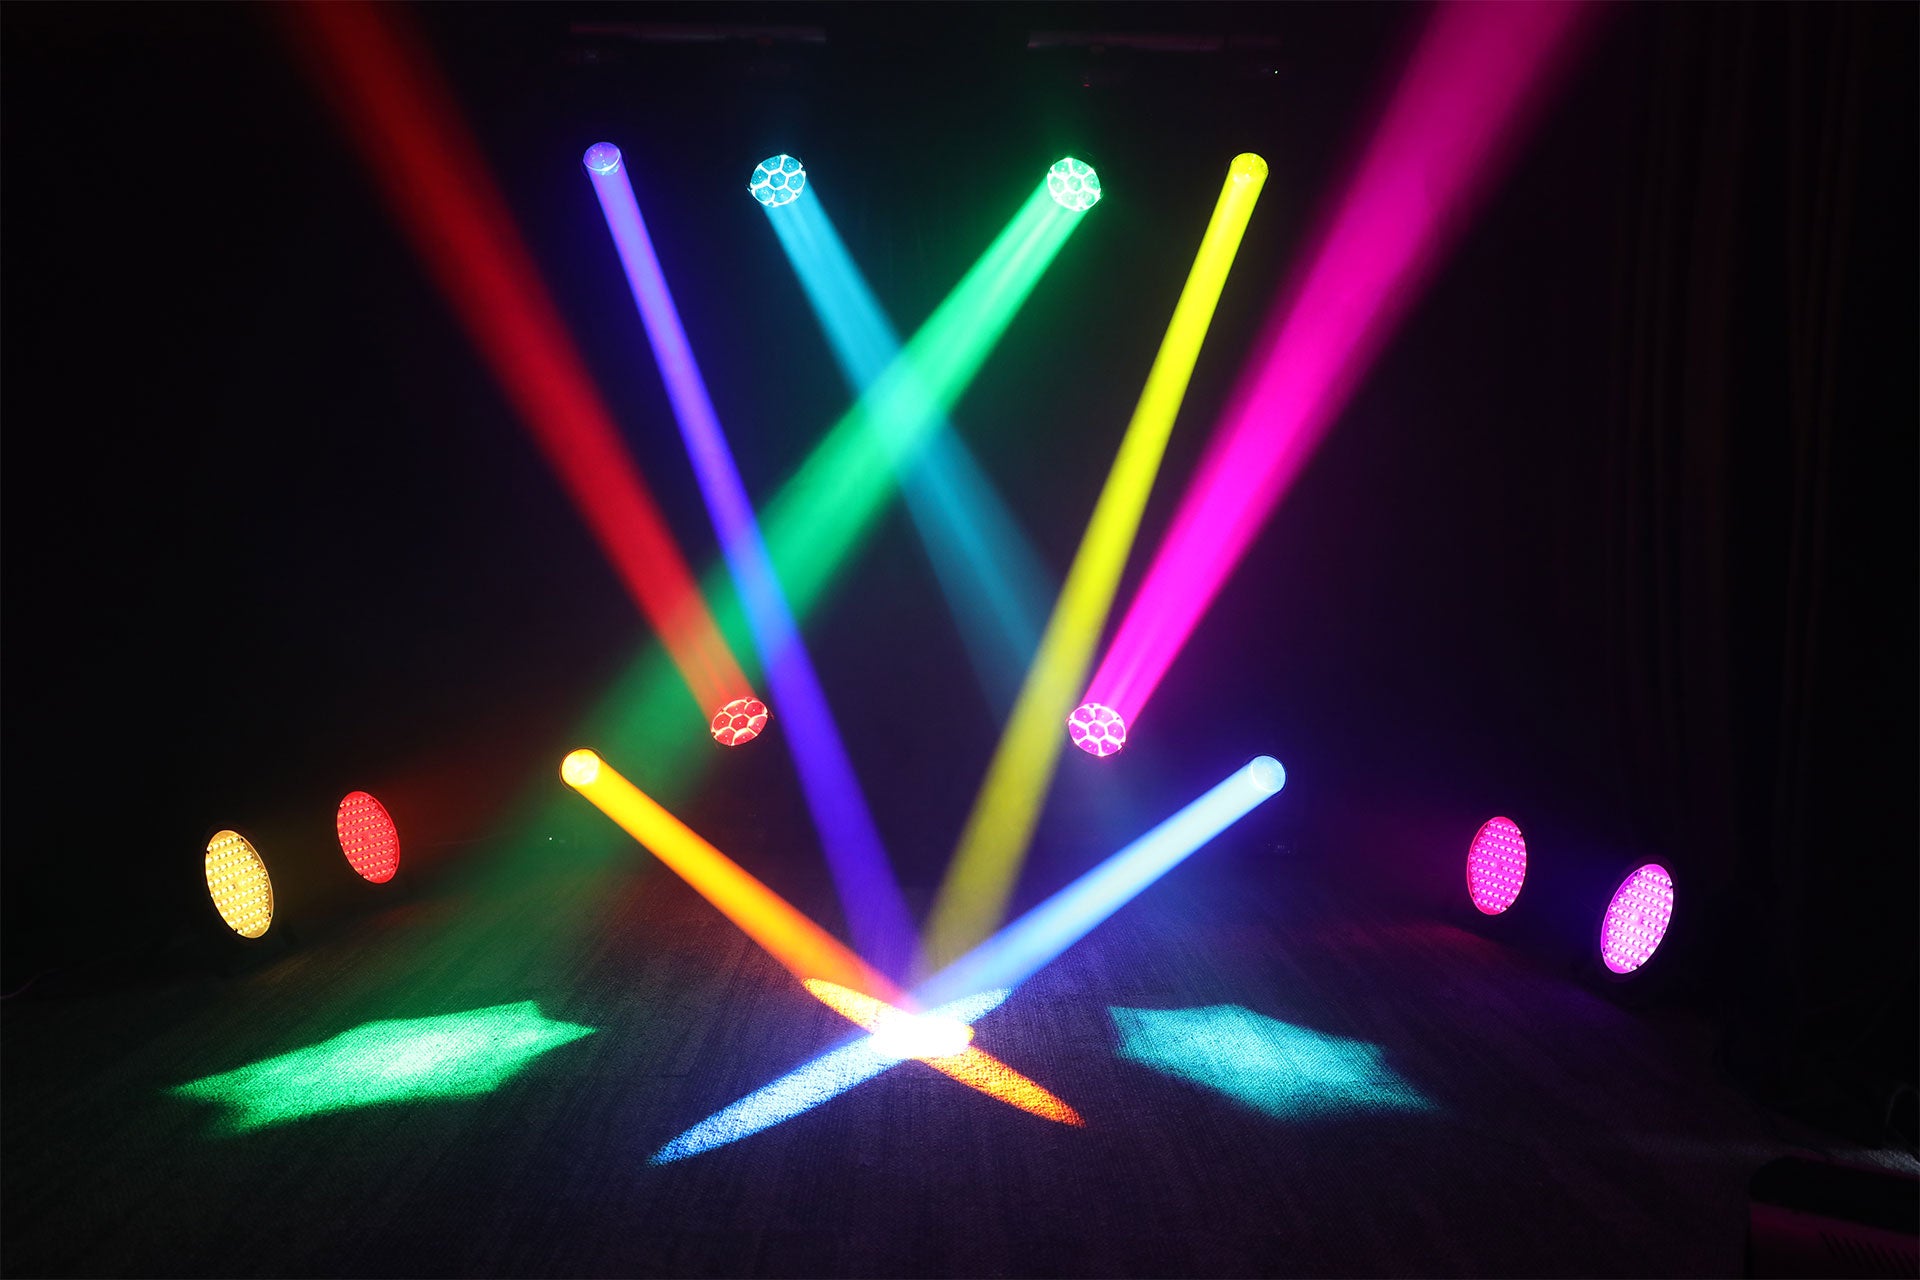
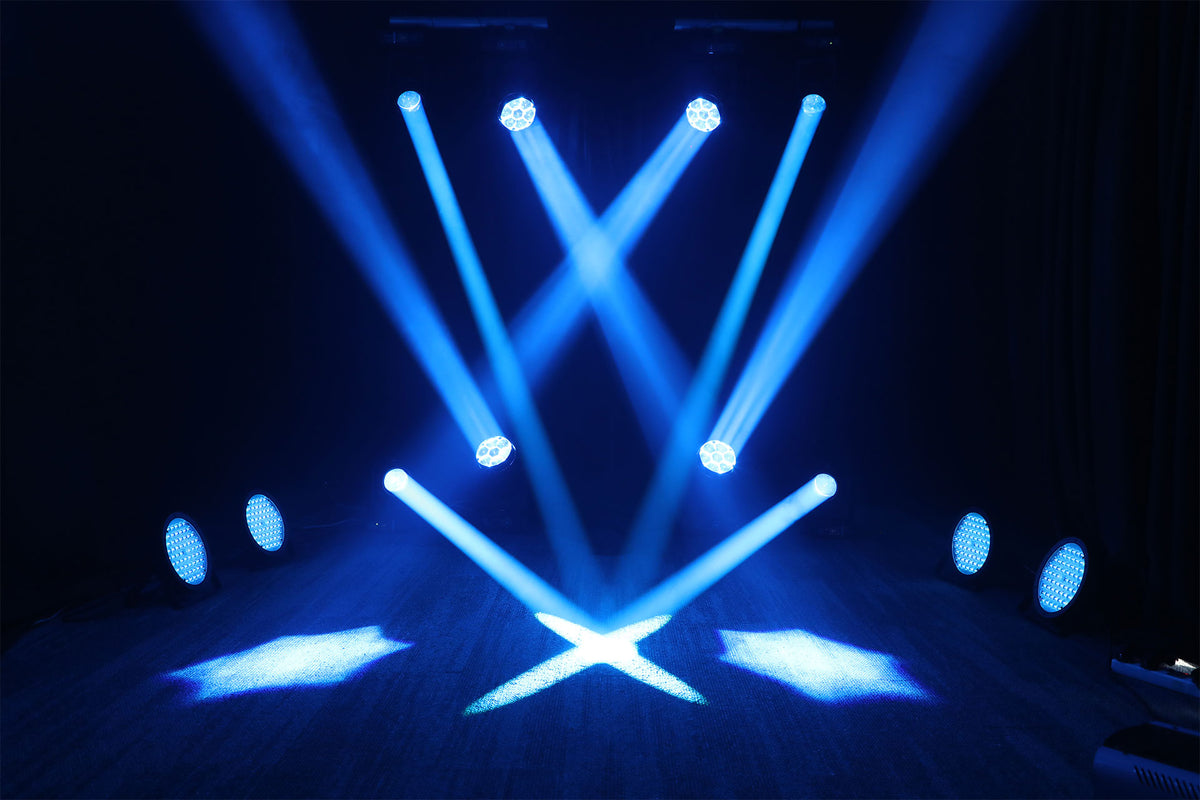
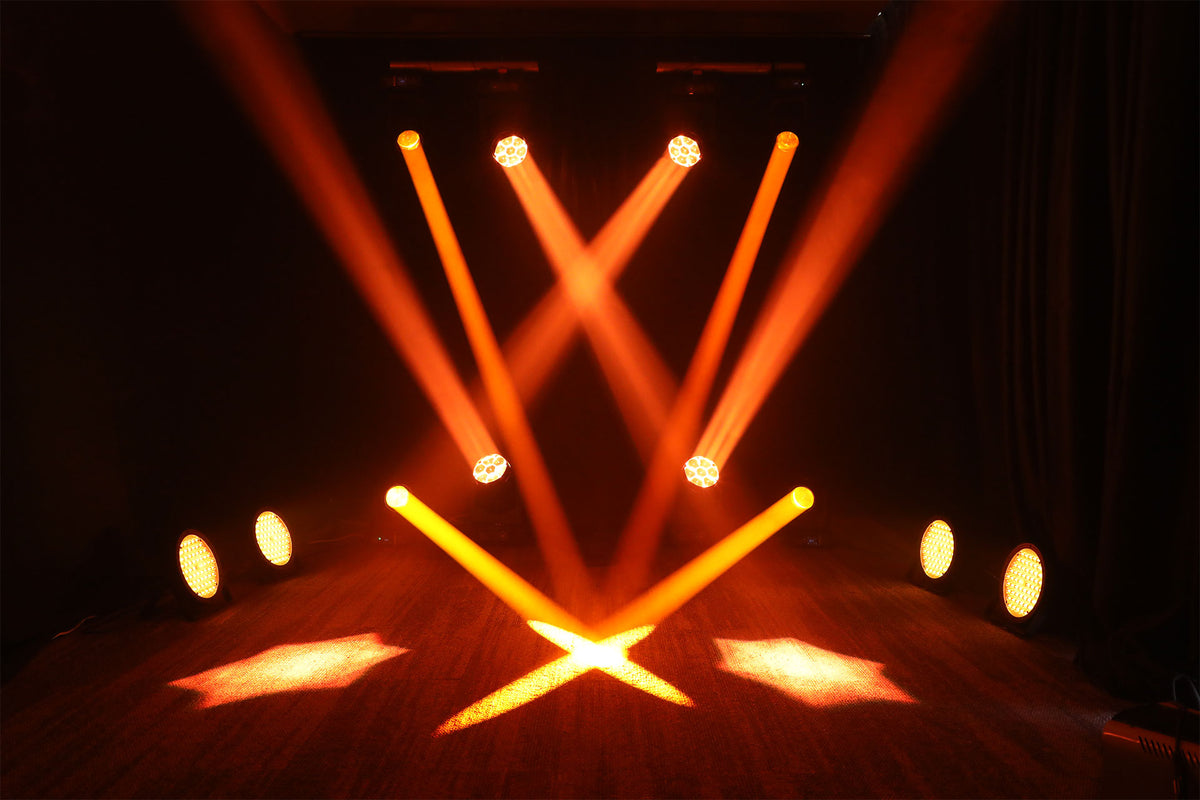
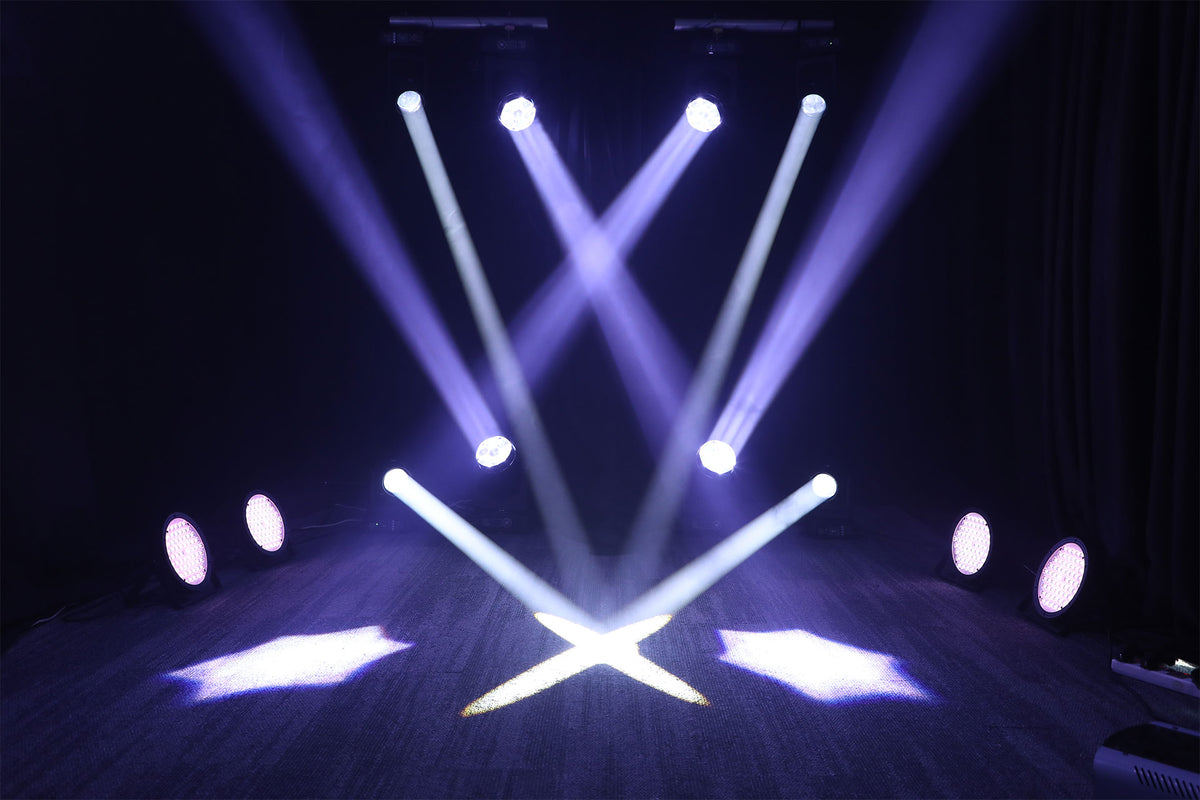
Scene Display

FAQ
If you have other questions, you can contact us at any time.
service@betopperdj.com
Our customer support is available Monday to Friday: 9am-6:00pm.
Is shipping free? How long does delivery take?
Yes, we offer free shipping to most regions. If the product is in stock, delivery usually takes about 3–8 business days, depending on your location.
What is the warranty period?
Our products come with a 2-year warranty. Please refer to our after-sales policy for detailed warranty terms and conditions.
Do you provide fixture profile files?
Yes, we can provide DMX fixture profile files for your lighting console. Please contact our customer service to get them.
Can the fixtures be used outdoors?
Currently, we don’t offer waterproof outdoor models. If you need to use them outdoors, please ensure the weather is clear and dry to avoid damage.
Our customer support is available Monday to Friday: 9am-6:00pm.