Introduction
When it comes to professional stage lighting, power alone isn’t what creates a stunning show — positioning and beam control make the real difference.
The angle and placement of your fixtures shape the audience’s focus, define stage depth, and build the overall atmosphere. Whether it’s a wedding, concert, theater production, or club show, understanding how front light, backlight, sidelight, top light, and uplight work will help you design lighting that looks intentional, layered, and immersive.

Front Light — The Foundation of Visibility
Front lighting is the primary key light in most stage setups.
Placed in front of the performer, it ensures faces and costumes are clearly visible to the audience.
A proper beam angle — usually around 45° — creates a flattering look while minimizing harsh shadows. This type of front wash is especially useful for weddings, speeches, and theater, where facial expression matters.
Adjusting throw distance and intensity allows precise coverage without flooding the entire stage. Once your front lighting is locked in, every other effect will layer more cleanly.
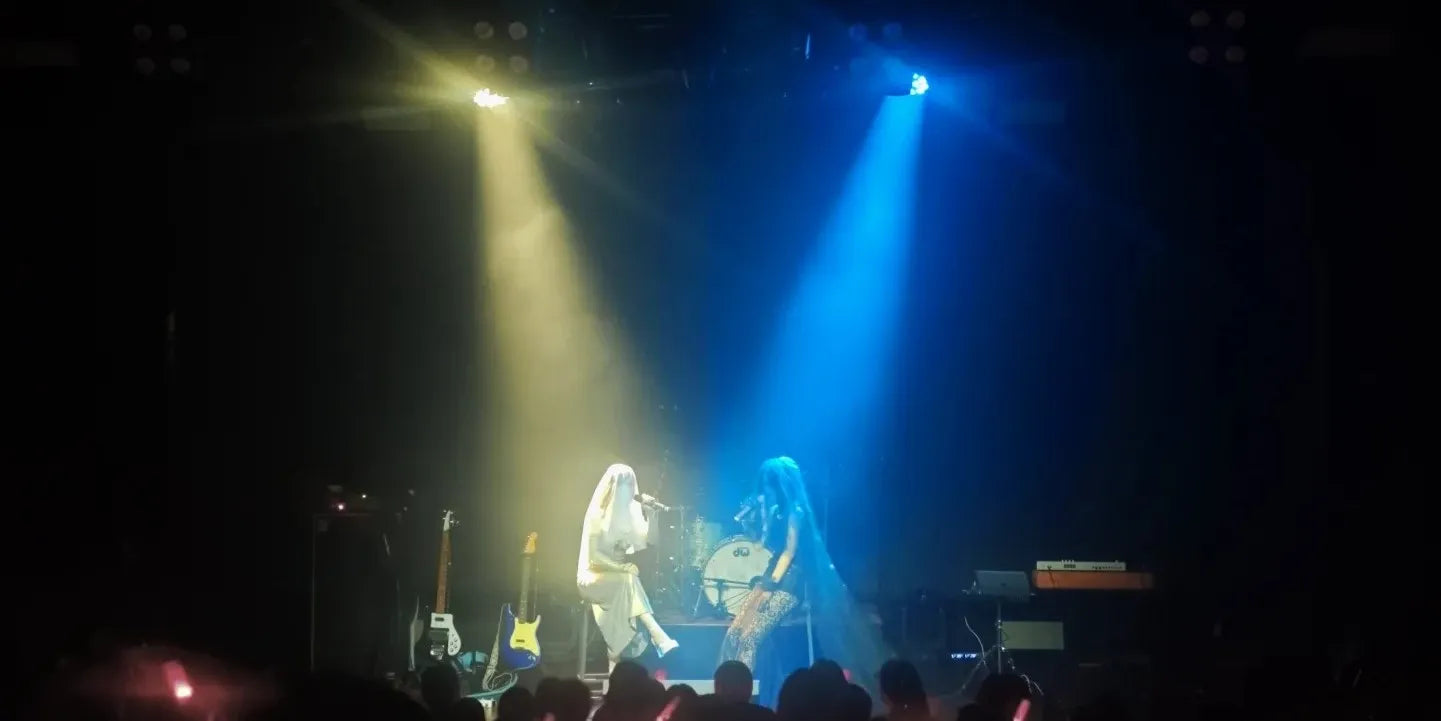
Back Light — Adding Depth with Rim Lighting
Backlight acts as a rim light, placed behind performers and aimed toward the audience.
Its primary purpose is to separate subjects from the background, adding dimensionality and stage depth.
A narrow beam angle or hybrid fixture with adjustable zoom works best here, especially when combined with haze. This creates defined light shafts and crisp silhouettes.
Many lighting designers pair backlight with gobos or color temperature shifts to create atmospheric effects and smooth transitions.
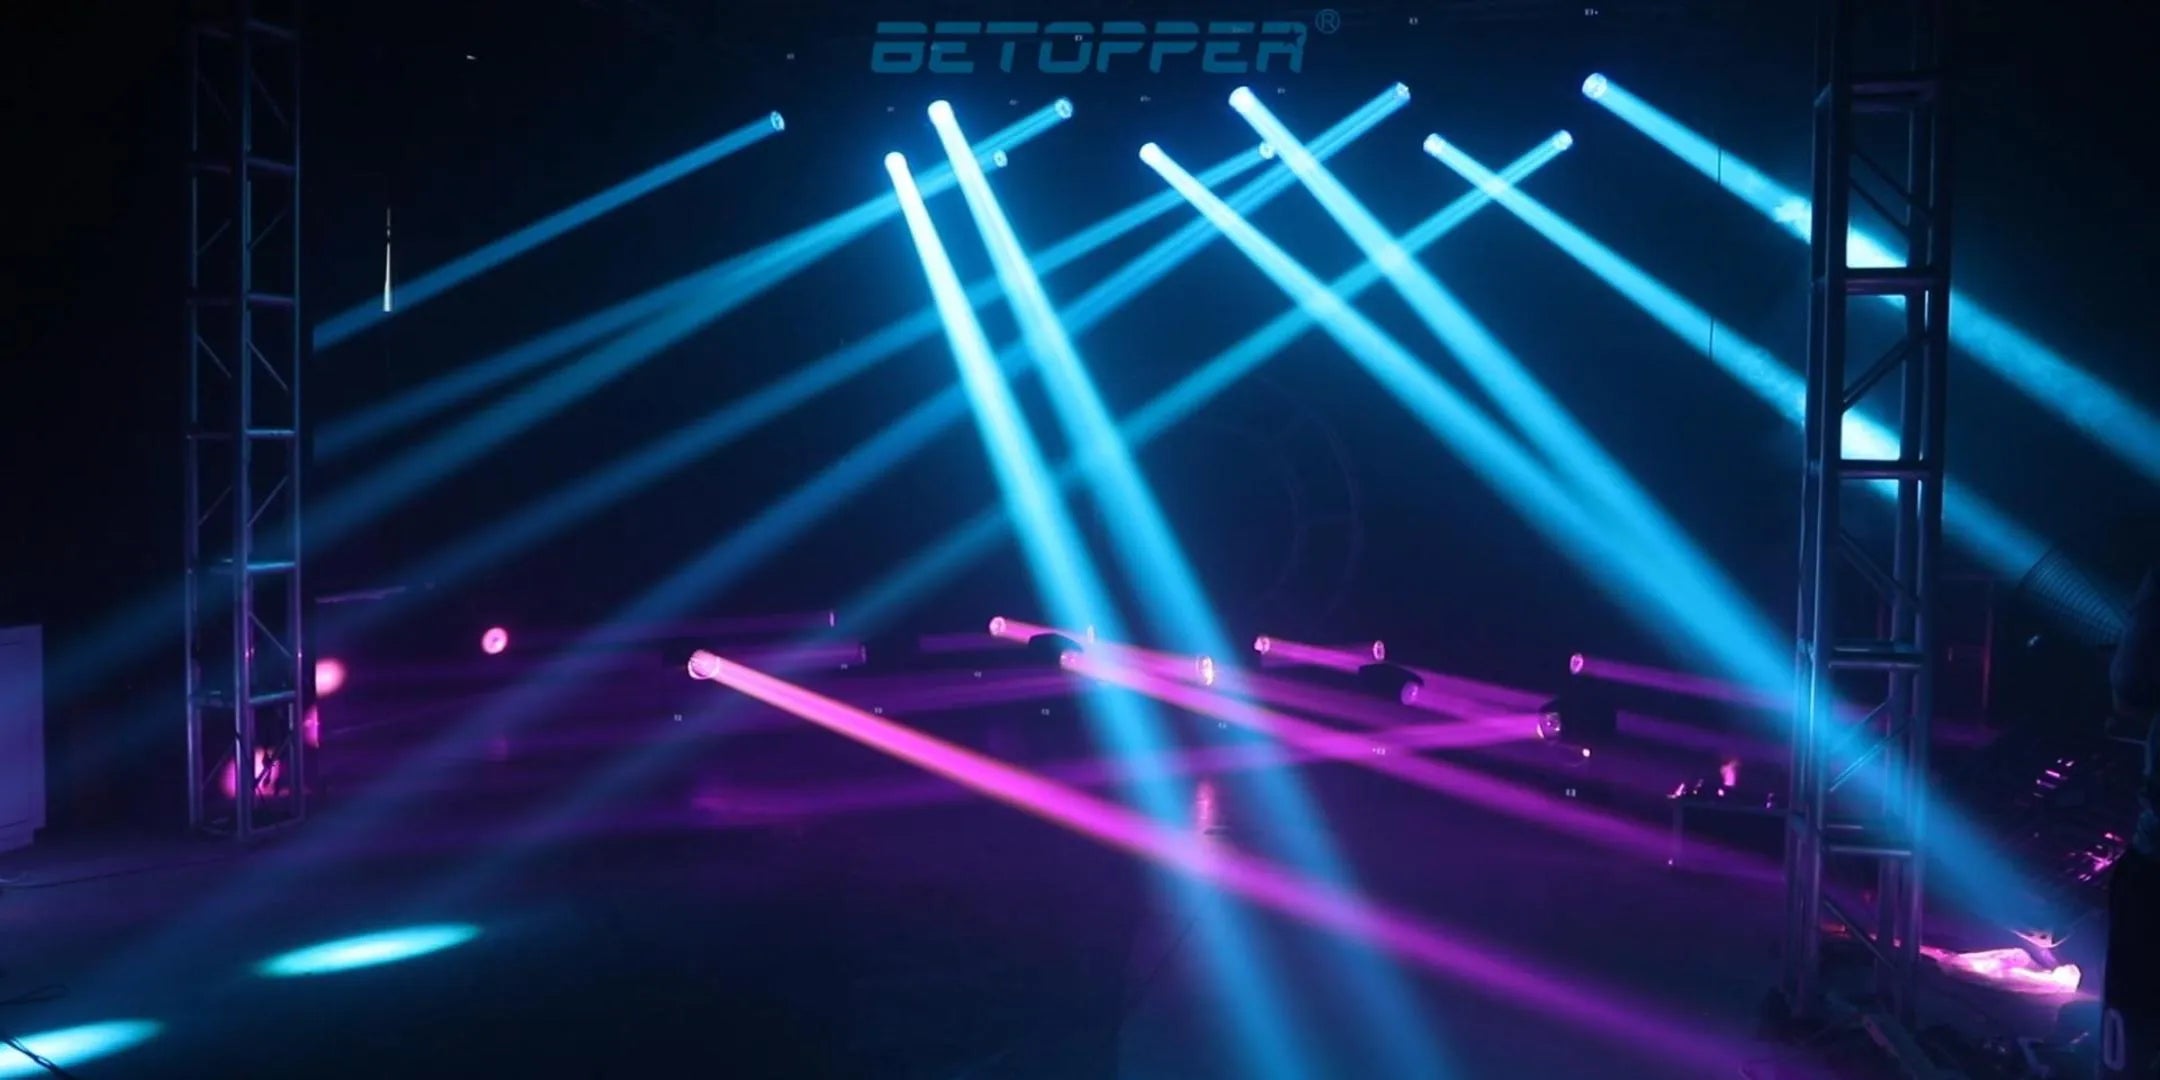
Side Light — Movement and Texture
Side lighting is often used to emphasize motion and texture.
Coming from both sides of the stage, it gives performers a sculpted, three-dimensional look without overpowering the front wash.
This angle is a favorite in dance and theater because it enhances every step and gesture. Balanced fixture placement keeps the light clean and controlled while adding dynamic energy to the scene.
Top Light — Sharp and Controlled
Top lighting comes from directly above, acting as a downlight or focused spotlight.
It’s perfect for creating dramatic highlights, clean zones, or isolating a performer during key moments.
Paired with gobos, frost filters, or variable color temperature, top light helps you shape the scene with precision and elegance — whether it’s a solo performance or a full stage wash.
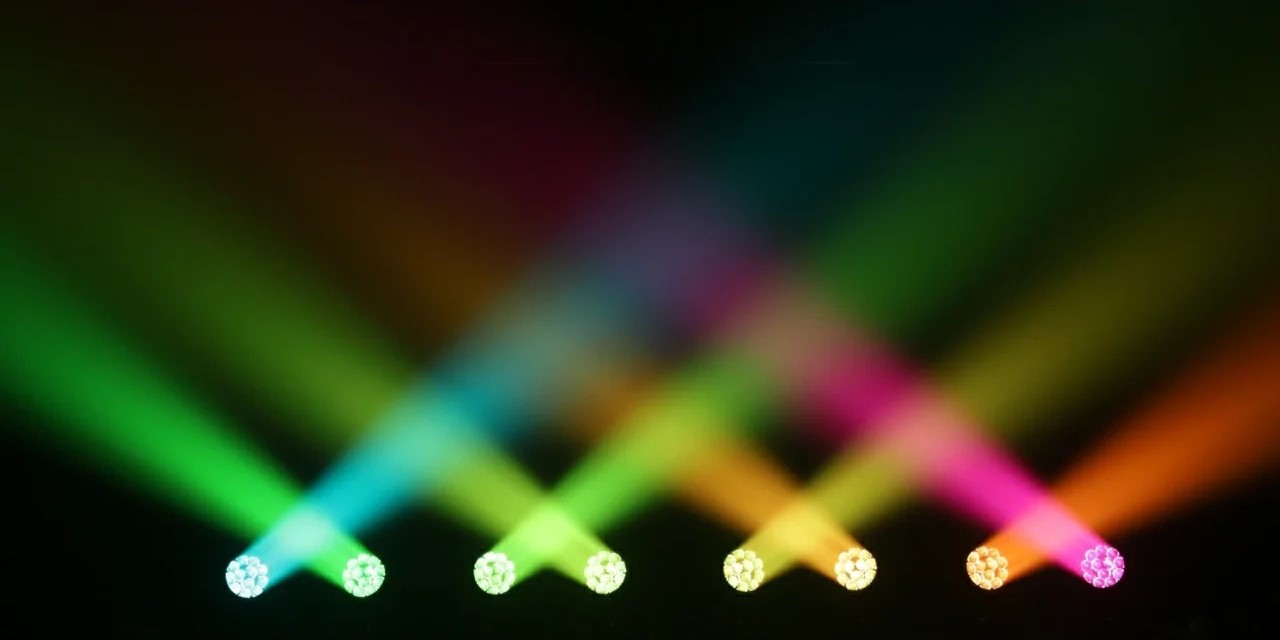
Uplight — Mood and Atmosphere
Uplighting adds ambient depth and color layering from below the stage line.
While it’s not meant to replace front lighting, uplight is perfect for wall washes, backdrops, or accenting scenic pieces.
Warm tones create soft, elegant looks for weddings and corporate events, while bold colors or pixel effects make parties and DJ sets come alive. Controlled through DMX programming, uplighting can pulse, shift, or blend seamlessly with your show.
Pro Tips — Getting the Best Out of Angles
- Start with a balanced front wash before adding effects.
- Use backlight for separation and dimension.
- Side light makes movement feel alive.
- Top light brings focus and intensity.
- Uplight sets the tone and mood.
- Layering these angles creates a professional, immersive look.
FAQ — Lighting Angles & Positioning
Q: What’s the best angle for lighting faces?
A: A 45° front wash gives a natural, flattering look with minimal shadows.
Q: Can I skip backlight for small setups?
A: You can, but even a single backlight adds depth and separation.
Q: Is uplight enough as a main light?
A: No — it’s best for atmosphere, not primary visibility.
Q: What’s a simple setup for beginners?
A: A front wash + uplight combo already looks polished.
Final Thoughts — Placement Creates the Look
The magic of stage lighting isn’t just in the fixture — it’s in how and where you place it.
Front, back, side, top, and uplight each shape the stage in a different way. Layered together, they turn a flat scene into something immersive and powerful.
👉 Learn more stage lighting tips, guides, and inspiration at https://betopperdj.com/
Lascia un commento
Nota che i commenti devono essere approvati prima di essere pubblicati.
Questo sito è protetto da hCaptcha e applica le Norme sulla privacy e i Termini di servizio di hCaptcha.