
Introduction
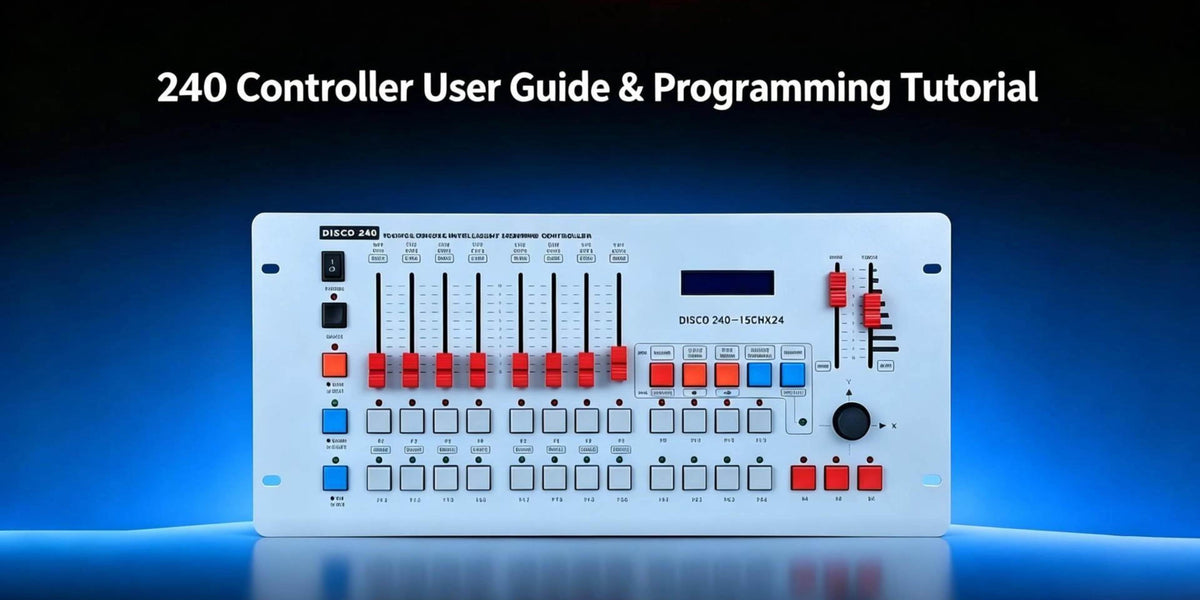
This tutorial is part of the Betopper DMX 240 Controller Tutorial Series, which covers practical DMX setup and programming techniques for stage lighting.
In the previous tutorials, we covered the essential steps for building a DMX lighting system, including connecting fixtures, setting DMX addresses, and creating basic chase programs.
In this guide, we will take the next step and create a more dynamic moving head effect:
An overlapping moving head chase effect.
Unlike a basic chase where lights simply change one after another, an overlapping moving head effect uses different fixture positions and movement directions to create more depth and motion on stage.
By adjusting the Pan and Tilt positions of multiple moving heads and saving different movement scenes, you can create more dynamic lighting effects from a simple multi-fixture setup.
In this tutorial, you will learn:
- How to program movement positions for multiple moving heads
- How to create beam overlap effects with 4 fixtures
- How to adjust pan and tilt positions for precise beam alignment
- How to save and run programmed lighting scenes
- How to create dynamic stage effects with the DMX 240 controller

What Is an Overlapping Moving Head Chase Effect?
A traditional chase controls lights in sequence — fixture 1 turns on, fixture 2 follows, fixture 3 follows, and so on. An overlapping chase works differently: instead of every fixture repeating the same movement, each moving head gets its own position or direction, so that fixture 1 might swing right while fixture 2 swings left, and fixture 3 mirrors fixture 1 while fixture 4 mirrors fixture 2. Programmed together, these opposing movements create a layered, crossed motion across the stage rather than a simple wave of identical lights.
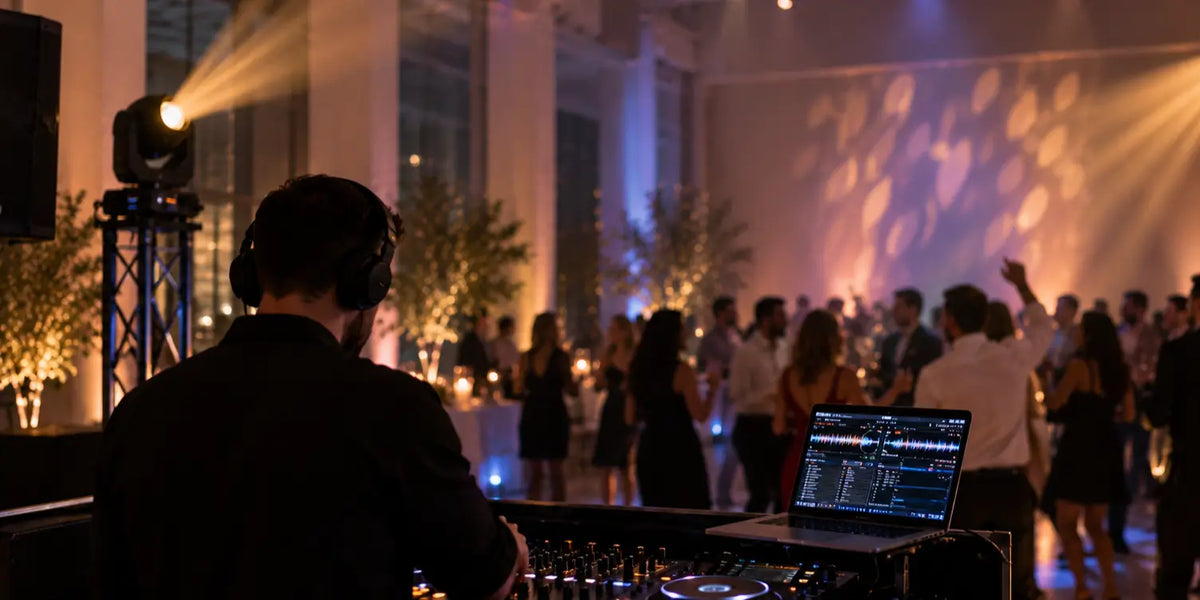
This technique shows up often in DJ sets, stage performances, concerts, and event productions. The trick isn't adding more fixtures — it's building deliberate movement relationships between the fixtures you already have.
Creating the Effect
Step 1: Enter Programming Mode and Select Your Fixtures
Start by pressing the Program button and selecting the program location where you want to save the effect. Then select all the moving head fixtures you want to include — this tutorial uses four. Selecting every fixture up front lets you make initial position adjustments together before breaking off into individual movement steps.

Step 2: Set Direction and Initial Position
Before building any movement, make sure every fixture is actually facing the right way. Depending on how a moving head is physically installed, its default Pan direction may not line up with your rig, so some units may not reach the position you expect. Use the X-axis control for Pan and the Y-axis control for Tilt to correct each fixture's horizontal and vertical orientation until it points where it should. This matters because the same DMX value can produce a completely different result depending on how the fixture is mounted — get this right first, and the rest of the programming goes much more smoothly.
Step 3: Build the First Position Scene
With orientation sorted, isolate and adjust each fixture individually to create your first arrangement:
- Fixture 1 — head toward the right
- Fixture 2 — head toward the left
- Fixture 3 — head toward the right
- Fixture 4 — head toward the left
This alternating left-right pattern is what gives the effect its layered look. Once the fixtures are in position, bring up the brightness channel, check the overall picture, and save it as your first program step — this becomes the starting scene of the chase.

Step 4: Build the Second Position Scene
Now reverse the pattern to add motion between the two scenes:
- Fixture 1 — right to left
- Fixture 2 — left to right
- Fixture 3 — right to left
- Fixture 4 — left to right
Adjust until the fixtures settle into a second balanced arrangement, then save it. When these two scenes play back-to-back, the fixtures move between opposing positions, which is what produces the overlapping motion.
Step 5: Exit Programming Mode and Test
Exit programming mode, select the saved program, and play it back. The four moving heads should now cycle automatically through both positions. From here you can dial in the playback speed — push the speed/time control up for faster movement, or pull it down to slow things down. Faster movement tends to suit energetic DJ sets, while slower movement works better for atmospheric stage scenes.

A Few Extra Notes
The section below isn't part of the video tutorial — it's a set of supplementary tips based on common issues people run into with this kind of setup, included here for extra context.
If all your moving heads end up moving in the same direction, it usually means every fixture was programmed with the same Pan and Tilt position rather than a distinct one. Go back through each fixture individually and give it its own movement position before saving.
If a moving head can't reach the position you're expecting, the issue is often a mismatch between the fixture's physical installation and its Pan orientation. Double-check the fixture's mounting direction, its Pan reverse setting, and its initial position — correcting orientation before programming saves a lot of trial and error later.
If the chase ends up looking flat despite your best efforts, it's typically because every fixture is still following a very similar movement pattern. Push for more contrast between fixtures — different Pan positions, different Tilt angles, different directions, and genuinely distinct saved steps all add depth.
A couple of general habits also help: plan out where each fixture starts, where it moves, and how the others should respond before you start saving steps, since this makes the programming faster and easier to repeat later. And if you're managing a lot of programs, grouping them by type (for example, keeping static scenes, moving effects, and performance chases in separate number ranges) makes it much easier to find the right effect mid-show.
Frequently Asked Questions
What is an overlapping moving head chase effect?
An overlapping moving head chase effect is a programmed sequence where multiple fixtures use different positions and movement directions to create layered motion effects.
How do I create moving head effects on the DMX 240 controller?
Enter programming mode, select your fixtures, adjust Pan and Tilt positions, save each movement scene, and play the programmed chase.
Why are my moving heads moving together instead of separately?
This usually happens when all fixtures are programmed with the same position values. Adjust fixtures individually and save different movement steps to create variation.
How do I control chase speed on the DMX 240 controller?
After creating the program, use the speed/time control function to adjust playback speed during operation.
Wrapping Up
Creating advanced moving head effects with the DMX 240 controller is about more than simply moving lights around.
By combining:
- Multiple fixture selections
- Different Pan and Tilt positions
- Saved movement scenes
- Speed adjustments
you can turn a simple group of moving heads into a coordinated stage lighting effect.
In this tutorial, we created an overlapping moving head chase effect by programming different fixture positions and combining them into a dynamic movement sequence.
Continue exploring more DMX 240 controller tutorials for additional lighting programming techniques and practical setup tips.

Laisser un commentaire
Tous les commentaires sont modérés avant d'être publiés.
Ce site est protégé par hCaptcha, et la Politique de confidentialité et les Conditions de service de hCaptcha s’appliquent.