
If you're a mobile DJ bouncing between last-minute pop-up events and local club nights, you know the frustration: one gig requires a fast setup with no trussing or permanent mounting points, while the next has house lighting but leaves your DJ booth looking flat and disconnected from the rest of the room.
Building a portable DJ lighting setup that works for both situations isn't easy. Some rigs are too bulky to fit comfortably in a car, others lack the visual impact needed for club nights, and complicated cabling and programming can turn every venue change into another setup headache.
In this guide, we'll show you how to build a practical portable DJ lighting rig with the right fixtures, compact mounting options, and wireless DMX control. From a minimal pop-up setup to a more visual club booth arrangement, you'll find practical equipment combinations, setup tips, and reusable lighting presets designed around one goal: a lighting rig you can transport, set up, control, and pack away yourself.
1. What Makes a DJ Lighting Setup Truly Portable?
For a working mobile DJ, portability isn't just about buying smaller lights. It's about getting everything from your car to the DJ booth, setting it up without extra hands, and packing it away quickly when the gig is over.
A fixture might look compact on a product page, but once you add its stand, power cables, DMX connections, clamps, and carrying case, the full rig can become far heavier and more complicated than expected. Before choosing your equipment, evaluate these five core criteria.
Lightweight Fixtures for One-Person Transport
If you're driving between pop-up events and club nights, every case counts. Look for fixtures light enough for one person to carry and load into an SUV or standard car. Don't judge portability by fixture weight alone. Assess the complete package: fixture dimensions, protective bags or cases, mounting gear, cables, and the total number of transport containers.
Wireless DMX and Less Cable Clutter
Long DMX cables across temporary venues create trip hazards and limit where you can place lights. Wireless DMX can eliminate long signal cables between your controller and compatible wireless receivers, giving you more flexibility when positioning fixtures.
Important: Wireless DMX carries control signals, not electrical power. Fixtures still need a power source unless they are battery-powered. Also, wireless systems from different brands are not automatically compatible.
Quick Mounting Without a Full Truss
Most pop-up venues lack trussing, approved rigging points, or time for complex installations. Properly rated lighting stands with compatible crossbars are a practical alternative for mobile DJs.
They allow you to position moving heads and PAR lights around your DJ booth without installing a full overhead truss. Make sure the stands and crossbars can safely support the combined fixture load and are suitable for moving-head operation. Always use appropriate clamps and safety cables, and keep stands and cables clear of walkways.
Built-In Programs and Simple Lighting Control
As a solo operator, you cannot afford lengthy programming before your set starts. Prioritize fixtures with useful auto programs, sound-active modes, and straightforward local controls.
DMX control lets you save reusable scenes for consistent results across different gigs. The best workflow is to prepare your lighting looks at home and recall them on site, rather than programming every fixture during setup.
More Lighting Effects with Fewer Fixtures
A strong portable rig relies on fixture roles, not fixture count. Select a small set of multi-purpose units that each handle a distinct job.
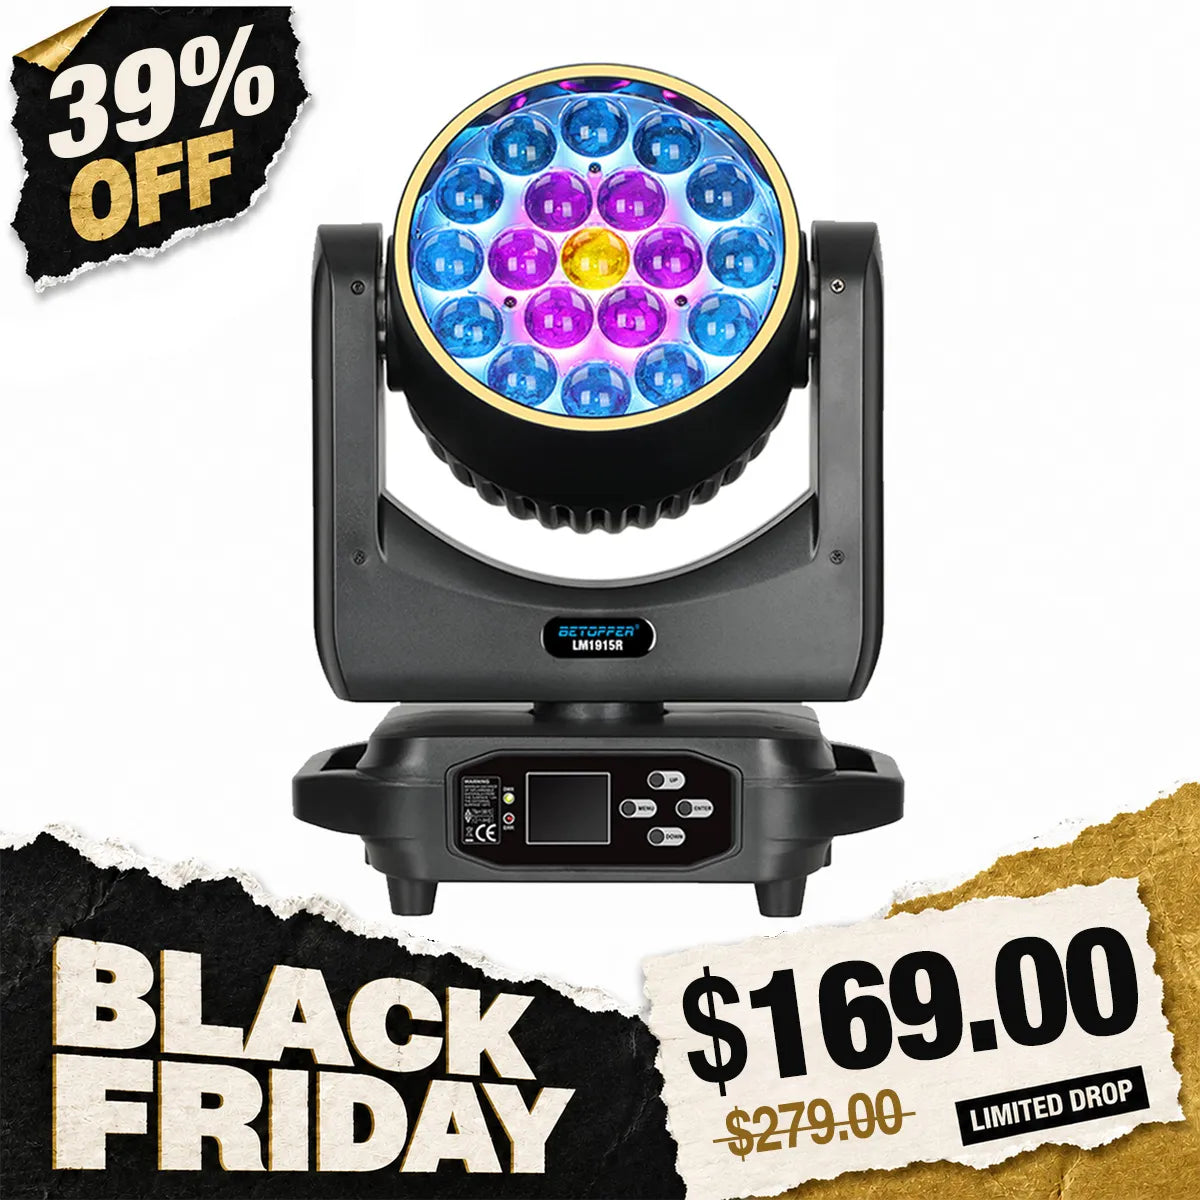
Suitable Hybrid moving heads can deliver Beam, Spot, and Wash functions. PAR lights add ambient color, effect lights create high-impact moments, and LED bars add visual accent lines around your DJ booth.
This layered approach gives you more visual variety without filling your vehicle with redundant equipment.
2. Essential Gear for a Portable DJ Lighting Setup
Once you know what makes a lighting rig portable, the next step is choosing fixtures that can cover different visual roles without taking up too much space. For mobile DJs, the goal is to build a compact setup where each light has a clear purpose, rather than carrying multiple fixtures that produce similar effects.
For pop-up events and club nights, start with three essentials: a moving head for dynamic effects, PAR lights for background coverage, and a simple control system. Effect lights and LED bars can be added when you have more space or want a more distinctive DJ booth.
Hybrid Moving Heads: Your Main Visual Attraction
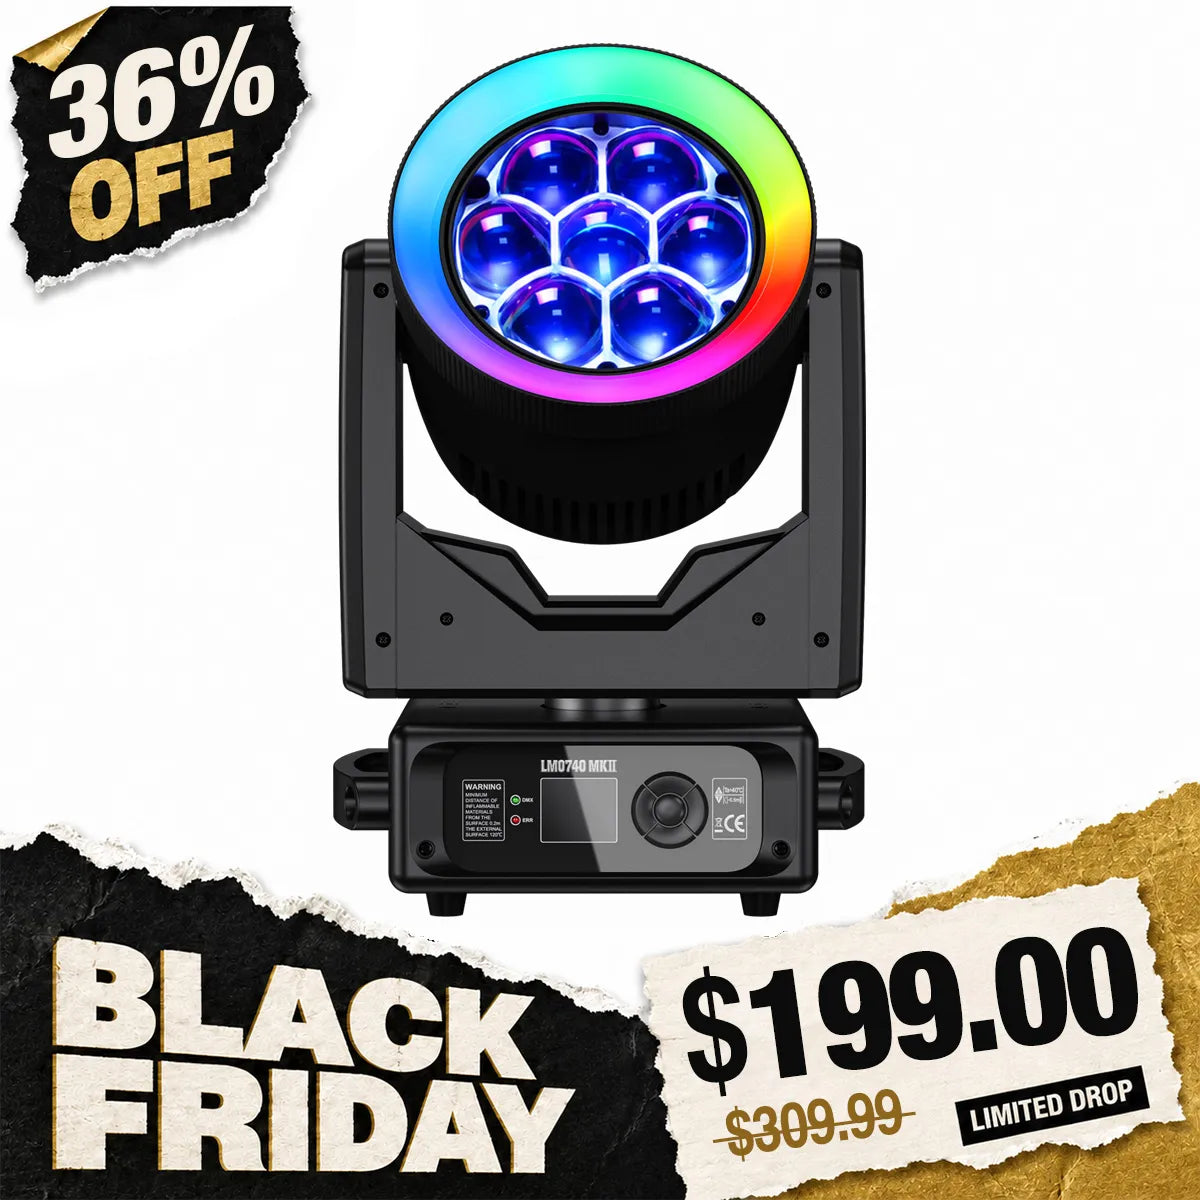
If you're only bringing one or two moving heads, versatility matters. A Hybrid moving head can combine Beam, Spot, and Wash functions, giving you several different looks without carrying separate fixtures for every effect.
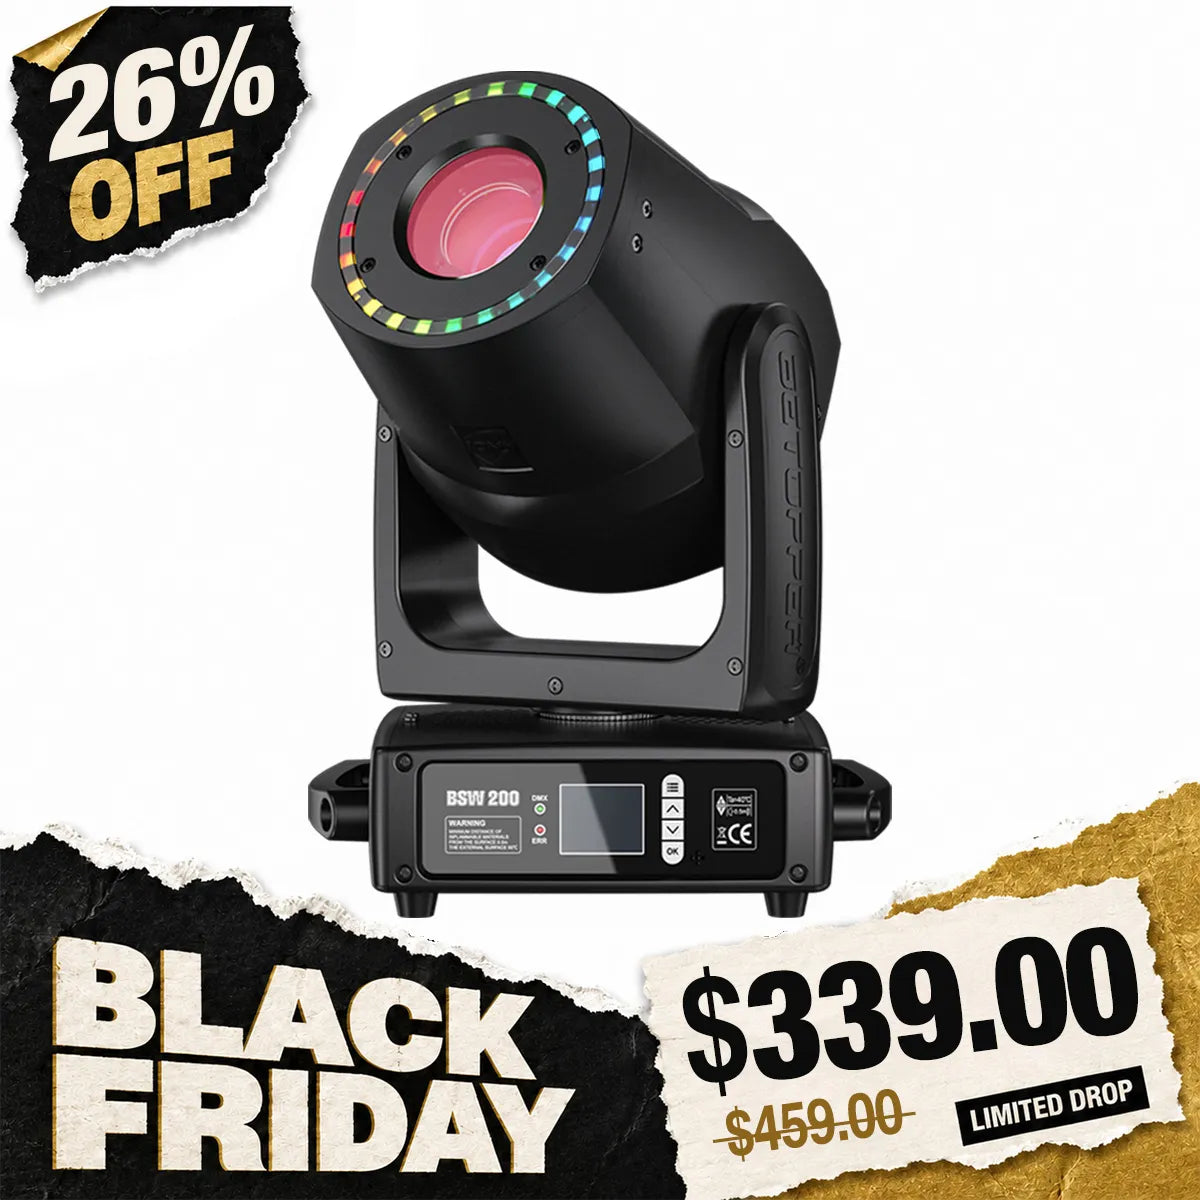
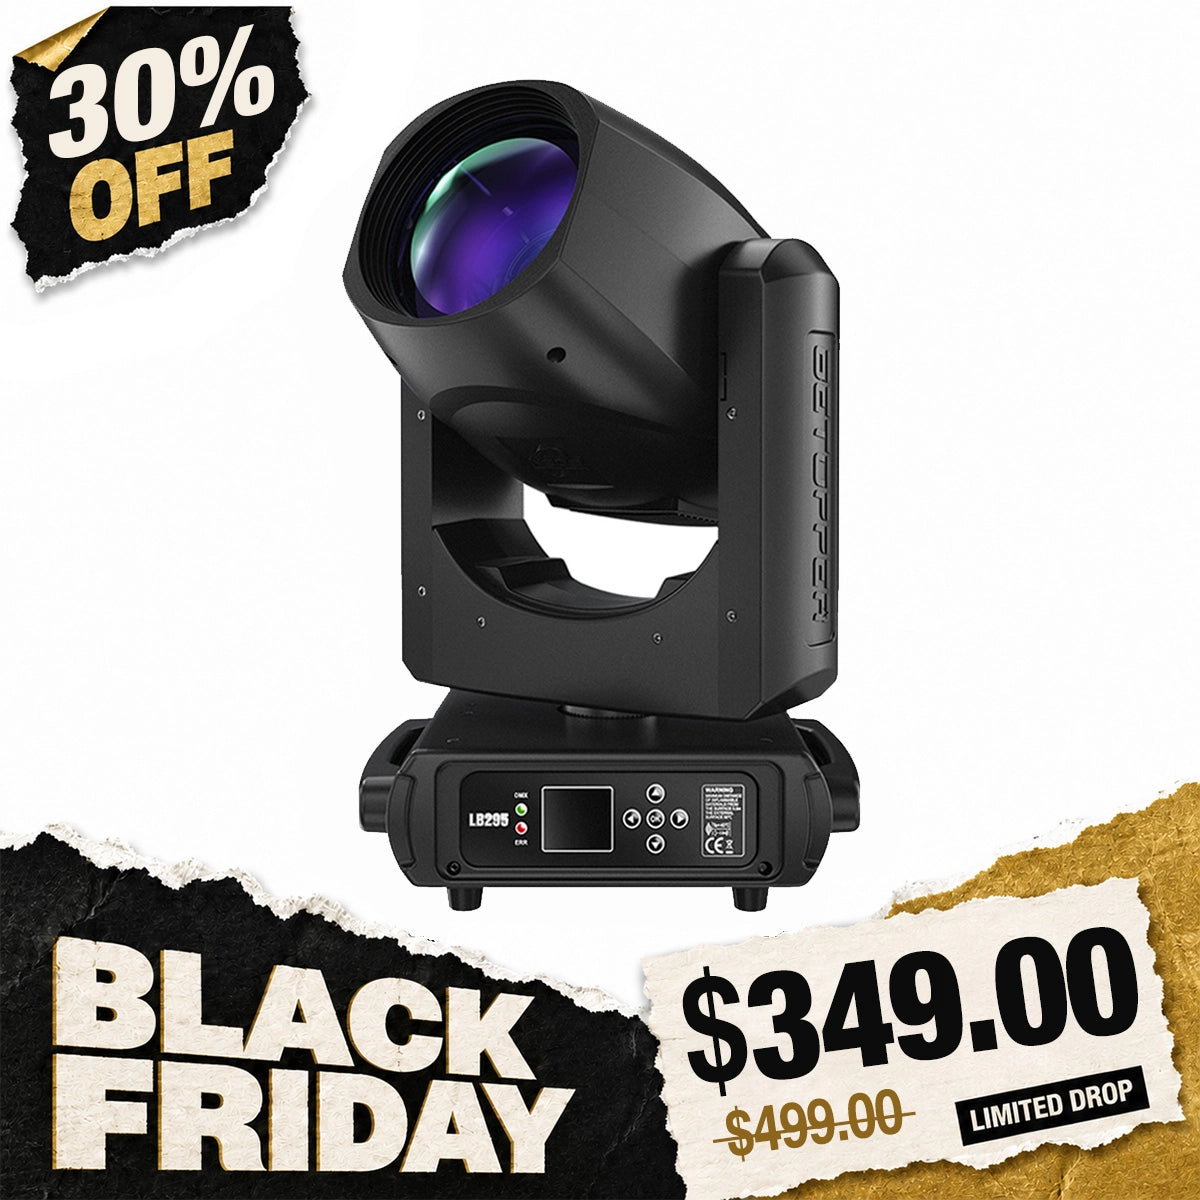
For a compact mobile setup, the Betopper BSW200 is worth considering. Its 200W Beam / Spot / Wash design provides multiple lighting functions in one fixture, making it a practical option when you want variety without building a large rig.
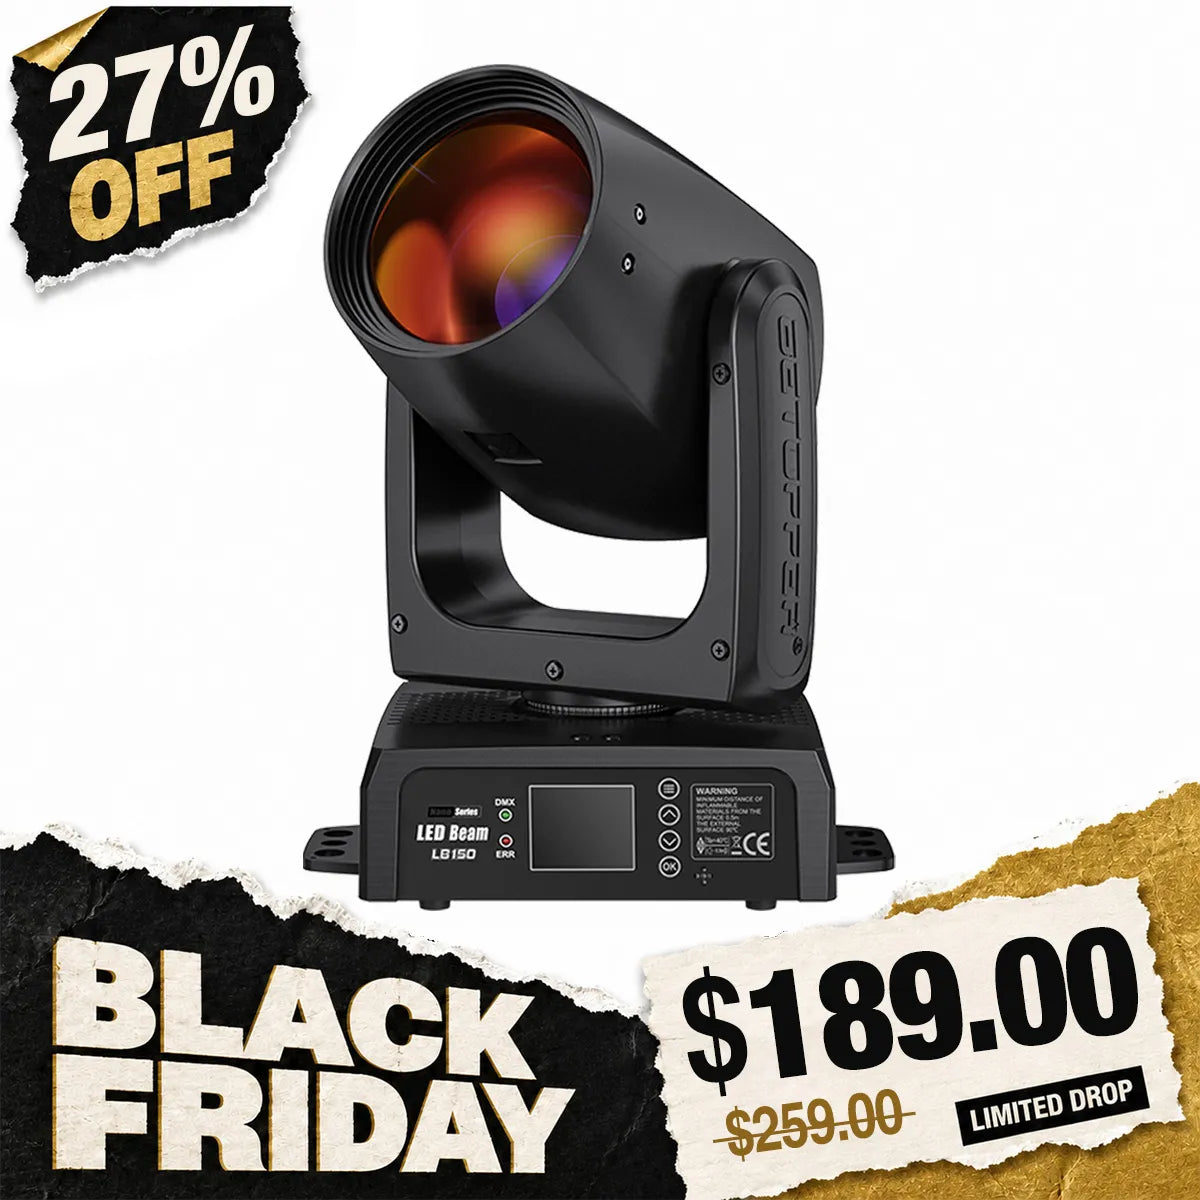
For club nights where you want more advanced lighting effects, the BSW500 offers CMY + CTO color mixing, motorized zoom, dual prisms, and fixed and rotating gobos. It is better suited to setups where lighting versatility and effect options take priority over keeping every fixture as compact as possible.
What to prioritize: Choose a Hybrid when you need multiple lighting effects from fewer fixtures. Check its actual dimensions, weight, and carrying requirements before deciding whether it fits your transport setup.

Portable PAR Lights: Add Color and Background Coverage
Moving heads create movement, but they don't necessarily provide the broad, even color coverage your DJ booth and surrounding space need.
PAR lights fill this gap. Position them around the booth, behind your setup, or facing a backdrop to create a consistent color layer without relying on moving effects throughout the night.
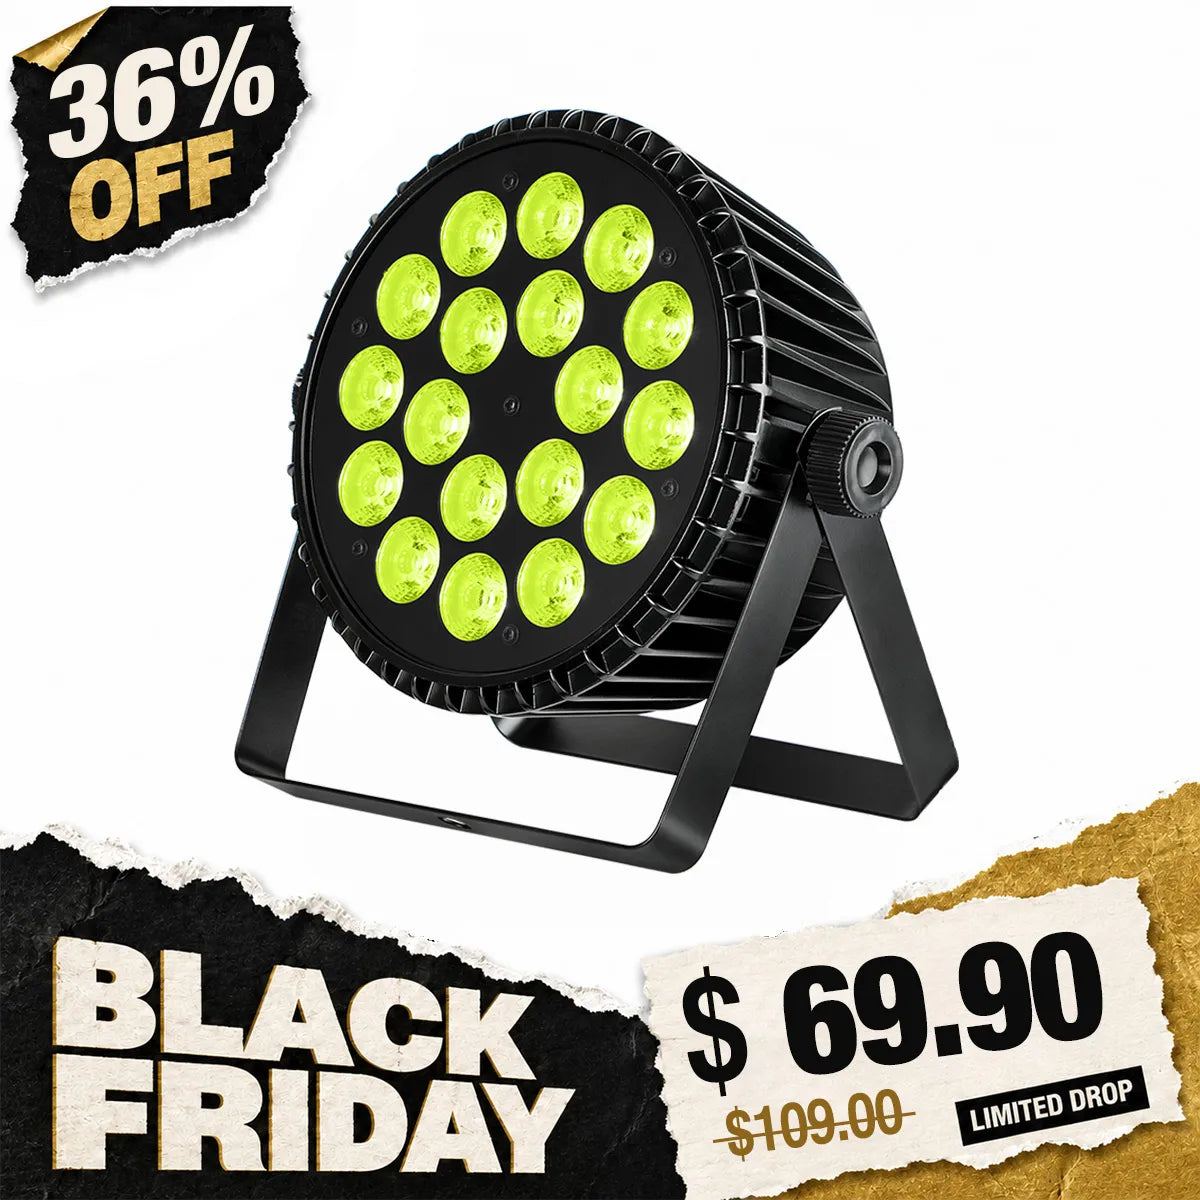
The Betopper LPC1818 is an option for mobile DJs who need RGBLAUV color mixing for stage washes and background lighting.
For outdoor pop-ups or venues where convenient power access is limited, the Betopper LPD001 offers another approach. Its battery-powered design and IP65 weather protection make it suitable for outdoor uplighting and locations where cable-free placement is useful.
What to prioritize: Use PARs to fill the background and add color. They serve a different purpose from dedicated Beam and Hybrid fixtures, so you don't need to choose one instead of the other.

Effect Lights: Add High-Impact Moments
Effect lights are optional, not essential for every mobile DJ. Their main role is to add visual impact during drops, transitions, and high-energy sections.
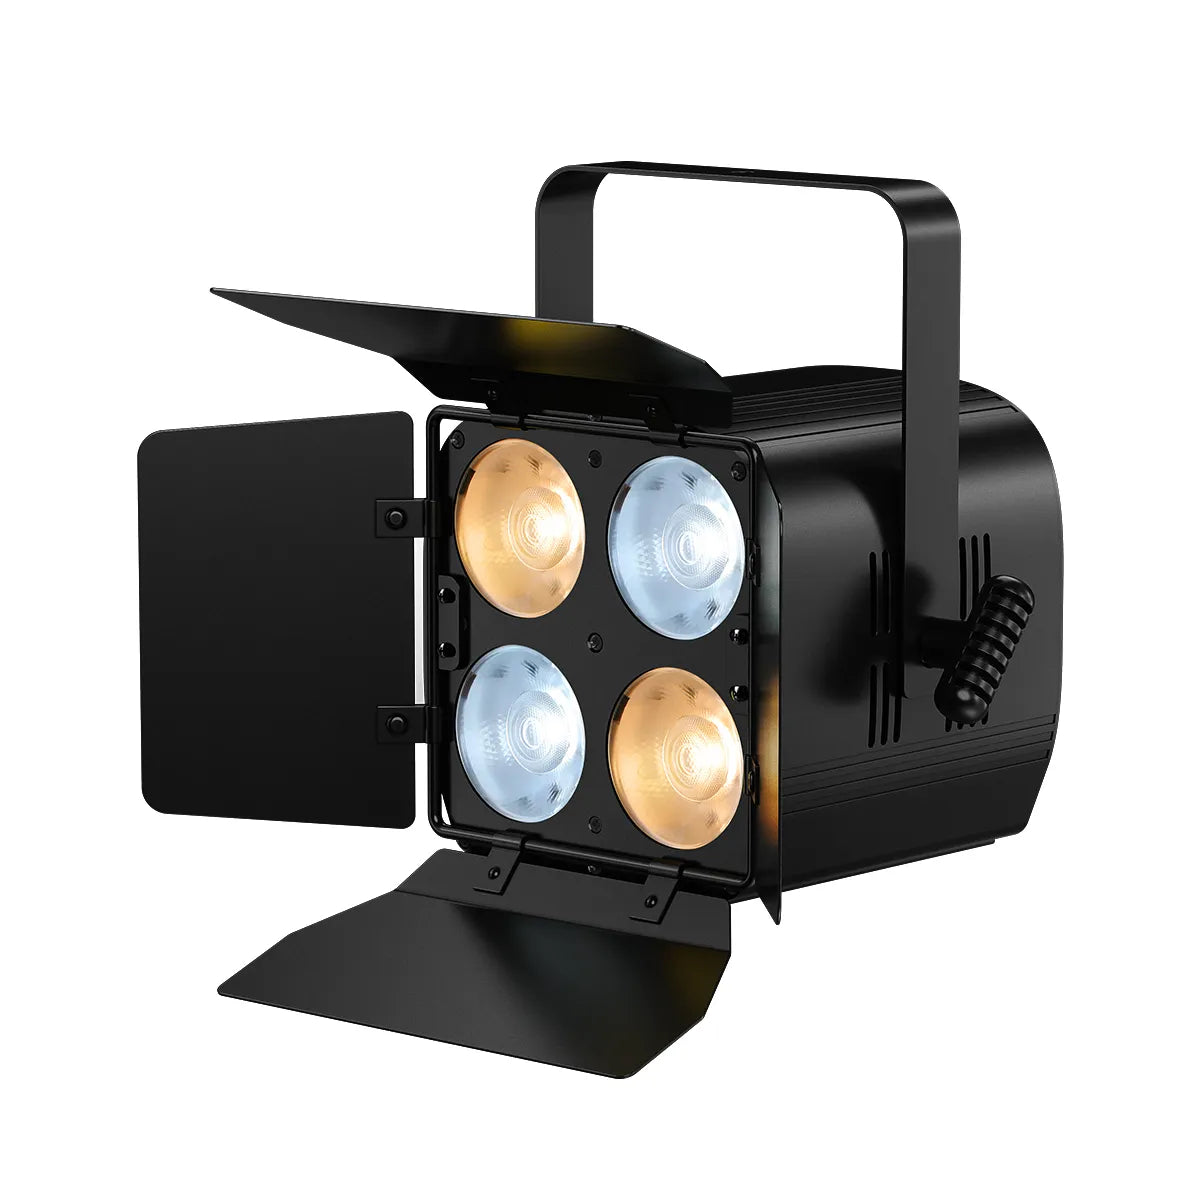
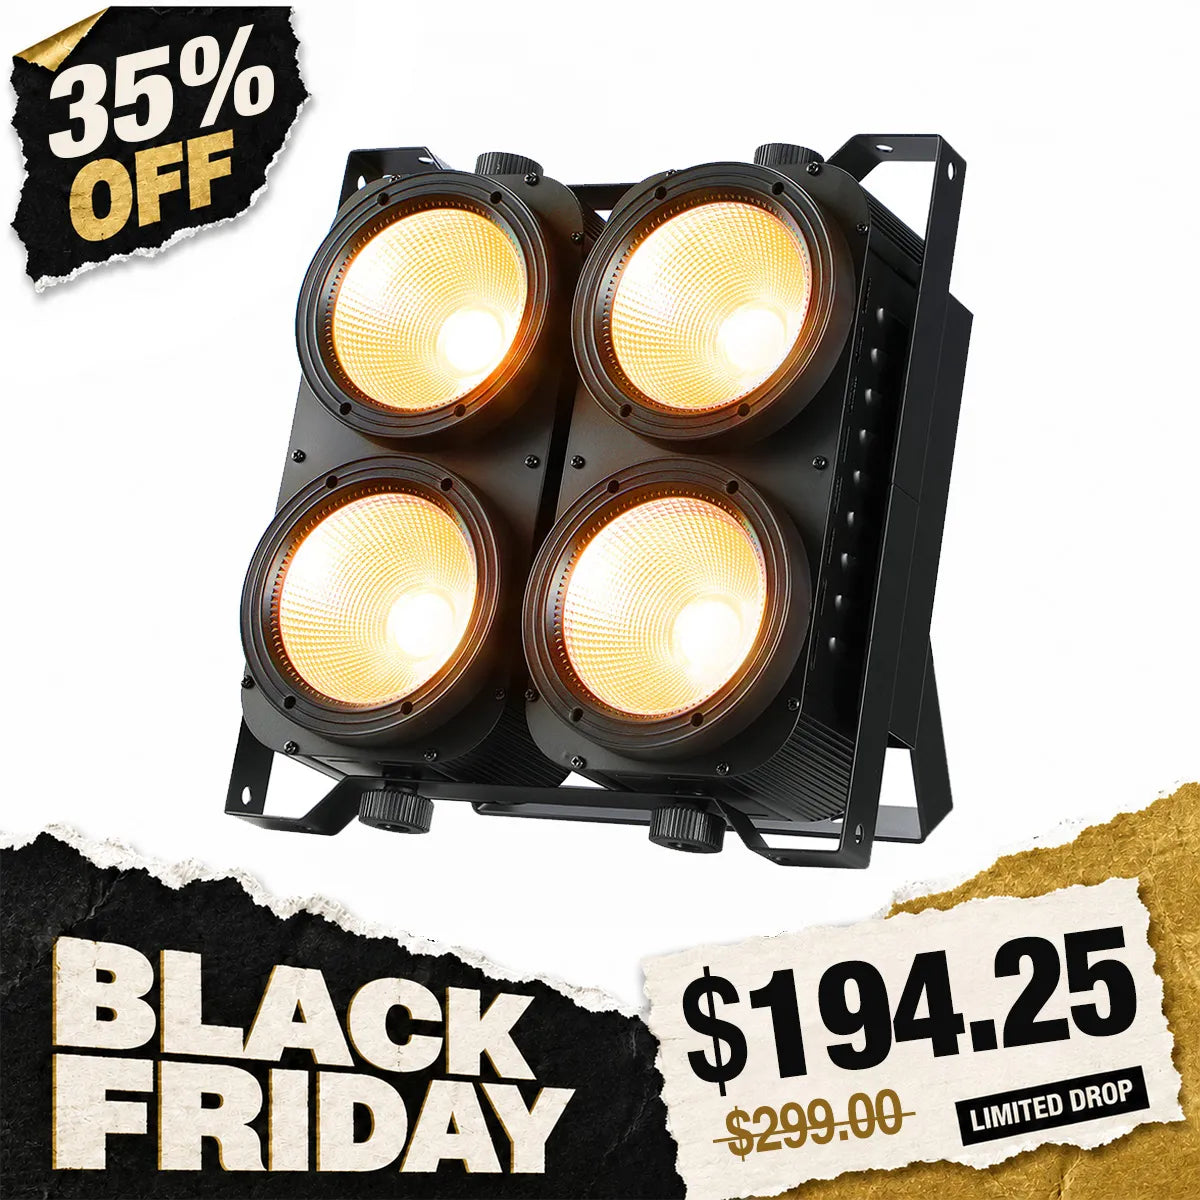
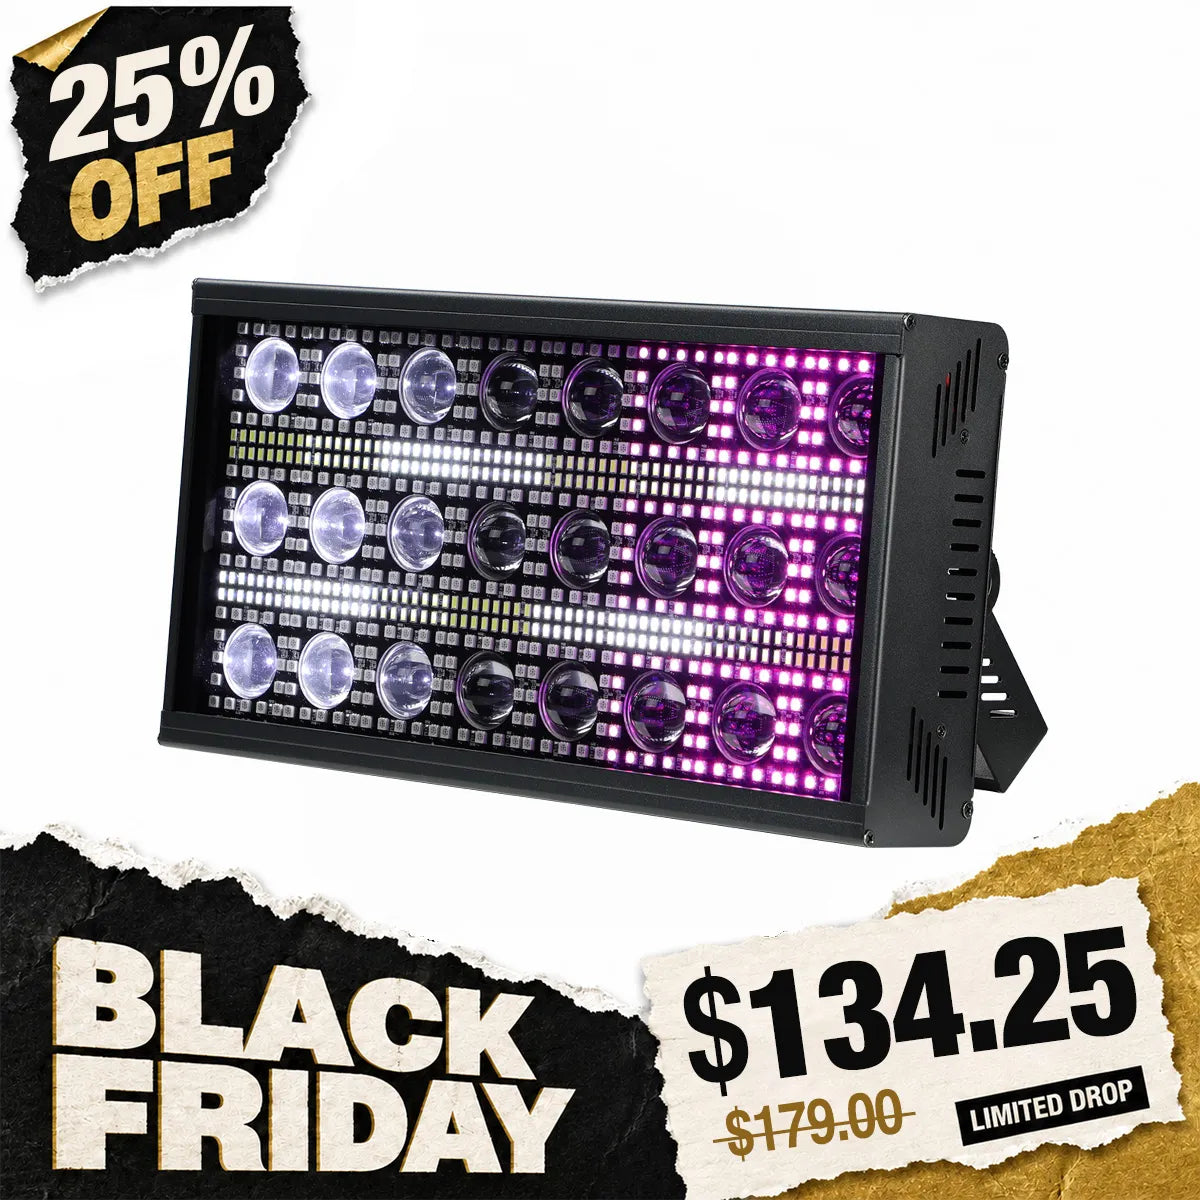
A fixture such as the Betopper LF350 can add matrix strobe effects and animated lighting patterns to a setup that already includes moving heads and PARs.
For a small pop-up rig, you may not need a separate effect fixture at all. Consider adding one when your existing setup feels visually flat or when your music style calls for stronger strobe and matrix effects.
What to prioritize: Choose an effect fixture that adds something your existing lights cannot already do. Avoid carrying multiple fixtures that produce essentially the same look.

LED Bar Lights: Make Your DJ Booth Stand Out
When you play in a club, the venue may already have moving heads and wash lighting covering the room. What it may lack is a distinctive visual layer around your DJ booth.
An LED Bar can help create that identity through linear lighting effects along the booth, behind your equipment, or across a backdrop.
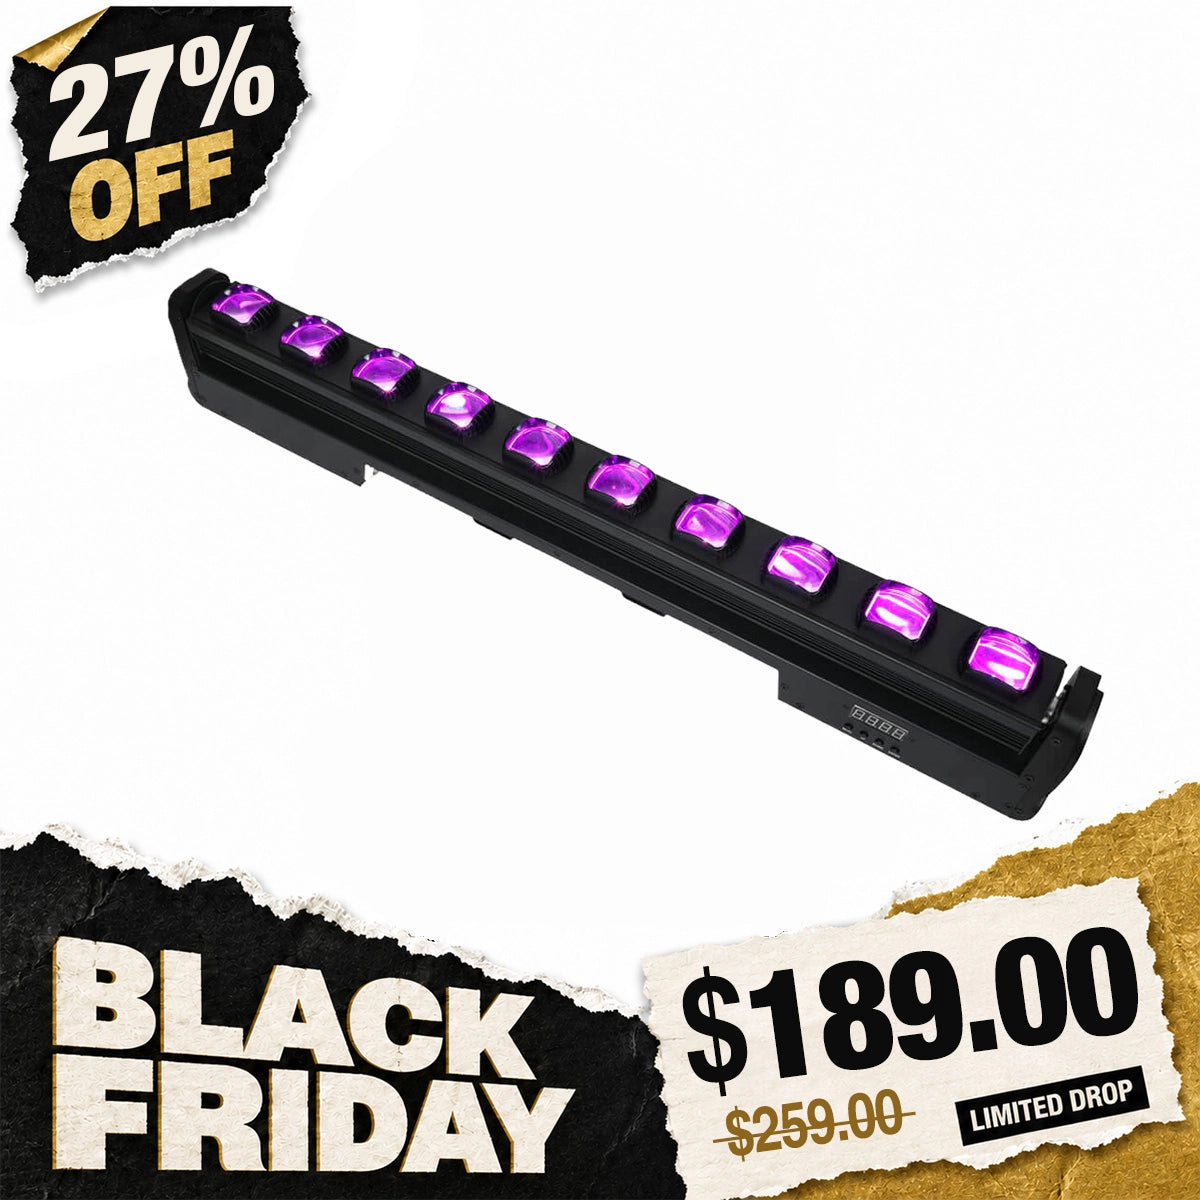
The Betopper L1015 is a moving Beam Bar with pixel-style effects, making it useful when you want more visual movement in a narrow space. The LW2418 offers another approach, with RGBWA+UV linear effects and zone-based control for more detailed lighting patterns.
What to prioritize: Consider a Bar Light when the DJ booth or backdrop needs its own visual identity. It is an optional addition for pop-ups but can make a noticeable difference in club-night setups.

Essential Accessories: Wireless DMX, Stands, Cables and Safety Equipment
Your lighting fixtures are only part of the setup. A portable rig also needs accessories that make installation predictable and help you handle different venue conditions.
| Equipment | Why You Need It |
|---|---|
| Wireless DMX transmitter and receivers | Reduce long signal runs where compatible |
| Rated lighting stands and crossbars | Position fixtures without a full truss |
| Compatible clamps and safety cables | Secure fixtures during operation |
| Power extension cables and distribution | Reach available outlets safely |
| DMX cables and adapters | Provide wired connections and backup options |
| Protective bags or flight cases | Protect fixtures during transport |
| Compact lighting controller | Recall scenes and coordinate multiple fixtures |
Practical tip: Keep your power distribution separate from your DMX accessories, and carry a few spare signal cables for situations where wireless connections are unsuitable. Organizing these items into dedicated bags also makes load-in and pack-down easier.
You don't need to purchase everything at once. Start with the fixtures and accessories required for your regular gigs, then add effect lights and extra visual layers as your work demands.
3. Two Portable DJ Lighting Setups for Different Venues
In the previous section, we looked at the essential fixtures and accessories for a portable DJ rig. Now let's put them together into two practical setups you can adapt to your next gig: one for temporary pop-up events and another for club nights where the DJ booth needs more visual impact.
Minimal Pop-Up Setup: Lighting for Events Under 100 Guests
Imagine arriving at a temporary venue with 30 minutes to set up, no lighting truss, limited floor space, and only the equipment you can carry from your car. This is where a minimal rig makes sense.
A practical starting setup:
- 1–2 compact Hybrid moving heads: Position them on suitable stands beside or behind the DJ booth to create movement and aerial effects. A versatile fixture such as the BSW200 can provide multiple looks without requiring separate Beam and Wash fixtures.
- 2–4 battery-powered or compact PAR lights: Place them near the booth or along the back wall to add color and fill areas that the moving heads don't cover.
- Optional effect light: Add one compact strobe or effect fixture if your music style calls for stronger visual moments.
The biggest consideration is often the ceiling height. In a low-ceiling room, raising moving heads too high can leave little room for their beams to move without hitting walls or the audience. Keep fixtures at a suitable height and use angled positioning to create visual movement without needing overhead trussing.
For power, check the available outlets before choosing where to place your equipment. Battery-powered PARs can help reduce cable runs in areas where outlets are inconvenient, while moving heads still need suitable power connections.
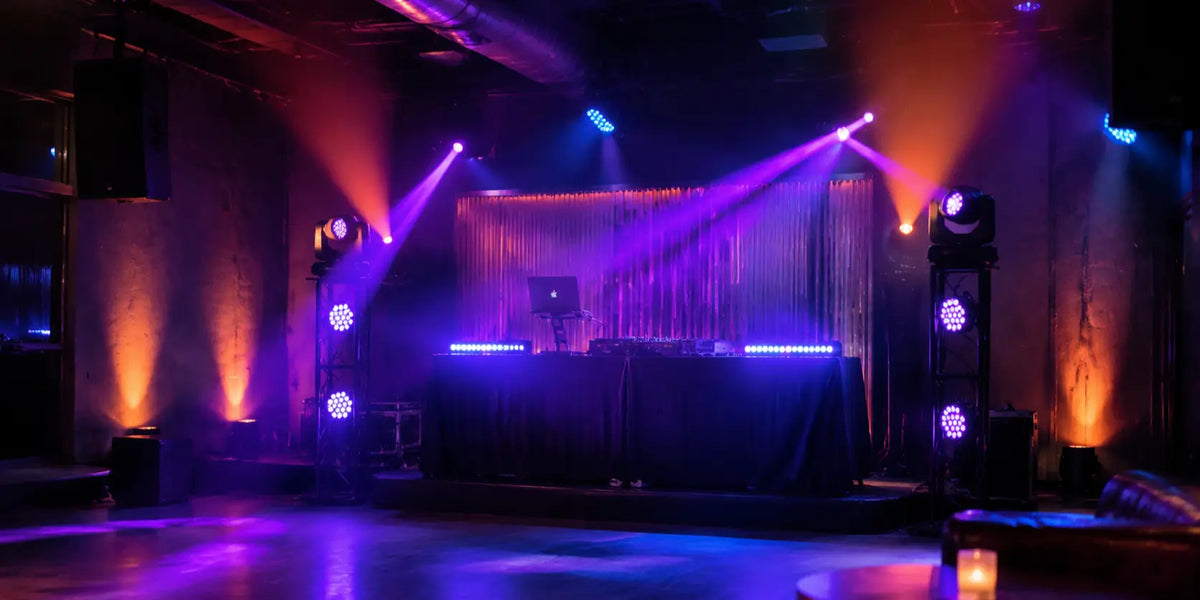
What should it look like? Think two moving beams crossing above the DJ booth, colored light filling the wall behind you, and a clean, uncluttered setup that transforms an otherwise ordinary temporary space into a party environment.
The goal is to carry everything in a manageable number of cases, complete the setup alone, and leave just as quickly when the event ends.
Advanced Club Night Setup: Create a Standout DJ Booth
A club night requires a different approach. The venue may already have moving heads, dance-floor lighting, and a house lighting controller. You don't need to duplicate that entire system. Your goal is to make your own DJ booth stand out and add visual effects that complement the existing lighting.
A practical starting setup:
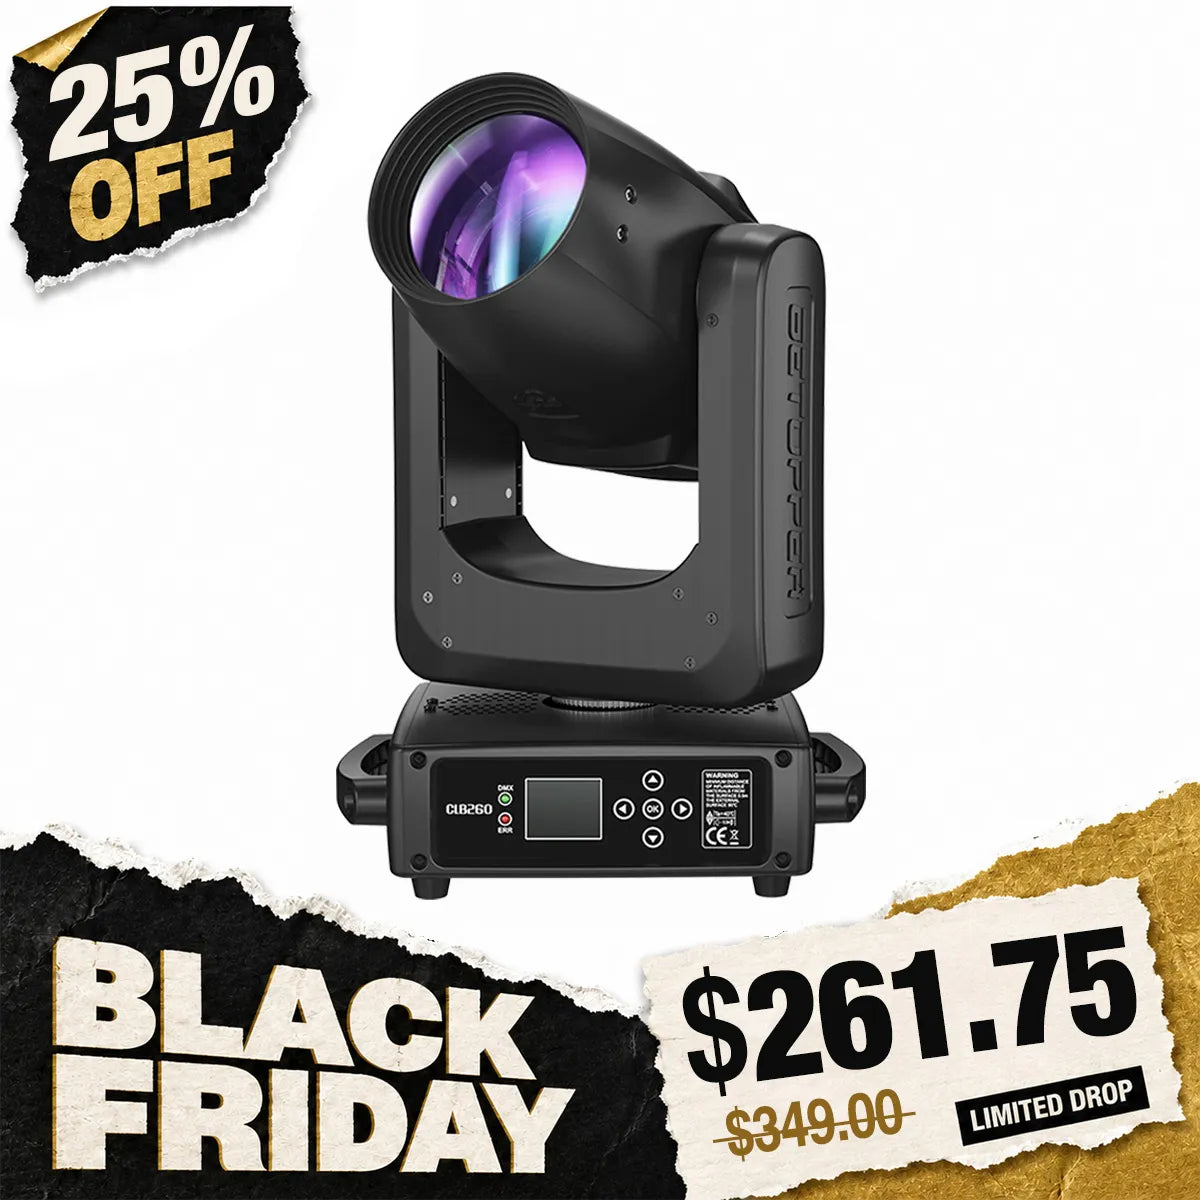
- 2–4 moving heads: Use them as the main visual layer around the DJ booth. The BSW500 is an option when you want Beam, Spot, and Wash functions from the same fixture. For a more dedicated Beam look, consider fixtures such as the LB300.
- 2–4 PAR lights: Add controlled color behind or around the booth, creating a consistent background rather than relying entirely on the club's house lighting.
- 1–2 LED Bar Lights: Position them along the booth or backdrop to create linear patterns and pixel effects. The L1015 or LW2418 can be considered depending on the visual style you want.
- Optional effect fixture: Add a strobe or matrix effect for drops and high-energy sections if the venue's existing effects don't already cover that role.
Before setting up, check the booth dimensions, available mounting points, and ceiling height. A low ceiling may limit overhead movement, while a narrow booth may leave little room for floor stands. In those situations, use approved mounting positions or compact stands outside the working area rather than crowding the DJ with equipment.
If the club has an existing DMX system, coordinate your setup with the house technician before connecting anything. Keep your fixtures in clearly defined control groups so you can adjust your booth lighting without interfering with the venue's main show.
What should it look like? Picture the DJ booth outlined by moving RGB accents, two symmetrical beams sweeping through haze during the drop, and a coordinated background wash that makes the DJ visually stand out even when the dance floor is already full of light.
The aim is not to take over the club's lighting system. It's to give your performance its own visual identity with a compact setup you can bring in and remove after the night.
Minimal Pop-Up vs. Advanced Club Night: Which Setup Fits Your Gigs?
| Consideration | Minimal Pop-Up | Advanced Club Night |
|---|---|---|
| Typical audience | Under 100 guests | Varies by venue capacity |
| Moving heads | 1–2 compact Hybrid fixtures | 2–4 Hybrid or dedicated Beam fixtures |
| PAR lights | 2–4 compact or battery-powered PARs | 2–4 PARs for booth and backdrop |
| Additional effects | Optional 1 effect light | 1–2 LED Bars; optional effect light |
| Mounting | Portable stands, no full truss | Approved existing mounts or compact stands |
| Cable management | Minimal power connections and wireless DMX where suitable | Coordinated DMX and power routing |
| Main visual goal | Simple aerial effects and background color | A distinctive DJ booth with layered movement and effects |
| Main constraint | One-person transport and fast installation | Existing house lighting, booth space, and ceiling height |
These configurations are starting points, not fixed shopping lists. If your pop-up venue has a low ceiling, reduce the number of moving heads and focus on background coverage. If your club already has strong wash lighting, you may need fewer PARs and more emphasis on the DJ booth.
The best portable setup is the one that fills the gaps in each venue without making your load-in, setup, or pack-down unnecessarily complicated.
4. How to Set Up Your DJ Lights in 5 Minutes
When you're working alone, spending 20–30 minutes programming lights at every venue is not practical. The solution is to configure your fixtures, DMX addresses, and lighting scenes at home before you leave. Once you arrive, you only need to position the gear, connect power and control signals, then recall your saved looks.
This workflow is built for a pre-programmed portable DJ rig. The five-minute target covers basic setup and quick function testing. It does not include unloading cases or installing overhead trussing.
Step 1: Position Your Fixtures and Stands
Start by placing lighting stands or approved mounting supports around the DJ booth.
For a pop-up setup, place moving heads on either side of the booth with enough clearance to pan and tilt without striking walls, ceilings, or guests. Position PAR lights behind or beside the booth to wash the background.
For club nights, arrange your lights in the available space around the booth. Make sure they do not block your working area or interfere with the venue's permanent equipment.
In low-ceiling venues, check the full pan and tilt range before positioning moving heads. Avoid placing fixtures too close to the ceiling or aiming beams into walls and audience areas.
Before raising any stand, verify its load rating, stability, fixture clearance, and safety attachments. Route all cables away from walkways to avoid trip hazards.
Step 2: Connect Power and Wireless DMX
Power up each fixture. If you rely on wireless DMX, pair the transmitter and receivers before your event and confirm every fixture receives the control signal correctly.
Wireless DMX can reduce long signal cable runs between your controller and compatible receivers. Keep spare DMX cables available for wired connections or backup when needed.
Quick Check: Confirm that every fixture powers on, receives the DMX signal, and responds correctly to your controller before moving forward.
Step 3: Select Fixtures and Load Your Presets
Use your controller or lighting software to select fixtures and recall your saved scenes.
Prepare fixture profiles, DMX addressing, and control groups at home. A simple grouping strategy is to create separate control groups for moving heads, PAR lights, and effect fixtures.
Grouping lets you adjust the overall mood without tweaking every fixture individually.
Step 4: Test Your Lights and Adjust the Effects
Run a quick test before doors open:
- Verify moving heads pan and tilt freely without hitting obstacles.
- Confirm PARs provide the intended background coverage without spilling too much light into unwanted areas.
- Check wireless DMX signal stability.
- Ensure dimmer, color, and movement controls respond as expected.
- Double-check all cable connections and potential trip hazards.
Start at moderate brightness, then adjust the output to suit the room. A small pop-up space does not need the same intensity as a large club.
Three Essential DMX Presets for Mobile DJs
You don't need to build a brand-new lighting show for every gig. Keep three reusable scenes ready. These are starting templates; adjust brightness, movement, and color to match the room, fixture output, and music style.
1. Warm Atmosphere
Best For: Guest arrival, background tracks, and opening sets.
- Brightness: Around 30–40%
- Colors: Warm amber, soft white, and deep purple
- Movement: Slow pan and tilt, or static positioning
- PARs: Gentle background wash
- Moving Heads: Subtle, slow movement with no aggressive strobing
The goal is to make your DJ booth visible without overwhelming the room while the crowd settles in.
2. EDM Drop
Best For: High-energy tracks, bass drops, and peak dance-floor moments.
- Brightness: Around 80–100%, adjusted to venue size and fixture output
- Colors: Saturated blue, purple, and red, with sharp white accents
- Movement: Faster pan and tilt with coordinated Beam sweeps
- PARs: Dynamic, saturated color shifts
- Effect Lights: Short, controlled strobe accents where appropriate
Lean into contrast and faster movement during the drop, then return to a calmer scene as the track transitions. Avoid running intense strobe effects continuously.
3. Cool-Down / Closing Look
Best For: Slow tracks, breakdowns, and the final moments of your set.
- Brightness: Around 20–35%
- Colors: Deep blue, violet, and soft white
- Movement: Slow movement or static positioning
- PARs: Steady, muted background color
- Effect Lights: Off
This creates a smooth visual wind-down instead of abruptly switching off the entire lighting rig.
Pro Tip: Save these three looks as separate scenes or presets on your compatible lighting controller. You can then recall them live while mixing instead of editing individual fixture parameters during your set.
Time invested in programming at home pays off on site. With a pre-built rig, venue work becomes positioning and testing, not last-minute DMX programming.
5. Packing and Transport: Keep Your DJ Lighting Rig Mobile
A portable lighting setup is only practical if you can transport it without spending half your day packing and unpacking. For mobile DJs who regularly move between pop-up venues and club nights, an organized load-in and load-out routine saves time and helps protect your equipment.
Protect Moving Heads and Fixtures During Transport
Moving heads contain motors and optical components that should be protected during transit. Use properly fitted flight cases or protective bags rather than placing loose fixtures directly in your car.
- Secure moving heads in padded cases to prevent impacts during transport.
- Protect lenses and external housings from scratches and knocks.
- Keep clamps and other metal accessories away from exposed fixture surfaces.
- Never place heavy equipment on top of unprotected lighting fixtures.
- Secure cases inside your vehicle so they cannot shift during sudden braking.
For smaller PARs and LED Bars, use appropriately sized protective bags or cases to keep multiple fixtures organized without wasting vehicle space.
Organize Cables and Accessories
Loose cables are one of the easiest ways to waste time at a venue. Keep your accessories organized so you can find what you need without opening every case.
A simple packing system works well:
- Power Bag: Extension cables, power leads, and approved power distribution accessories.
- DMX Bag: DMX cables, wireless transmitters, receivers, and adapters.
- Mounting Bag: Clamps, safety cables, and mounting accessories.
- Control Bag: Lighting controller, power supply, and other control equipment.
Label your bags and keep frequently used accessories together. This makes it easier to identify missing items before leaving for a gig.
Build a Repeatable Load-In / Load-Out Routine
Pack your equipment in the order you'll need it. Keep stands, mounting accessories, and essential cables easy to access instead of burying them beneath heavy flight cases.
After the show, follow the reverse order:
- Stop the lighting output and switch off fixtures safely.
- Disconnect power and DMX connections.
- Allow fixtures to cool when necessary.
- Remove fixtures and secure them in their protective cases.
- Coil and organize cables separately.
- Check the venue and your equipment area before loading the car.
Avoid rushing the pack-down process, especially with moving heads and fixtures that have recently been operating.
Mobile DJ Pre-Departure Checklist
Before leaving for your next gig, run through this quick checklist:
- All lighting fixtures and protective cases packed
- Stands, clamps, and safety cables included
- Power cables and extension leads packed
- DMX cables and wireless DMX equipment checked
- Lighting controller and power supply included
- DMX addresses and fixture profiles prepared
- Saved lighting scenes and presets tested
- Spare cables and essential adapters packed
- Equipment secured inside the vehicle
Pro Tip: Take a photo of your fully packed vehicle or equipment layout after each successful gig. Use it as a reference for the next load-in. A consistent packing routine makes it easier to spot missing equipment and reduces the chance of leaving essential accessories behind.
6. Common Problems at Pop-Up Events and Club Nights
Even with a pre-planned portable rig, venue surprises can slow you down. Below are some common issues mobile DJs run into and practical fixes you can apply quickly.
1. Limited Power Supply
Insufficient outlets or overloaded circuits are common at pop-ups. Check available outlets and circuit capacity before connecting your fixtures. Distribute the electrical load across separate, appropriately rated circuits where possible. Battery-powered PARs like the LPD001 are useful for areas without convenient mains power.
2. Wireless DMX Dropouts
Signal loss can happen because of competing wireless devices, physical obstructions, or incorrect transmitter and receiver settings. Check pairing, review available frequency or channel settings, and reposition receivers to improve signal reception. Always carry DMX cables for a wired backup when wireless becomes unstable.
3. Low Ceilings and No Mounting Points
Avoid overhead rigging when ceilings are low or there are no approved attachment points. Use stable, appropriately rated floor stands instead. Adjust fixture positioning and movement presets so beams have enough clearance from ceilings and walls and do not point directly into the audience's eyes.
4. Limited DJ Booth Space
A cramped booth leaves little room for large stands. Move fixtures to the sides or behind your workspace. Compact PARs and slim LED bars can deliver background color and linear effects without crowding your mixer and laptop.
5. Unexpected Venue Changes
You may arrive to find your planned setup area blocked, available power outlets different from what you expected, or haze unavailable. Keep a simplified backup layout and a basic preset scene ready. Focus on maintaining your core DJ booth lighting rather than trying to rebuild the entire rig.
Conclusion
A great portable DJ lighting setup isn't about carrying more equipment. It's about choosing the right fixtures, keeping setup simple, and creating the visual impact your gigs need. From small pop-up parties to club DJ booths, a well-planned rig helps you spend less time setting up and more time performing.
Ready to build your own portable DJ lighting setup? Browse moving heads, PAR lights, effect lights and LED bars for your next gig at https://betopperdj.com/.
This guide focuses on compact, supplemental lighting for mobile DJs and prosumers. It's designed for pop-up events and club booth setups, not full-scale concert or permanent venue lighting systems.

Lascia un commento
Nota che i commenti devono essere approvati prima di essere pubblicati.
Questo sito è protetto da hCaptcha e applica le Norme sulla privacy e i Termini di servizio di hCaptcha.