Apprenez à installer un éclairage DMX en 5 étapes simples. Du câblage à l'adressage, assurez une installation stable et professionnelle pour toute scène ou événement.
Installation d'éclairage DMX en 5 étapes : de zéro à prêt pour le spectacle
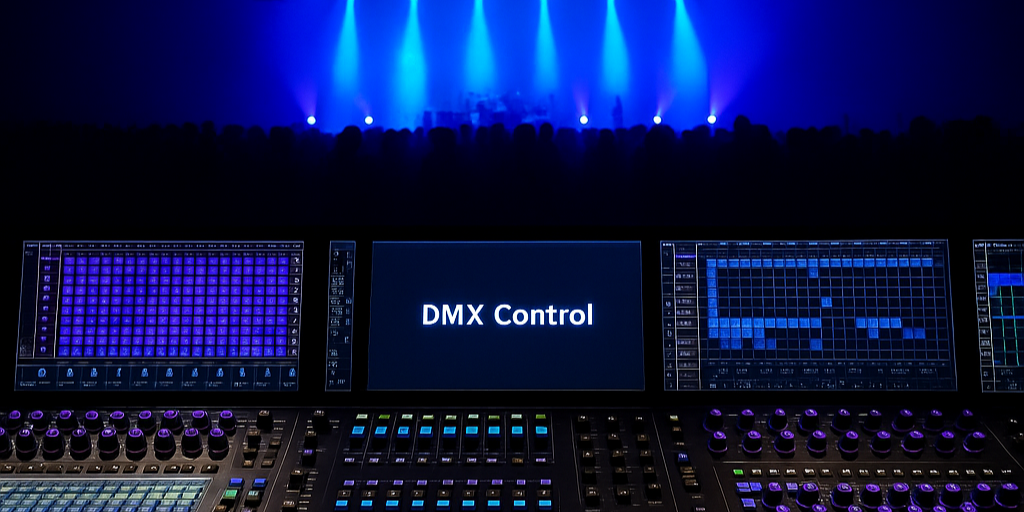
DMX512 est le langage universel pour le contrôle de l'éclairage scénique, utilisé dans les concerts, les discothèques, les théâtres et même les studios de streaming en direct. Il permet de contrôler plusieurs appareils avec précision, créant ainsi des effets synchronisés complexes.
Si vous débutez en DMX, le câblage, l'adressage, la terminaison et les tests peuvent vous sembler intimidants. Ce guide vous explique étape par étape comment installer un éclairage DMX, avec des exemples.

Étape 1 : Planifiez votre installation et rassemblez l'équipement
Une installation DMX réussie commence par une bonne planification. Avant de commencer, répondez :
- Objectif et échelle – Petit bar ou grande scène de concert ?
- Besoins de contrôle – Combien de canaux et de types d’appareils ?
- Extension future – Ajouterez-vous d’autres équipements ou univers plus tard ?
Liste de contrôle de l'équipement essentiel :
- Contrôleur DMX (console ou interface logicielle)
- Câbles DMX compatibles RS-485 (paire torsadée blindée recommandée)
- Terminateur DMX (résistance de 120 Ω)
- Amplificateur/répartiteur de signal (pour les grands systèmes)
Appareils prenant en charge DMX512 — e.g.:
-
Betopper LB150 – Projecteur à tête mobile à faisceau de 150 W – effet de faisceau compact mais puissant -
Betopper LM0740 – 7×40W RGBW Lyre Wash – lavage vibrant avec mélange de couleurs fluide -
Betopper LC500 – 4×100W High CRI COB Blinder – Blinder d'audience intense avec LED ambre + blanc froid
💡 Conseil de pro : pour un adressage et des diagnostics plus faciles, choisissez des appareils avec prise en charge RDM.
Étape 2 : Câblage et connexion physique (connexion en guirlande)
DMX utilise une connexion en guirlande :
Contrôleur DMX OUT → Appareil 1 DMX IN → Appareil 1 DMX OUT → Appareil 2 DMX IN → ...
Bonnes pratiques :
- Utilisez des câbles DMX, pas des câbles audio XLR (impédance différente).
- Maximum de 32 luminaires par chaîne et 300 mètres (1 000 pieds) de longueur totale.
- Évitez le câblage en étoile ou en T, sauf si vous utilisez un répartiteur DMX.
Exemple : Pour une installation de mariage, vous pouvez utiliser deux LB150 poutres suivies d'un LC500 oeillère dans une chaîne.
Étape 3 : Adressage et correctifs
Chaque appareil DMX possède une adresse de démarrage pour déterminer à quels canaux de contrôle il répond.
- Appareil monocanal : 1 adresse = 1 canal
- Appareil multicanal : les canaux sont consécutifs (RGBW = 4 canaux, commencer à 10 → utiliser 10–13)
Méthodes de définition d'adresse :
- Commutateurs DIP (paramètres binaires)
- Menu numérique (utilisé dans tous les
Betopper têtes mobiles) - Patch du contrôleur (mappage souple)
💡 Conseil de pro : attribuez les adresses dans le même ordre que le routage des câbles : dépannage plus facile.
Étape 4 : garantir l’intégrité du signal
Le DMX est un signal à grande vitesse. Sans terminaison appropriée, les réflexions peuvent provoquer un scintillement ou une perte de contrôle.
- Placez toujours un terminateur sur le dernier luminaire.
Utilisez des amplificateurs/répartiteurs si :
- Courir > 300 m
- Plus de 32 appareils
- Chemins de signaux ramifiés
Exemple : Avec 16 LB150 faisceaux sur une grande scène, divisés en deux lignes DMX pour plus de stabilité.
Étape 5 : tester, peaufiner et développer
Avant le spectacle :
- Utilisez le « flash » ou le « test de lampe » de la console pour vérifier chaque appareil.
- Vérifier la réponse d'adresse.
- Faites fonctionner pendant plus de 15 minutes pour vérifier la stabilité.
Conseils d'extension :
- Répartiteurs DMX pour différentes zones.
- DMX sans fil pour les zones difficiles d'accès.
- Plusieurs univers pour une meilleure efficacité de contrôle.
Exemple : Les DJ en tournée utilisent souvent LB150 poutres pour antennes, LC500 œillères pour les succès du public, et LM0740 lavages pour le remplissage de scène — chacun sur des univers séparés.
Réponses aux questions courantes sur DMX
Q1 : Puis-je utiliser des câbles XLR de microphone pour l'éclairage DMX ?
Non. Les câbles DMX ont une impédance de 120 Ω, tandis que les câbles de micro ont une impédance d'environ 75 Ω, ce qui peut entraîner des problèmes de signal.
Q2 : Combien d'appareils puis-je faire fonctionner sur une chaîne DMX ?
Jusqu'à 32 appareils et 300 m de câble. Au-delà, utilisez un répartiteur ou un amplificateur.
Q3 : Qu'est-ce qu'un terminateur DMX et pourquoi en ai-je besoin ?
Il s'agit d'une prise avec une résistance de 120 Ω pour le dernier appareil de la chaîne afin d'éviter la réflexion du signal.
Q4 : Puis-je mélanger différentes marques d'appareils dans une même configuration DMX ?
Oui, à condition qu'ils suivent tous le protocole DMX512.
Q5 : Faire
Oui, beaucoup
L'installation DMX n'est pas seulement un processus de « plug and play » : c'est un processus de planification, d'exécution et de vérification.
Vous souhaitez créer votre propre configuration DMX professionnelle ?
Découvrez une gamme de têtes mobiles, de blinders et de projecteurs wash chez https://betopperdj.com et trouvez l'équipement parfait pour votre prochain événement.
Suivez les 5 étapes :
Plan → Câble → Adresse → Signal sécurisé → Test et extension et tu auras un stable, évolutif et professionnel système de contrôle d'éclairage.

Laisser un commentaire
Tous les commentaires sont modérés avant d'être publiés.
Ce site est protégé par hCaptcha, et la Politique de confidentialité et les Conditions de service de hCaptcha s’appliquent.