


Introduction
Choosing colors for a band performance sounds easy—until the stage turns on.
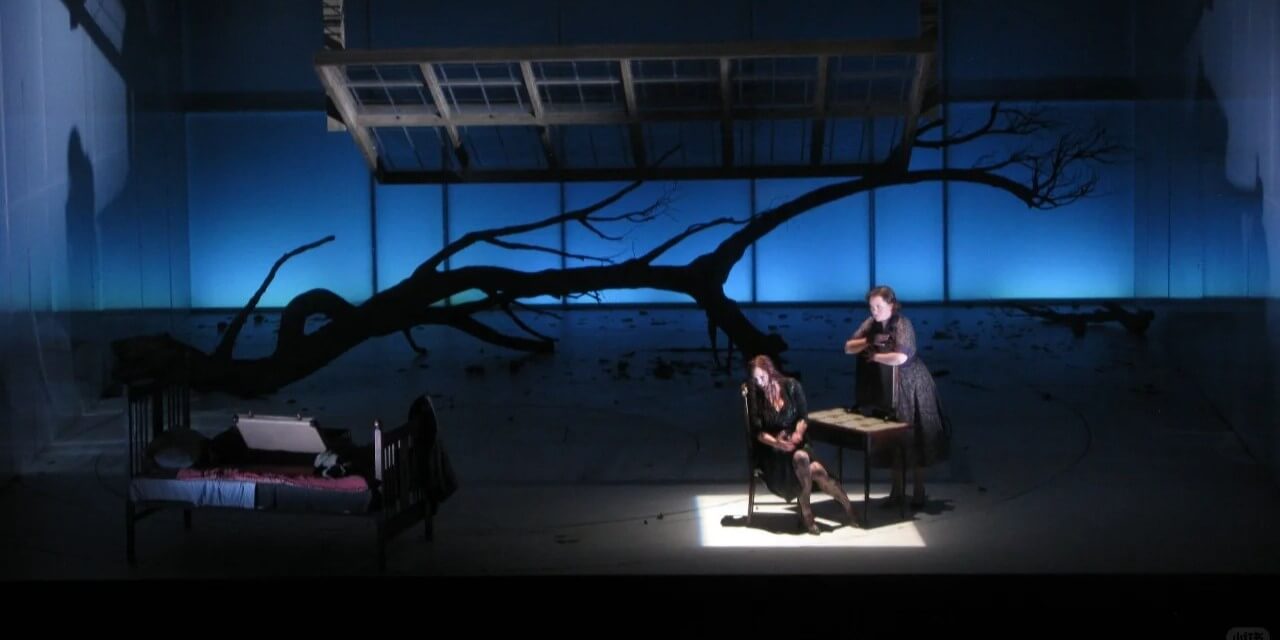
A look that felt bold in programming suddenly looks chaotic once the full rig is running. The vocalist disappears into the background. The drummer is washed in a completely different mood than the rest of the band. Red and blue fight each other, white light cuts through at the wrong time, and what should feel energetic ends up looking random.
This happens all the time in smaller live setups.
Not because the fixtures are bad. Not because the operator lacks options. But because band lighting is one of the easiest places for color to lose structure. You’re not lighting one person, one object, or one clean backdrop. You’re lighting multiple performers, multiple positions, reflective instruments, and constant movement—all at once.
That’s why choosing stage colors for a band isn’t just about picking what looks good on a color wheel. It’s about deciding what the audience should feel, what they should notice first, and how to keep the stage readable when everything is happening at the same time.
This guide breaks down how to choose band lighting colors that feel intentional, look clean on stage, and hold together through a full performance—without turning into visual clutter.

1. Why Band Lighting Gets Messy
Most band lighting doesn’t start messy. It becomes messy when the full system is running.
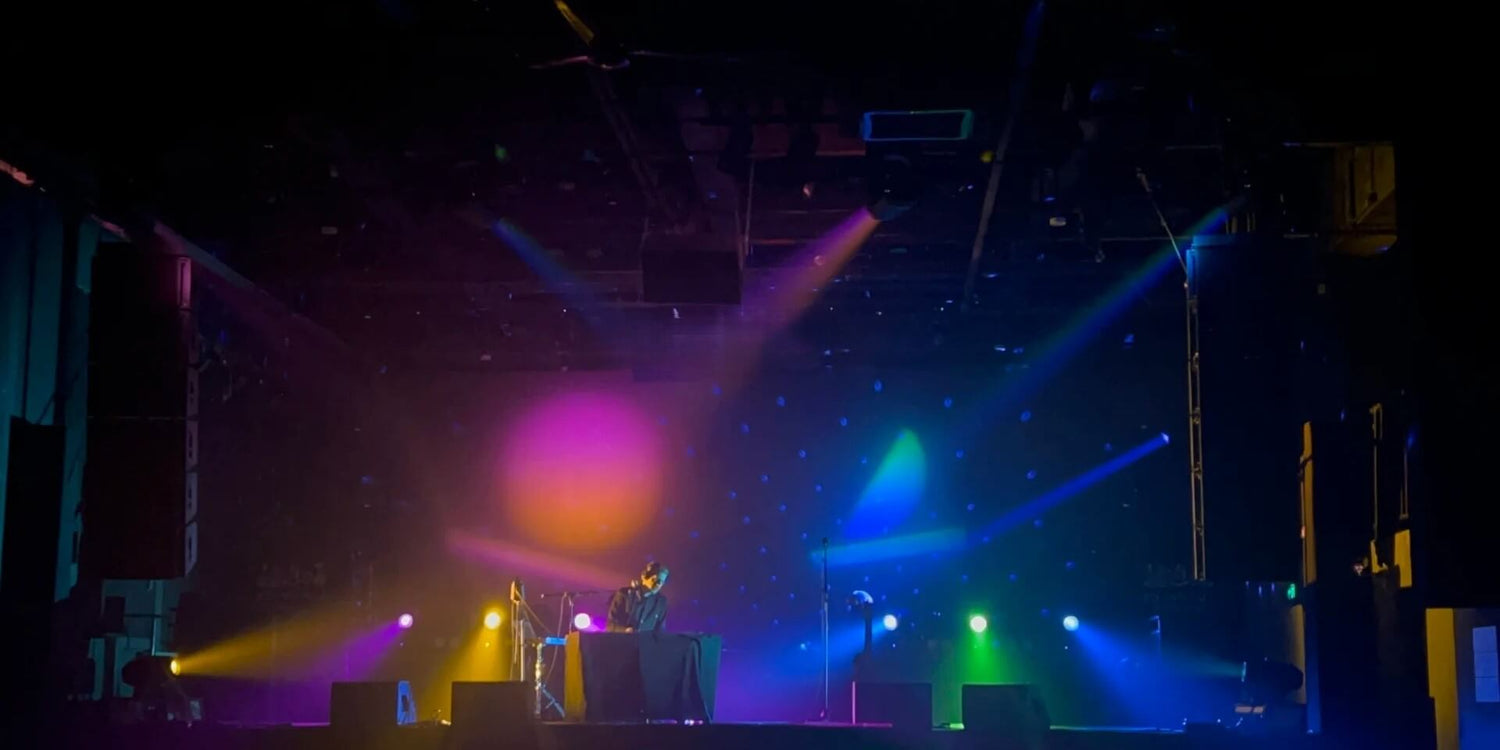
During setup, everything usually feels under control. A wash looks clean, beams feel defined, and colors seem balanced when you check them one by one. The problem appears once everything is on at the same time—front light, backlight, movement, haze—all working together. That’s when the stage starts to lose clarity. Nothing is obviously wrong, but the overall look stops feeling clean.
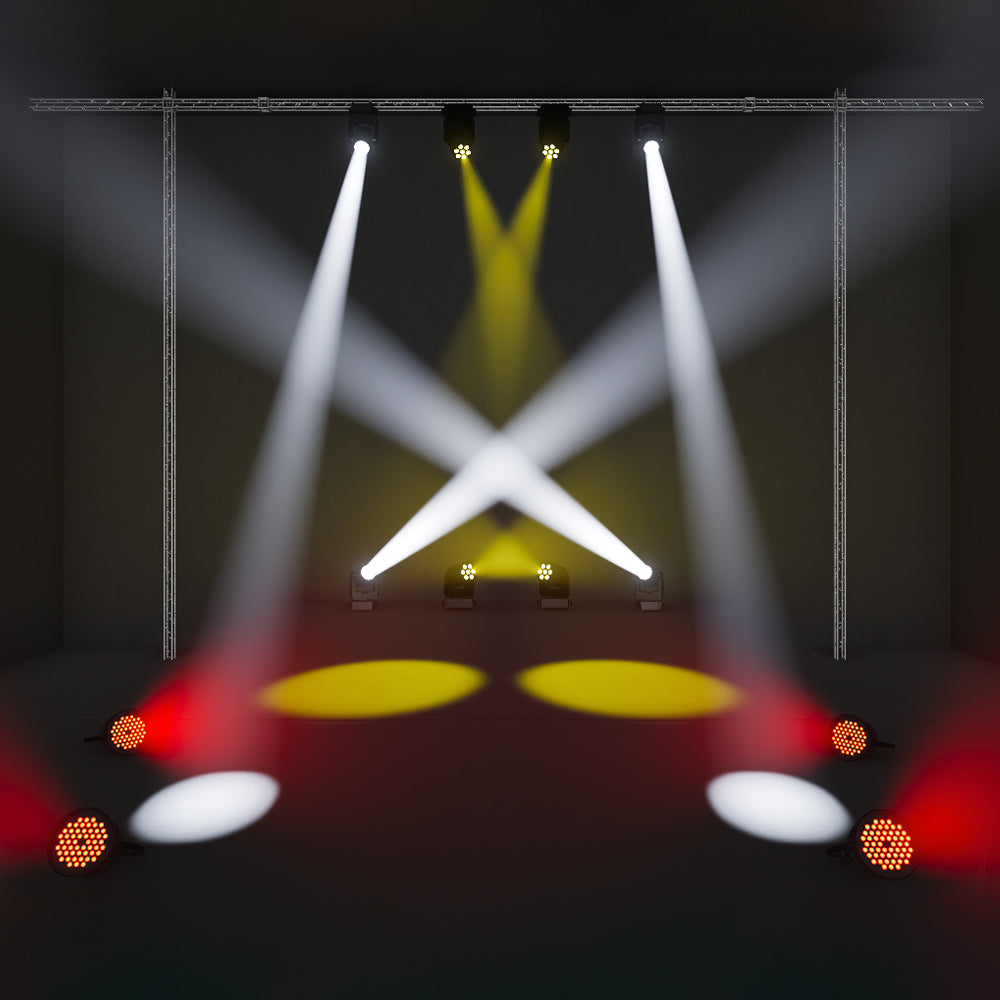
This happens because light doesn’t stay isolated. When multiple colors hit the same space from different angles, they begin to mix. A blue wash and a red backlight don’t remain separate once they overlap on a performer or reflect off a drum kit—they shift into something less defined. What looked controlled in isolation becomes harder to read in the full scene.
At the same time, strong colors at high intensity reduce contrast. As output increases, detail starts to flatten. Faces lose depth, instruments lose texture, and everything begins to sit on the same visual layer. The stage may feel brighter, but it doesn’t feel clearer.
Another issue is how different parts of the rig are used. In a well-structured setup, each layer has a role: front light defines the performer, backlight adds separation, and washes build the overall mood. When all of those layers carry strong color at once, those roles disappear. Instead of working together, everything merges into a single layer, and the stage starts to feel crowded.
On top of that, nothing in a band setup stays still. Lights move, intensities change, and cues shift throughout the performance. A combination that looks balanced in one moment can fall apart in the next simply because angles or overlap points change. Without a stable structure, the look doesn’t hold over time.
None of this comes from bad fixtures. It comes from how light behaves once it’s combined in a real space.
Understanding that changes how you approach the problem. It’s no longer about finding the “right” color, but about controlling how colors interact so the stage stays clean and easy to read.
2. Start with a Color Direction (Palette First)
Once you understand why colors start to break down on stage, the next step is to control the source of the problem.
Most messy looks don’t come from a single bad decision. They come from too many unrelated ones. Colors get assigned fixture by fixture—one for the wash, another for the moving heads, something different again for beams or accents. Each choice can look fine on its own, but once everything is running together, the stage loses any sense of connection.
The fastest way to fix that is to stop building the look one light at a time and instead define a direction for the entire stage.
In practice, this means working with a limited palette. Two colors are often enough, sometimes three, as long as they relate to each other. A combination like blue and purple creates a smooth, cohesive look, while blue and amber introduces contrast without becoming chaotic. The exact colors matter less than the relationship between them. What matters is that every fixture on stage draws from the same set.
Once that palette is defined, the rig becomes easier to control. Instead of asking what color each light should be, you’re deciding how it fits into the overall look. One color can carry the main wash or background, while the other adds contrast through movement or accents. Even when multiple lights overlap, the result stays consistent because everything is built from the same foundation.
Keeping the palette small also prevents the most common problem: visual noise. When too many unrelated colors are active at once, they compete rather than support each other. By limiting the range from the start, you remove that conflict before it happens.
This doesn’t reduce flexibility—it creates it. With a controlled palette, you can still change intensity, movement, and timing without breaking the look. The stage stays clean, even as the performance evolves.
3. Layer the Stage (Front / Back / Side)
Once your color direction is set, the next step is deciding where those colors live on stage.
Most messy looks don’t come from bad colors—they come from using the same color everywhere.
In a band setup, different parts of the rig serve different purposes, even if they’re using the same fixtures. Front light defines the performer, backlight creates separation, and side or overhead light adds depth and movement. When those layers aren’t treated differently, everything starts to blend together.
That’s when the stage loses structure.
The front layer should always be the most controlled.
This is where faces and detail come from, so color needs to be handled carefully. Strong saturation here tends to flatten features and reduce clarity. Keeping the front light neutral, or only lightly tinted, allows the performer to stay visible while the rest of the stage carries the color.
The back layer is where color can be pushed further.
Backlight doesn’t need to preserve detail in the same way, so it’s more forgiving. This is where stronger tones—deep blues, reds, or contrasting colors—can create separation between the performer and the background. It’s also where much of the visual energy comes from during a show.
Side and overhead lighting sit between the two.
They can support the main color or add movement, but they shouldn’t overpower either the front or the back. When used well, they help shape the stage without drawing attention away from the performer.
What matters is not just the colors themselves, but how they’re distributed.
If the same color is applied equally from every direction, the stage becomes flat. If each layer has a role, the same palette immediately feels more structured and easier to read.
This is why separating the stage into layers makes such a difference.
You’re no longer lighting everything the same way—you’re building depth.
4. Using White Light Without Killing the Mood
Once the stage is separated into layers, the next question is how to keep it clear without losing atmosphere.
That’s where white light comes in.
In a band setup, white light is what holds everything together. It’s the only part of the rig that reliably preserves detail—faces, expressions, and the shape of the performer. Without it, even a well-structured stage can start to feel soft or undefined, especially once color builds up across the other layers.
At the same time, it’s also the easiest way to flatten the look if it’s used without control.
The key is to treat white light as part of the front layer, not something that fills the entire stage.
On the front, it should stay consistent enough to keep the performer readable. This doesn’t mean it has to be bright or harsh, but it needs to be stable. Once that base is in place, the rest of the rig can carry color without affecting clarity.
In the back and side layers, white light should be used more selectively.
Those areas are already handling depth and atmosphere, so constant white tends to remove contrast instead of improving visibility. Bringing it in works best at specific moments—when you want to lift energy, mark a transition, or briefly reset the visual balance—rather than leaving it on as a default.
Color temperature is part of that control.
Cooler white tends to feel sharper and more defined, which works well in high-energy sections. Warmer white feels softer and more natural, often better for slower moments or smaller spaces. Choosing one direction and keeping it consistent helps the stage feel intentional instead of shifting.
When white light is used this way, it supports the structure you built in the previous step.
The front layer stays clear, the background keeps its depth, and color can move without breaking the look. Instead of competing with the palette, white light gives it a stable foundation.
5. Make Color Changes Follow the Music
A stage can look clean and controlled—right up until the moment the lights start changing.
That’s where most setups fall apart.
The issue usually isn’t the color itself. It’s that changes happen too often, or without a clear connection to the music.
Lights switch from blue to red, then to purple, then back again, sometimes within a few seconds. Everything feels active, but nothing feels intentional. Instead of building energy, the stage starts to feel random.
In a band performance, color changes need to follow structure, just like the music does.
Most songs already give you clear sections—intro, verse, chorus, drop. Each of those moments can carry a different look, but within that section, the stage should stay stable. Constant changes inside the same phrase usually don’t add impact—they remove it.
This is why fewer changes often look more professional.
Holding a color through a section allows the audience to settle into it. When the change finally comes, it feels stronger because it’s clear and timed, not continuous.
Brightness and movement can carry variation without breaking the look.
Instead of switching colors to create energy, increasing intensity, adding movement, or bringing in additional fixtures can lift the moment while keeping the visual consistent.
When a full color change does happen, it should feel like a reset.
A clear transition point, not a constant drift.
Once changes are tied to the music, the entire rig starts to feel more controlled.
The same colors, used at the right time, will always look better than more colors used randomly.
6. Quick On-Site Checks That Fix the Stage Fast
Once your colors follow the music, the overall look becomes more stable. But in real shows, things still go wrong.
The challenge isn’t building the look—it’s knowing where to look when something feels off.
Most problems don’t need a full reset. They just need the right adjustment.
The fastest way to find it is to stop looking at the rig, and start looking at what the audience sees.
The first place to check is the face.
If the performer doesn’t look right, nothing else will either. Skin tone should feel natural and readable. If it looks too red, too blue, or flat, the issue is usually in the front light. Pulling back saturation or simplifying that layer often fixes the problem immediately.
Next, look at how the stage separates.
The performer should sit clearly in front of the background. If everything feels like one flat surface, it usually means the colors or intensity are too similar across the rig. Adjusting the background color or reducing overlap can restore that depth very quickly.
Then check for color conflicts.
When two or more strong colors hit the same area, they rarely stay clean. What you see is usually a mix that wasn’t intended. If something looks “dirty,” it’s often because too many sources are contributing at once. Turning one layer down is usually more effective than adding another.
Finally, check how it looks on camera.
Phones don’t see the stage the same way your eyes do. Colors can shift, contrast can drop, and faces can disappear more easily. A quick look through a camera often reveals issues that aren’t obvious in person, especially in mixed lighting.
These checks don’t take long, but they solve most problems.
Instead of guessing, you’re adjusting based on what actually matters: clarity, separation, and focus.
7. Build a Simple System You Can Repeat
A clean stage isn’t something you rebuild from scratch every show.
It’s something you repeat.
Most inconsistent looks don’t come from lack of knowledge. They come from changing too many things at once—different colors, different setups, different approaches depending on the room or mood.
The result is that nothing becomes reliable.
What works better is to keep a base system that stays the same.
The same core palette. The same front light behavior. The same approach to when colors change. Once those decisions are fixed, each show becomes easier to control because you’re not starting over.
This doesn’t limit creativity.
It creates consistency.
Instead of trying something new every time, you’re working from a stable foundation. You can still adapt to the room, adjust intensity, or change timing, but the structure behind it stays familiar.
That’s what makes the difference in real shows.
Over time, this becomes automatic.
You stop thinking about individual lights and start recognizing patterns. If something feels off, you already know where to adjust because the rest of the system hasn’t changed.
Final Thought
Clean stage lighting isn’t about more colors or more movement.
It’s about control.
When everything has a role and changes happen at the right time, the stage stays clear—and the audience always knows where to look.
If you’re looking to simplify your setup with lighting designed for real-world band and DJ use:

Leave a comment
This site is protected by hCaptcha and the hCaptcha Privacy Policy and Terms of Service apply.