


Learn how to design reliable lighting transitions and control behavior for school and community theaters—even without a lighting console. Discover how master/slave logic and preset scenes deliver consistency with minimal gear.
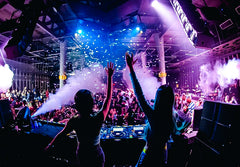
Why Transitions Matter More Than Effects
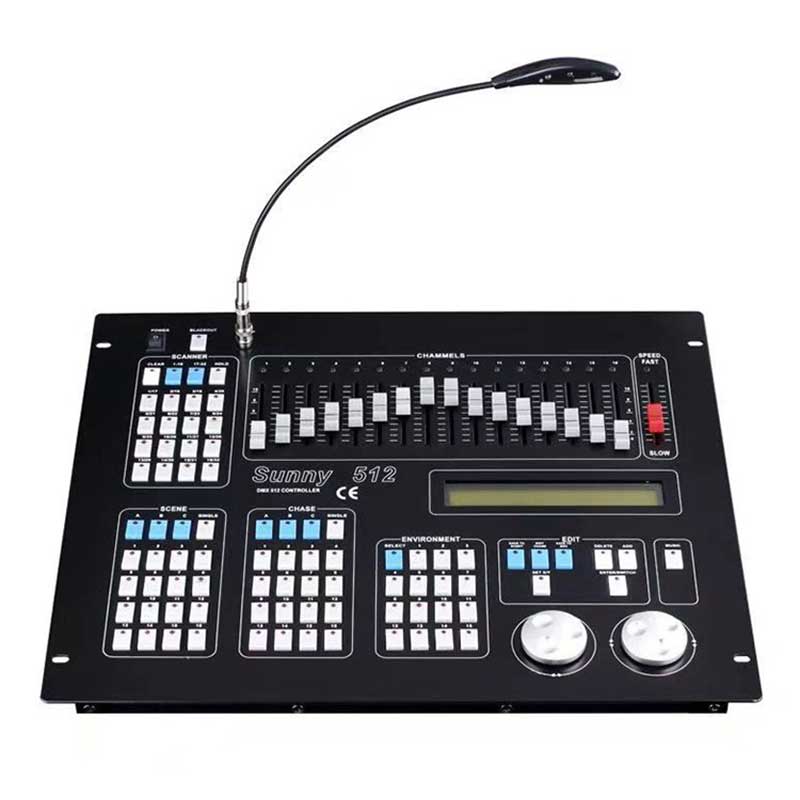
Theater is built on timing. A lighting transition that hits a beat too late—or jumps too hard—pulls the audience out of the story. But in many schools or community spaces, there’s no dedicated console, no trained board op, and no time for live programming. Still, you can build a system that delivers smooth, structured scenes using just a few strategic tools:
- Grouped behavior
- Preset recall
- Fade timing
- Role-based fixture logic
Done right, your lights behave as an ensemble—responding predictably, without manual interference.
Master Behavior, Not Just Buttons
The secret to a reliable system isn’t in the gear—it’s in the system logic. Most lighting failures—flashing out of sync, awkward transitions, dropped cues—happen not due to a lack of fixtures, but because of poor role alignment and behavior control.
Use Master/Slave Sync for Zone Consistency.
Instead of programming each fixture, let one “lead” while others follow:
- One key light controls all front washes
- One uplight sets the tone for all background fills
- One effect light defines rhythm, if needed
This keeps timing and fade behavior consistent—especially useful during scene changes or musical interludes.

Create Presets You Can Recall Instantly
Most Betopper fixtures—and many modern stage lights—offer scene memory, even without DMX. You can store 4–8 looks like:
- “Warm Wash” for spoken dialogue
- “Cool Backlight” for dramatic tension
- “Blackout” for transitions or pauses
- “Fade Up” for curtain call
These can be triggered via onboard buttons or simple remotes, removing the need for on-the-fly adjustments.
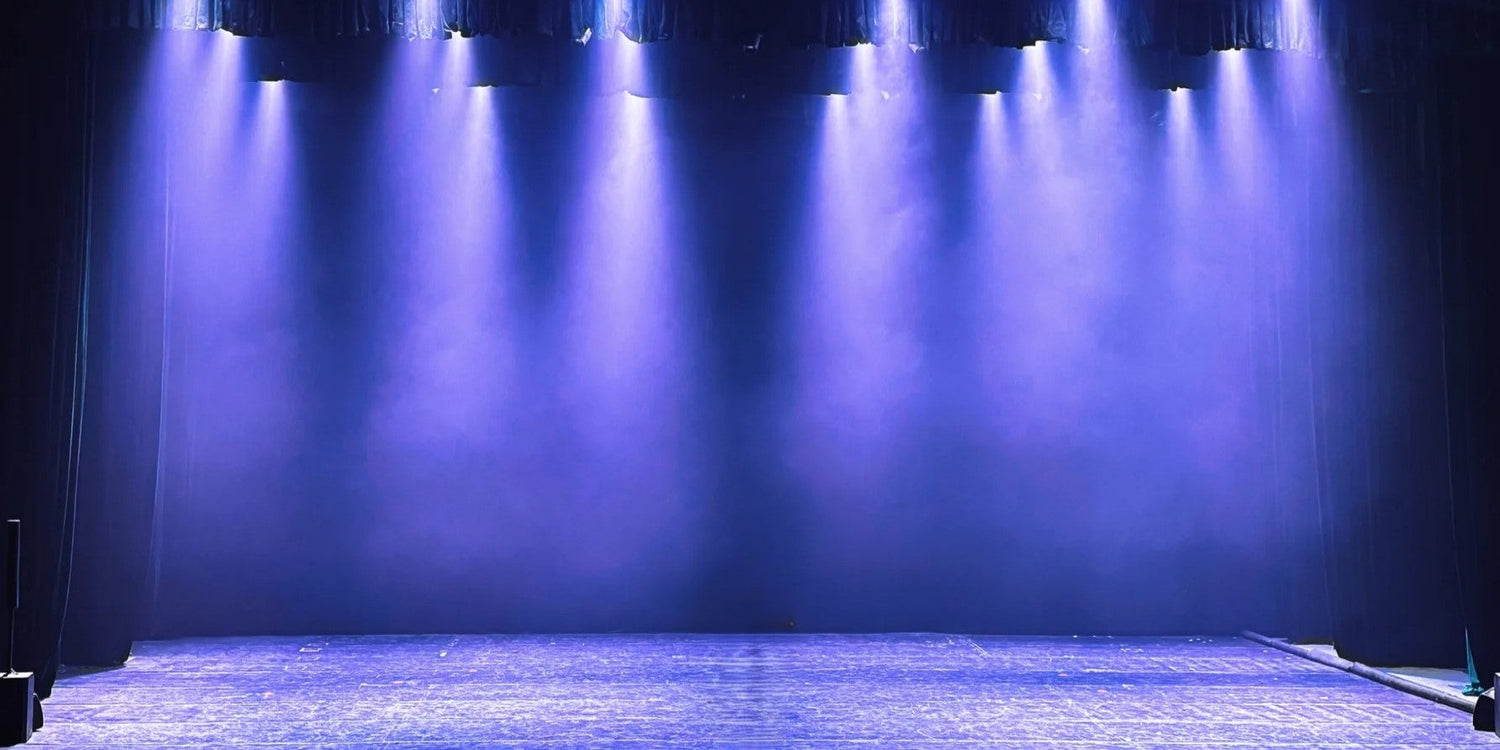
Program Transitions Into the Fixture
Even without a lighting console, transitions don’t have to feel abrupt.
Tips for smooth behavior:
- Use fade-in/fade-out timings instead of snap-on/snap-off
- Stagger fades across groups to simulate flow
- Avoid sound-activated modes—they rarely suit spoken scenes
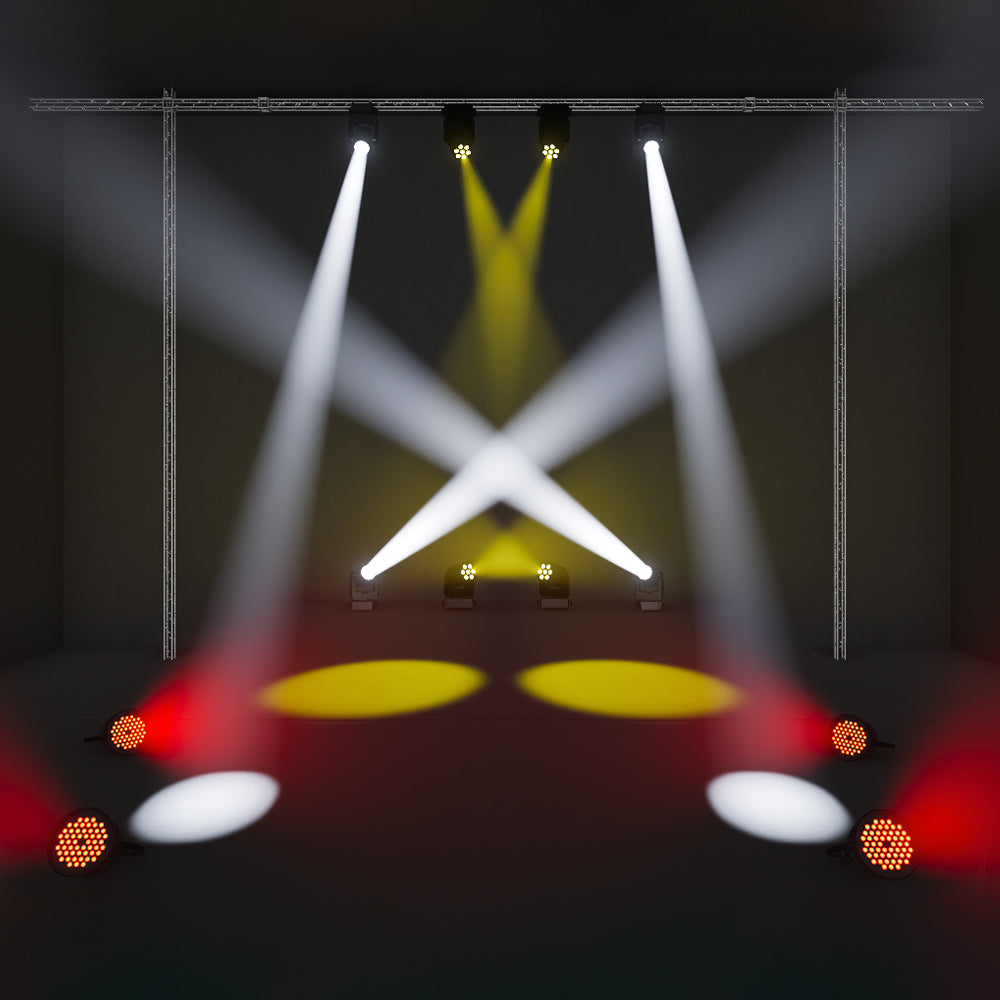
Good transitions are invisible. You feel them more than see them.
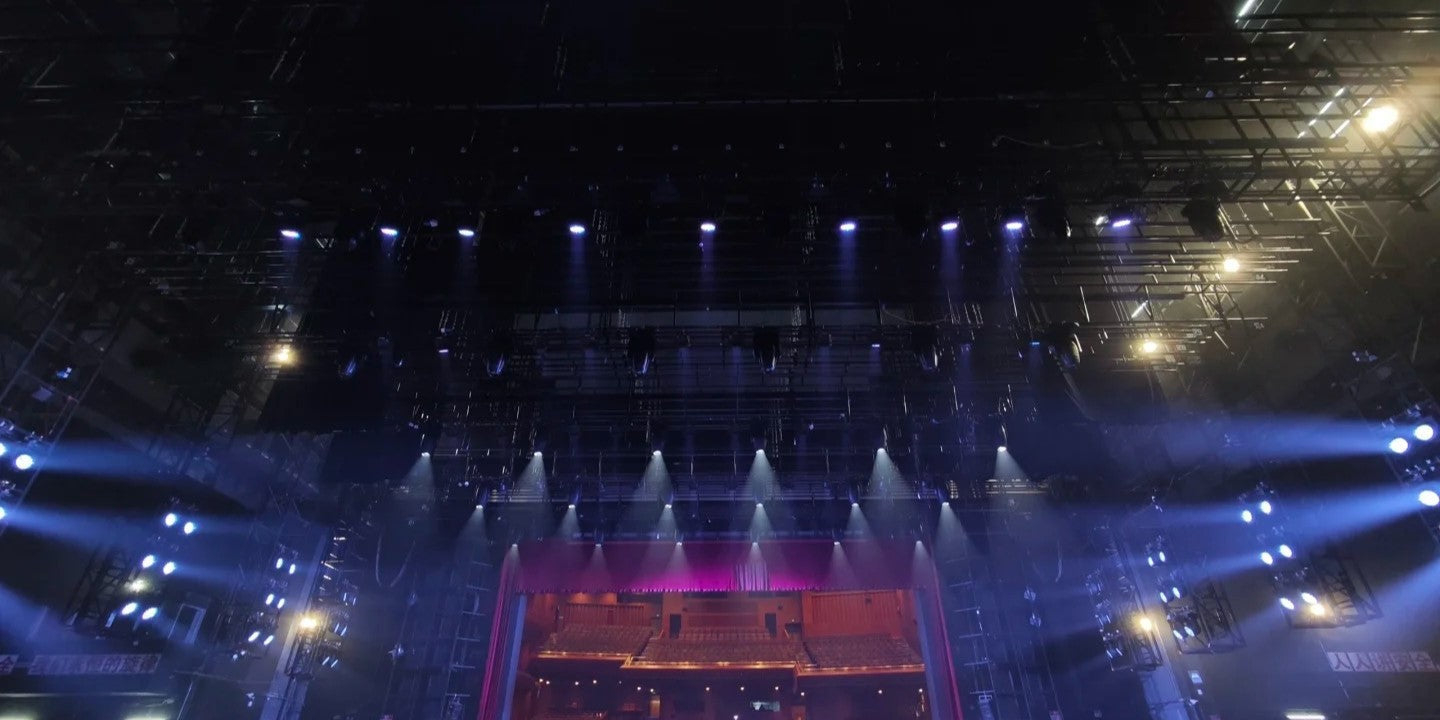
Position with Purpose, Not Convenience
Once roles are defined and transitions mapped, your final task is physical layout. But don’t just mount fixtures where there’s space—position them to match intent:
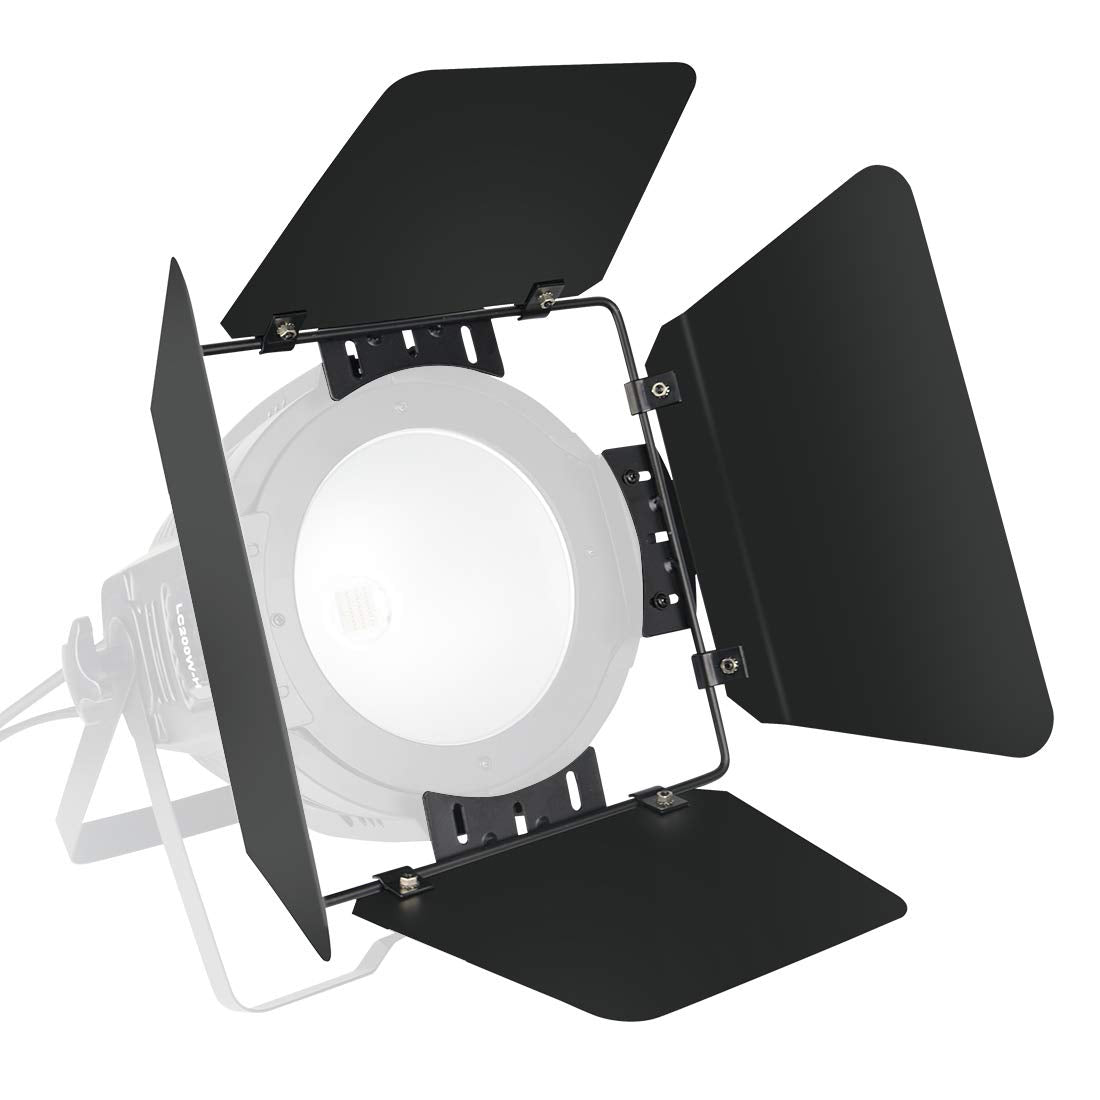
| Lighting Role | Suggested Fixture | Position Strategy |
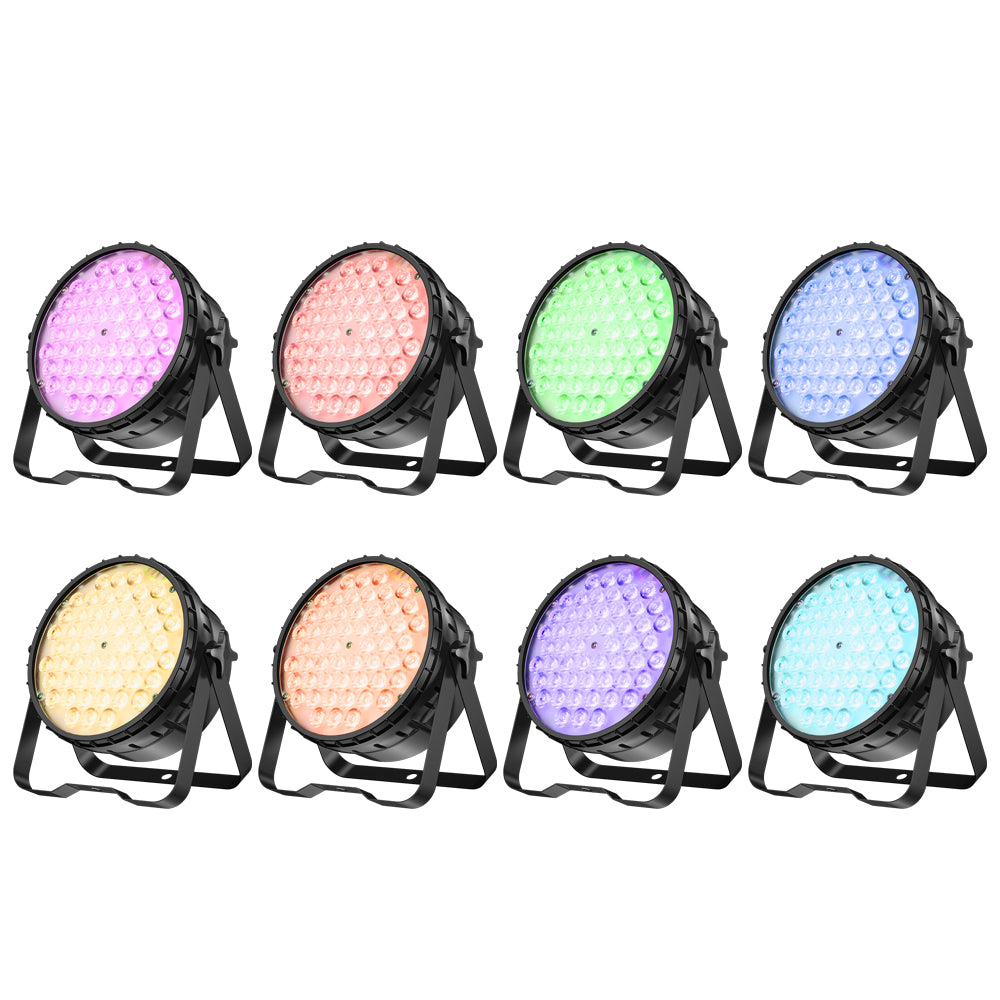
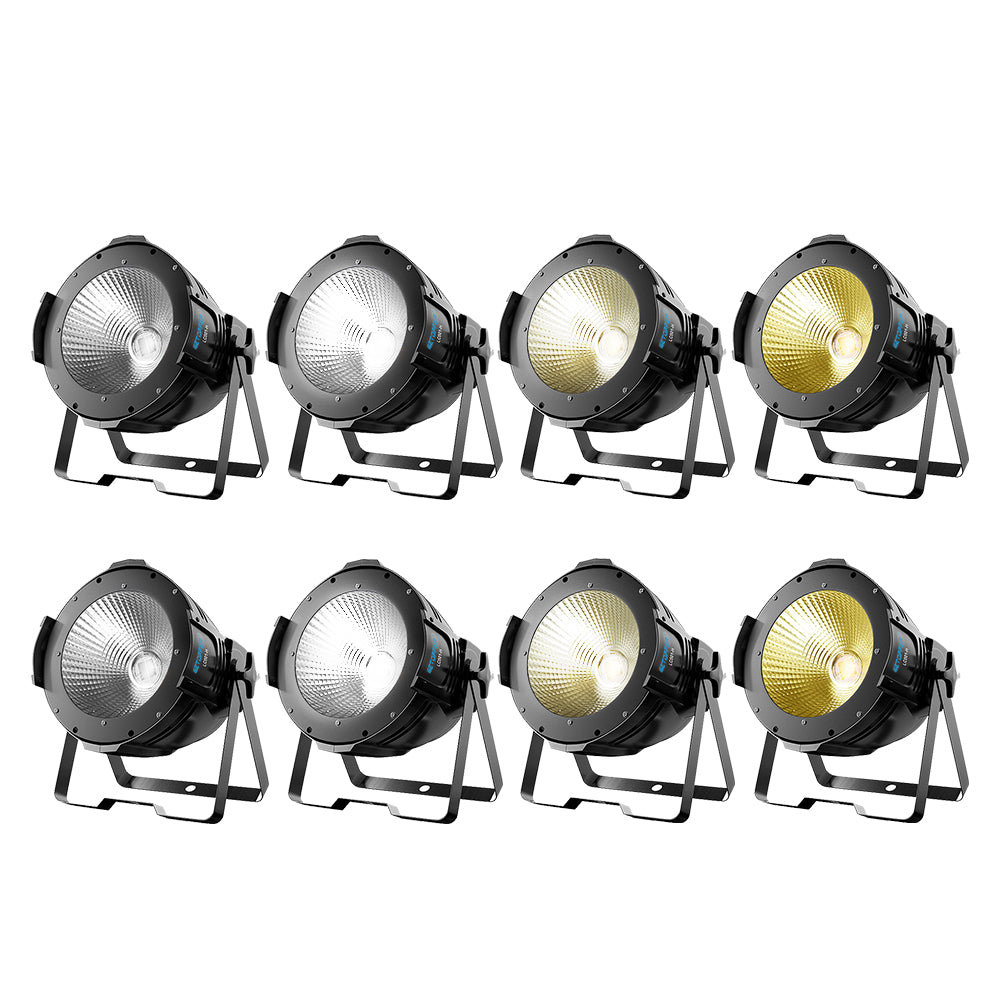
| Key Light | LPC1818 PAR Light | 30–45° angle, above performer eye line |
| Fill Light | LPC010N PAR Light | Side or low angle, lower intensity |
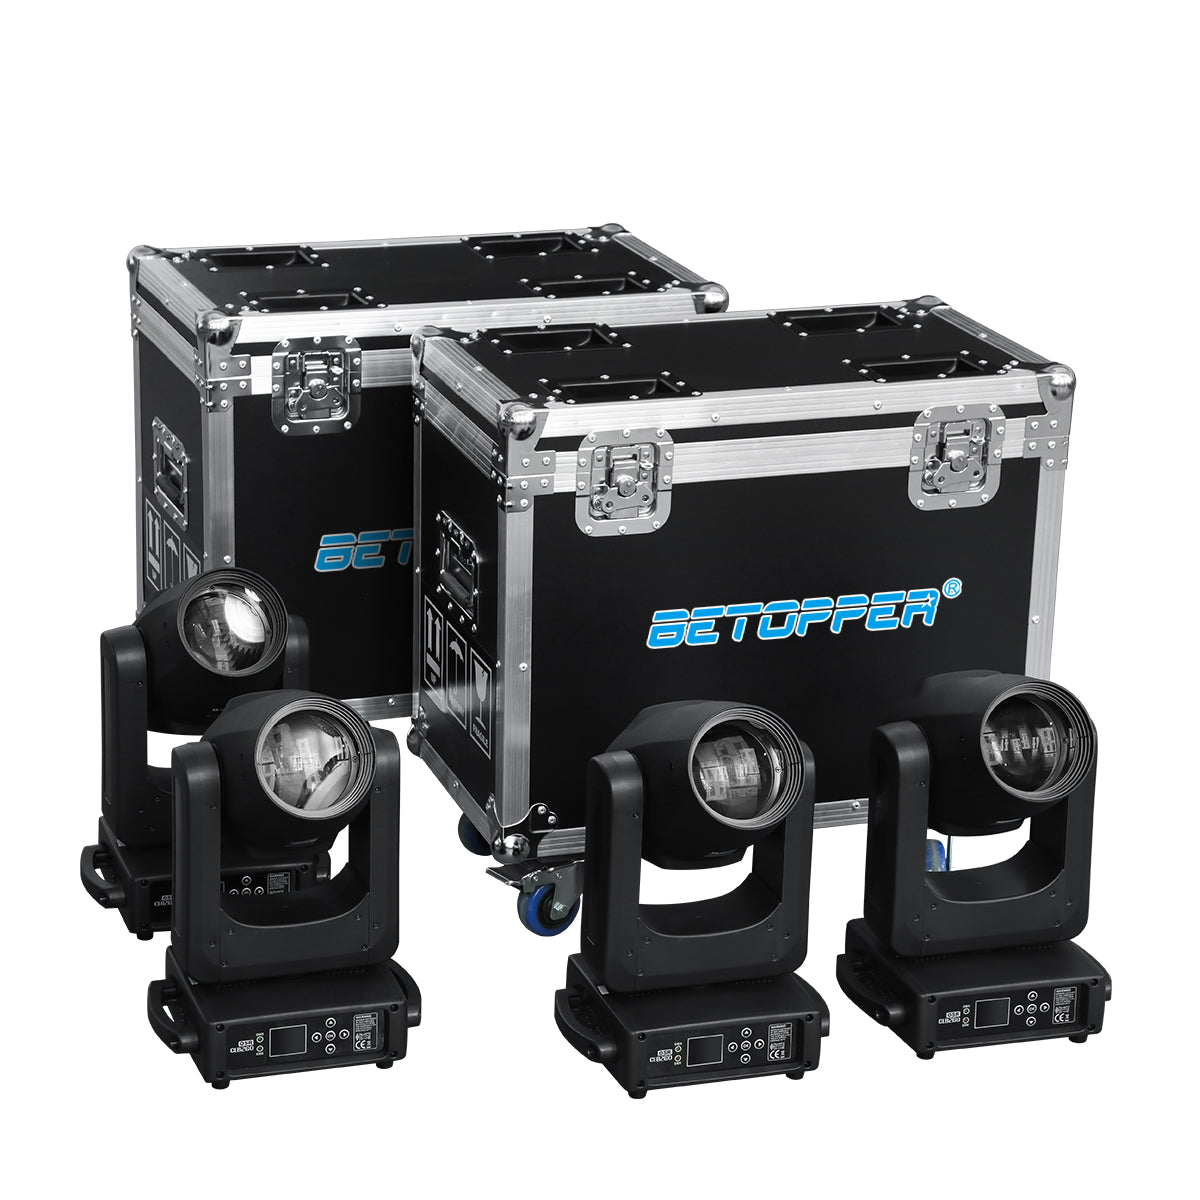
| Back Light | LM0740 Mover Light | High rear angle, cool color |
| Uplight | LC500 PAR Light | Low floor near backdrop, narrow vertical throw |
This arrangement ensures coverage without overlap, and maintains clarity across scenes.
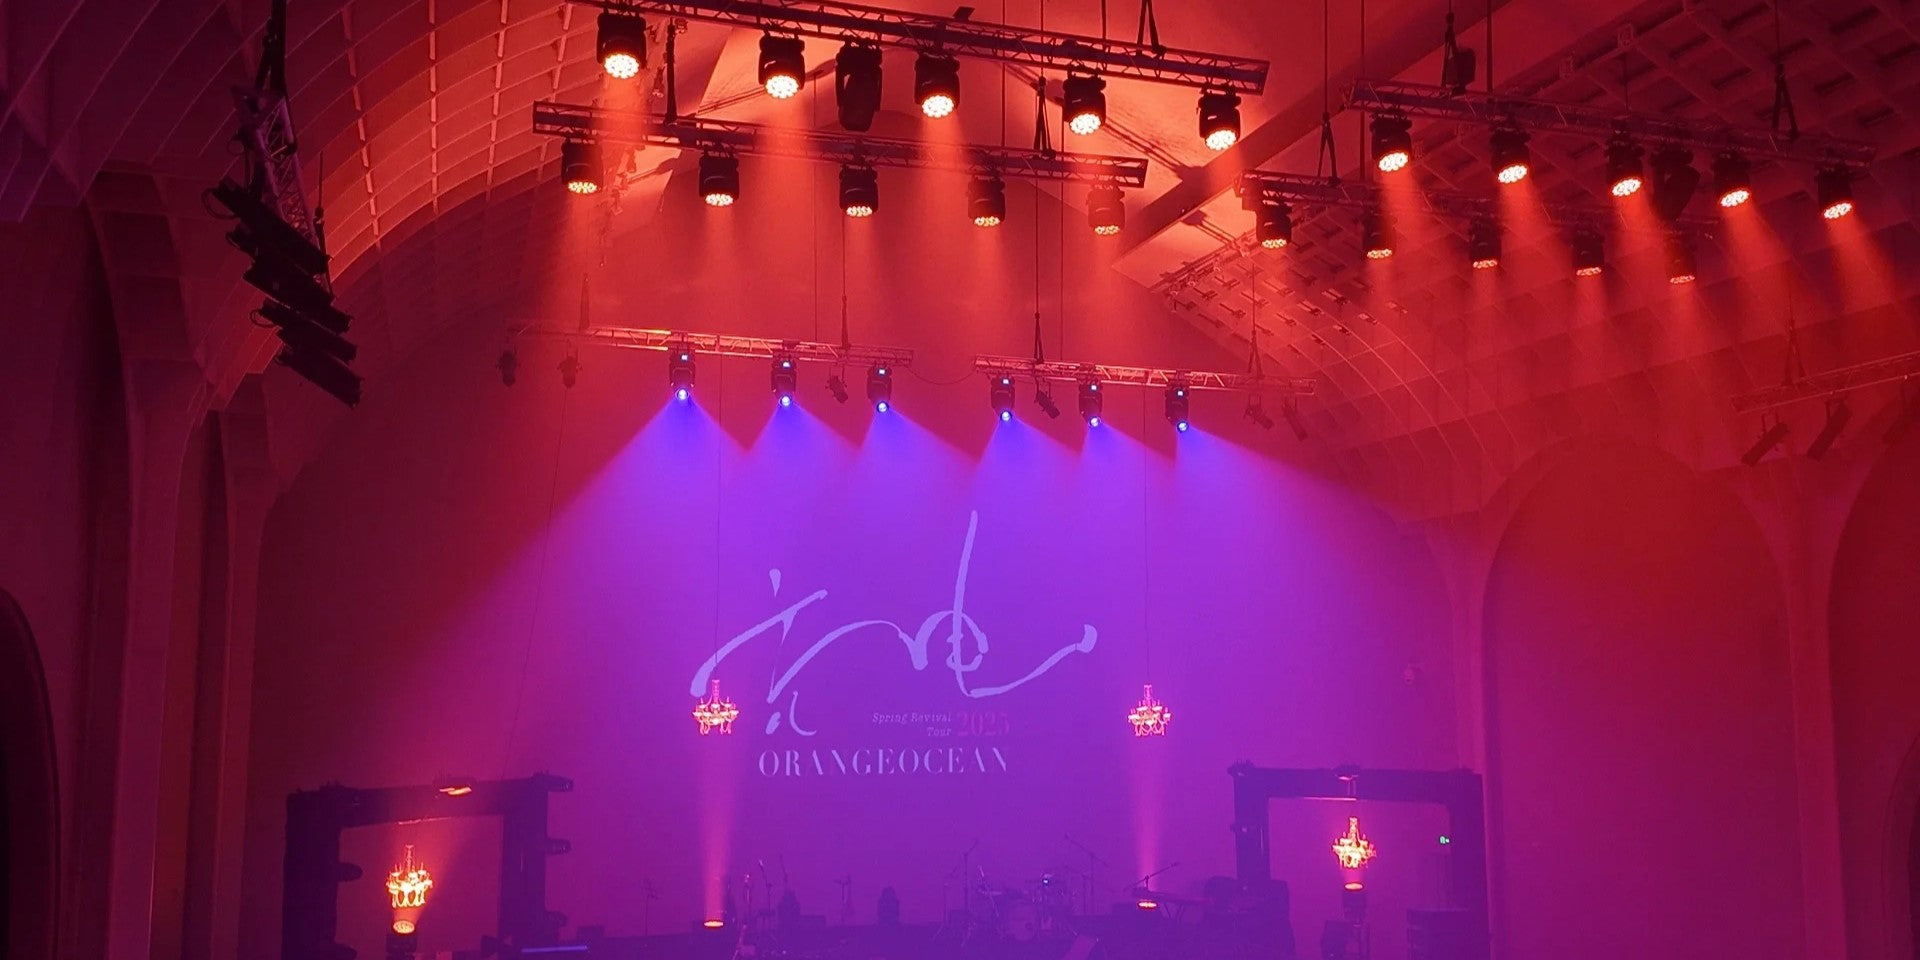
The Betopper Design Philosophy: Predictable Under Pressure
We build lighting systems that behave—even when no one is behind the desk.
- Fixtures remain quiet, thanks to passive or intelligent fan control
- Outputs are color-accurate, with high CRI warm white
- Behavior is repeatable, whether synced, preset, or standalone
Our goal is not to add features—but to build structure into the fixture itself. So you can trust the system to do its job—while you focus on the performance.
Explore ready-to-deploy systems at https://betopperdj.com
Leave a comment
This site is protected by hCaptcha and the hCaptcha Privacy Policy and Terms of Service apply.