Introduction
Setting DMX addresses is a fundamental step in any lighting setup—but it’s also one of the most common sources of problems in multi-fixture rigs.
Fixtures that respond together when they shouldn’t.
Channels that overlap unexpectedly.
Systems that work in programming but fail during setup.
These issues are rarely caused by hardware failure. More often, they come down to how DMX addresses are assigned and managed across the rig.
In this guide, we’ll walk through how DMX addressing actually works in real setups, how to avoid channel conflicts, and how to organize multiple fixtures in a way that keeps your system stable and predictable.

Why DMX Addressing Problems Happen (Failure Map)
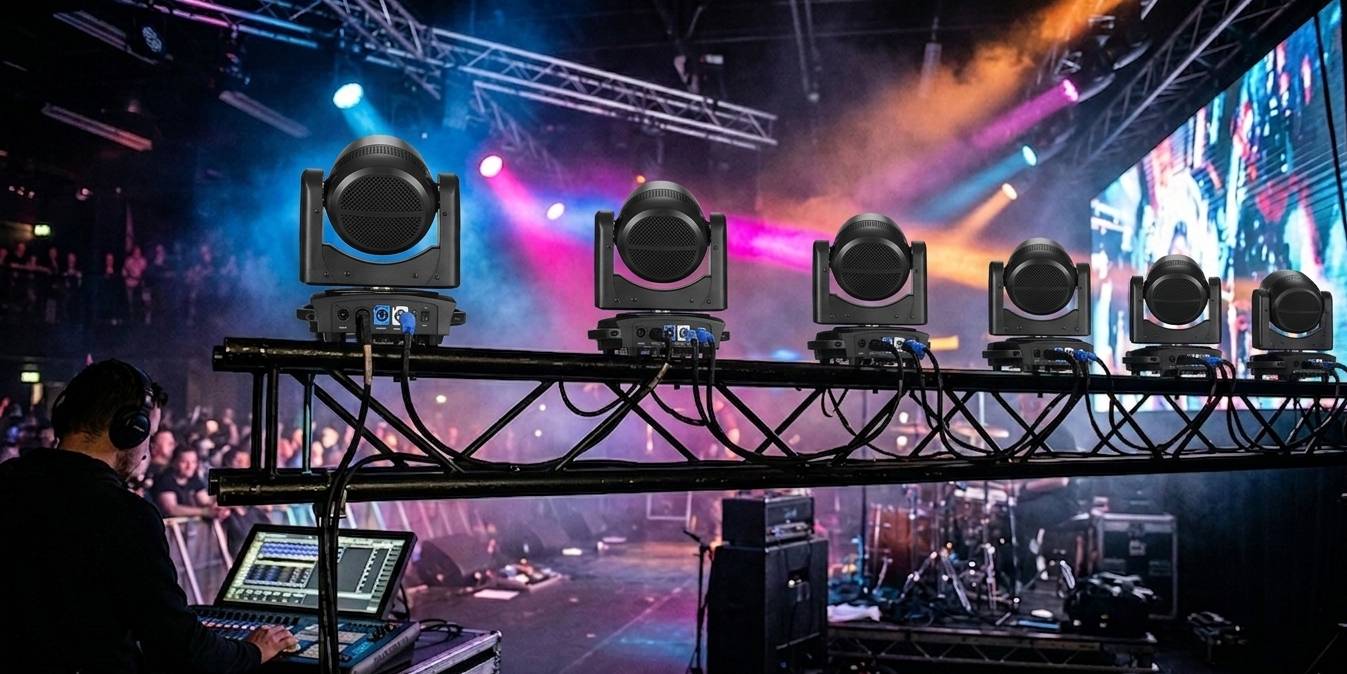
A small church installs a simple weekend rig: four LED PARs across the stage and two moving heads for backlight and specials. Everything powers up normally. The fixtures respond during a quick line check, so the team assumes the system is ready.
Then rehearsal starts.
The operator brings up one moving head to check pan and tilt. Both moving heads move together. He tries to change color on a single fixture, and one of the PARs shifts unexpectedly. A dimmer move that should affect only the front wash suddenly changes something in the back of the room. Nothing feels completely broken—but nothing feels fully under control either.
At that point, most teams start looking in the wrong place.
They swap cables.
They reboot the fixtures.
They question the console profile.
They assume one of the lights is faulty.
But the problem is usually much simpler than that.
The rig is receiving DMX. The fixtures are listening. The system is doing exactly what it has been told to do. The issue is that two or more fixtures are reading the same block of control data, or a fixture has been assigned to the wrong starting point entirely.
This is why DMX addressing problems are so frustrating on site. They rarely look like clean failures. A fixture may still respond, just not independently. A cue may still run, just not cleanly. The system doesn’t go dark—it goes unpredictable.
That’s what makes addressing errors easy to miss during setup and expensive to ignore once the show starts.
The same pattern shows up in rental work all the time. A small event rig goes out with matching fixtures, the setup is fast, and someone copies the same start address across multiple units without meaning to. During focus, it seems close enough. Once programming begins, fixtures start mirroring each other, color channels overlap, and control becomes inconsistent. By then, the crew is troubleshooting under time pressure instead of building looks.
How DMX Addressing Works — The Starting Point for Reading Data
DMX is fundamentally simple, but it only makes sense once you understand how the data is structured.
A DMX universe contains 512 continuous channels.
The console constantly sends out a sequence of 512 values—one for each channel—with no separation between fixtures or devices.
In other words, DMX does not “assign” control to each fixture automatically.
Instead, every fixture listens to the same data stream and reads values starting from a position that you define.
👉 That defined starting position is the DMX address.
Channel Footprint (How Much Space a Fixture Uses)
Each fixture requires a certain number of channels to operate.
This is called its channel mode or footprint.
For example:
- A basic RGB PAR may use 3–4 channels
- A simple moving head may use 8–16 channels
- A more complex fixture may use 20–40 channels
These channels are always read as a continuous block.
How Addressing Works in Practice
If a fixture uses 16 channels and is set to address 1:
→ It will read channels 1–16
If another fixture is set to address 17:
→ It will read channels 17–32
Each fixture occupies its own section of the 512-channel universe.
As long as these sections do not overlap, each fixture can be controlled independently.
Critical Rule: DMX Does Not Prevent Overlap
If two fixtures are set to the same address, or their channel ranges overlap:
→ They will read the same data
→ They will respond together
This is not a system error.
It is how DMX is designed to work.
DMX only transmits data.
It does not manage or protect channel allocation.
👉 Addressing is your responsibility.
Common Issue: Fixture Mode Changes
Many fixtures offer multiple channel modes (basic, extended, or custom).
Changing the mode changes how many channels the fixture uses.
If a fixture is switched from an 8-channel mode to a 16-channel mode without updating its address:
- It will occupy more channels than before
- It may overlap with other fixtures
- Multiple fixtures may start responding incorrectly
This is one of the most common causes of unexpected behavior on site.
How to Quickly Resolve Channel Overlap
Channel overlap means: two or more fixtures are reading the same range of DMX channels.
The core fix is simple: ① Identify the overlapping range → ② Reassign non‑overlapping addresses.
🔧 Method 1: Recalculate & Re‑address (Most Thorough)
Best for: small to medium systems (under ~50 fixtures) where you have a fixture list and channel footprint.
Start by confirming the channel footprint of each fixture from the manual or fixture library.
For example:
- LED PAR: 8 channels
- Moving head: 16 channels
- Strobe: 3 channels
Then rebuild your addressing from the start.
Assign the first fixture to address 1.
Each following fixture begins exactly where the previous one ends.
Example layout:
- Fixture 1 → address 1 (uses 1–8)
- Fixture 2 → address 9 (uses 9–24)
- Fixture 3 → address 25 (uses 25–27)
Rule:
Next start address = previous start address + previous fixture’s channel count
Once calculated, update the addresses on each fixture (via menu, console, or RDM), and make sure the console patch matches.
⏱ With practice, a 50-fixture rig can be corrected in 5–10 minutes.
Method 2: Use a Large Address Offset (Emergency Fix)
Best for: live situations where you need control back immediately.
Instead of rebuilding everything, move one of the conflicting fixtures to a completely different area of the universe.
Increase its address by a large, safe offset (for example, +100) so it lands in an empty range.
Make sure:
- The new address doesn’t overlap with other fixtures
- The console is updated to match
This breaks address continuity, but restores control within seconds.
Method 3: Use Console Conflict Detection
Most modern consoles (MA, Tiger Touch, OnPC, etc.) can detect address conflicts during patching.
Look at views like:
- Address Conflict
- Patch Overview
Overlapping fixtures are usually highlighted.
If available, use tools like:
- Auto Patch
- Compact
These can automatically reorganize addresses into a clean layout.
After that, update the fixtures manually—or sync via RDM.
Method 4: On-Site Troubleshooting (Find the Conflict Fast)
When you don’t know which fixtures are overlapping, isolate the problem.
Bring up a single channel (for example, dimmer) on the console.
If multiple fixtures respond, they are sharing that channel.
From there:
- Disconnect DMX from one fixture at a time
- Observe when control becomes normal
This helps you identify exactly which fixtures are conflicting.
Once identified, fix using Method 1 or Method 2.
Key Habits to Avoid Repeat Issues
Most overlap problems don’t come from setup—they come from changes.
To prevent them:
- Re-check addressing whenever you change fixture mode
- Don’t guess addresses—calculate them
- Label fixtures with address and channel footprint
- Use RDM when available to read and update addresses remotely
How to Set Up a Clean Address Layout from Scratch
The easiest way to fix DMX problems is to never create them.
A clean addressing layout doesn’t require complex planning—it just requires a clear structure from the start.
Step 1: Choose Your Fixture Modes First
Before assigning any addresses, decide the channel mode for every fixture.
This matters more than most people expect.
A fixture in 8-channel mode behaves very differently from the same fixture in 16-channel mode. If you change modes later, your entire addressing layout can shift and create overlap.
Set all fixture modes first.
Then leave them fixed while you build your layout.
Step 2: List Each Fixture and Its Channel Footprint
Create a simple list of every fixture in your rig and how many channels it uses.
For example:
- 4 × LED PAR (8 channels each)
- 2 × Moving heads (16 channels each)
- 1 × Strobe (3 channels)
This gives you a clear picture of how much space each fixture needs.
Step 3: Build the Address Layout Sequentially
Start from address 1 and assign fixtures one by one.
Each fixture begins exactly where the previous one ends.
Example:
- Fixture 1 → address 1 (uses 1–8)
- Fixture 2 → address 9 (uses 9–16)
- Fixture 3 → address 17 (uses 17–32)
Continue this pattern across the entire rig.
The goal is simple:
👉 No gaps required
👉 No overlap allowed
Step 4: Patch the Console to Match
Once addresses are set on the fixtures, make sure your console patch matches exactly.
If the console expects a fixture at address 17 but the fixture is set to 33, control will fail—even if the wiring is correct.
Addressing and patch must always align.
Step 5: Test Before You Build Cues
Before programming anything, test control fixture by fixture.
Bring up one fixture at a time and confirm:
- Only that fixture responds
- No other fixtures move or change
This takes a few minutes—but it prevents hours of troubleshooting later.
Step 6: Keep the Layout Organized
As rigs grow, structure becomes more important.
Group similar fixtures together when possible:
- PARs in one range
- Moving heads in another
- Effects in their own section
This doesn’t change how DMX works—but it makes your system easier to read, expand, and troubleshoot.


Dejar un comentario
Todos los comentarios se revisan antes de su publicación.
Este sitio está protegido por hCaptcha y se aplican la Política de privacidad de hCaptcha y los Términos del servicio.