


Learn how to set up and program a 260W beam moving head with DMX. This tutorial explains addressing, channel functions, and effect control using the Betopper CLB260-O as example.
Betopper CLB260-O 260W Beam: DMX Control Overview
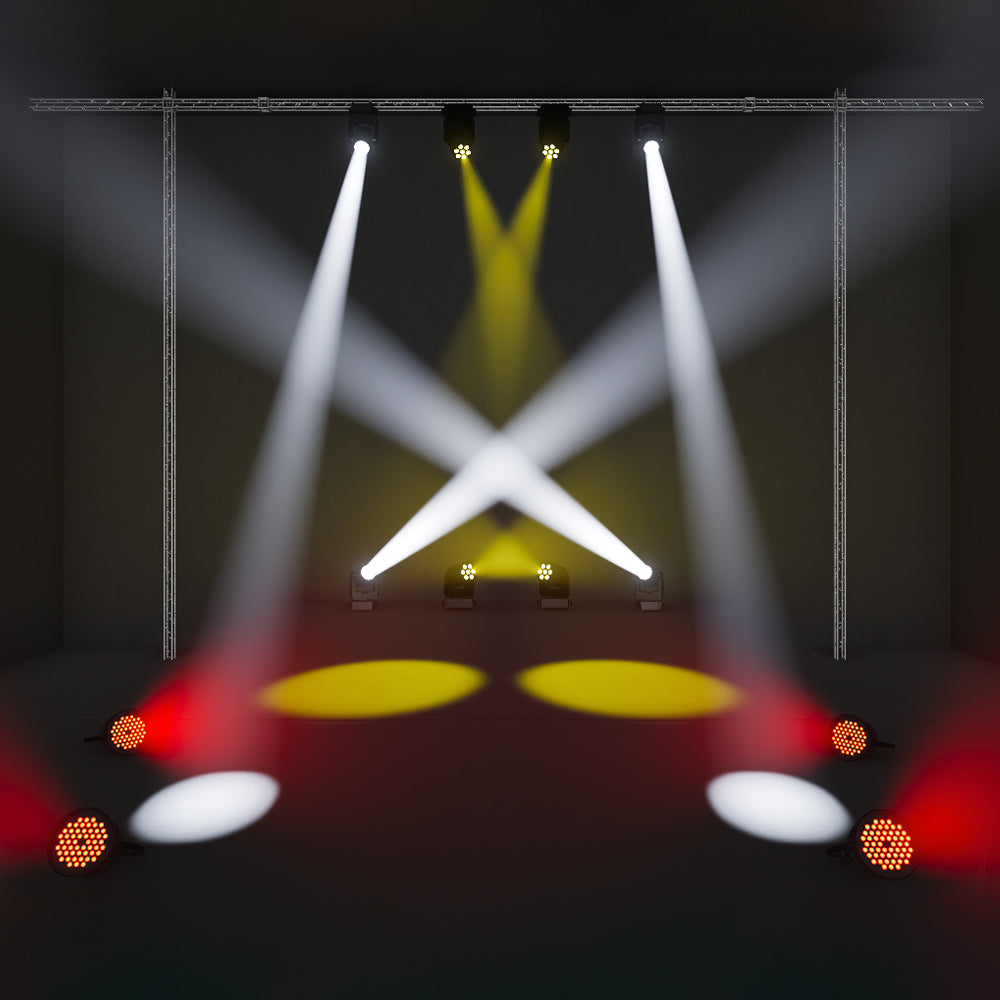
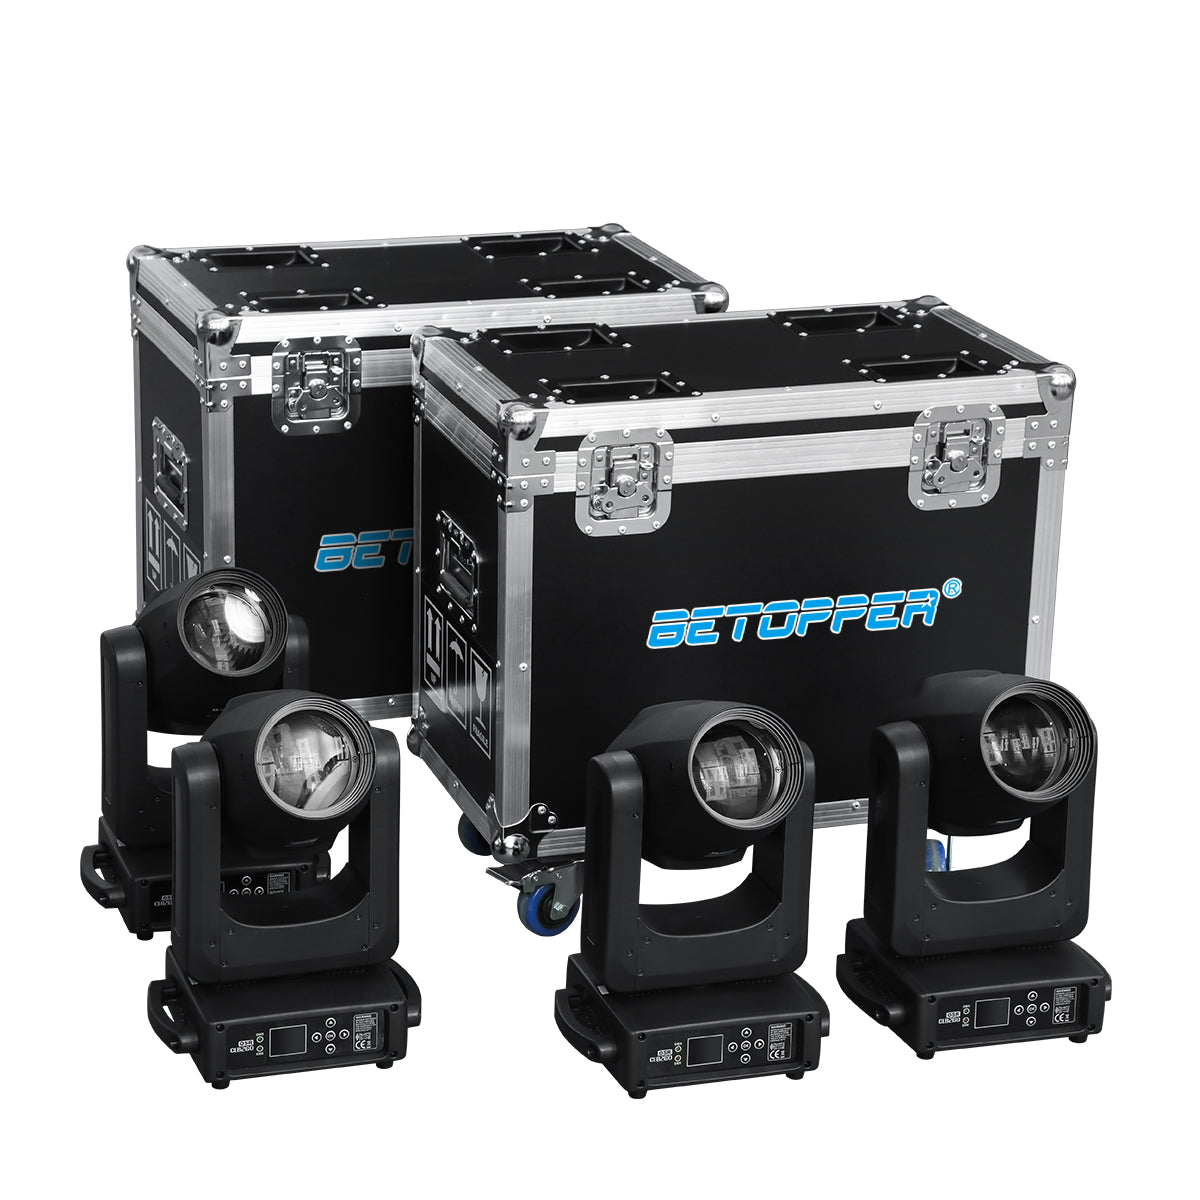
The Betopper CLB260-O is a professional 260W beam moving head light designed for DJs, stage productions, clubs, and live events. With its sharp beam output, multiple color options, prism effects, and precise pan/tilt movement, it delivers the powerful looks needed for modern shows.
While the fixture includes auto and sound-activated modes, its real strength comes alive under DMX control. By connecting the CLB260-O to a DMX controller, you can unlock full access to its channels—adjusting movement, color, dimming, strobe, and advanced effects with precision.
In this tutorial, we’ll guide you step by step on how to set up, address, and program the CLB260-O with DMX, from understanding the basics of DMX to creating your first professional lighting effects.

What is DMX and Why It Matters
DMX512 (Digital Multiplex) is the industry-standard protocol for controlling stage lighting. It allows you to send digital signals from a controller to your lighting fixtures, giving you precise control over movement, colors, dimming, strobe, and effects.
For moving head lights like the CLB260-O, DMX is crucial because it transforms the fixture from a simple light source into a dynamic effect engine. With DMX, you can:
- Sync multiple lights together.
- Program scenes and chases for live shows.
- Control complex effects like prisms, color scrolling, and beam movement.
Before You Connect to DM
Before connecting your CLB260-O to DMX, make sure you have the following equipment ready:
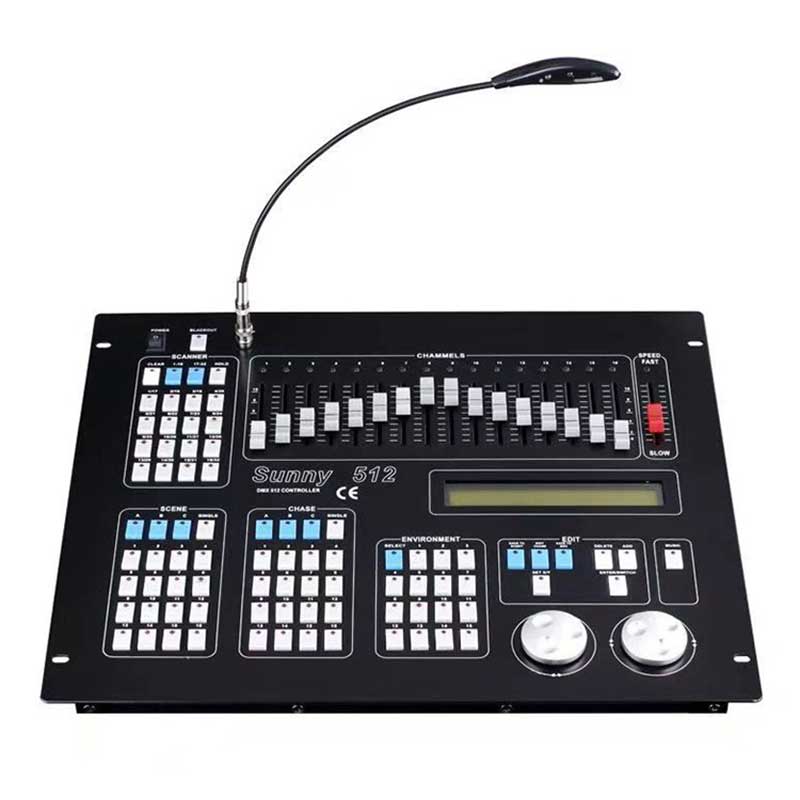
- DMX Controller – Any DMX512-compatible console or software (e.g., 192-channel desk, Wolfmix, Daslight).
- DMX Cables (XLR 3-pin/5-pin) – For reliable signal transmission between controller and lights.
- Power Supply – Stable power distribution to avoid flickering or resets.
- DMX Terminator – Recommended at the end of long chains to prevent signal interference.
- User Manual – Keep the CLB260-O manual handy for reference to channel functions.
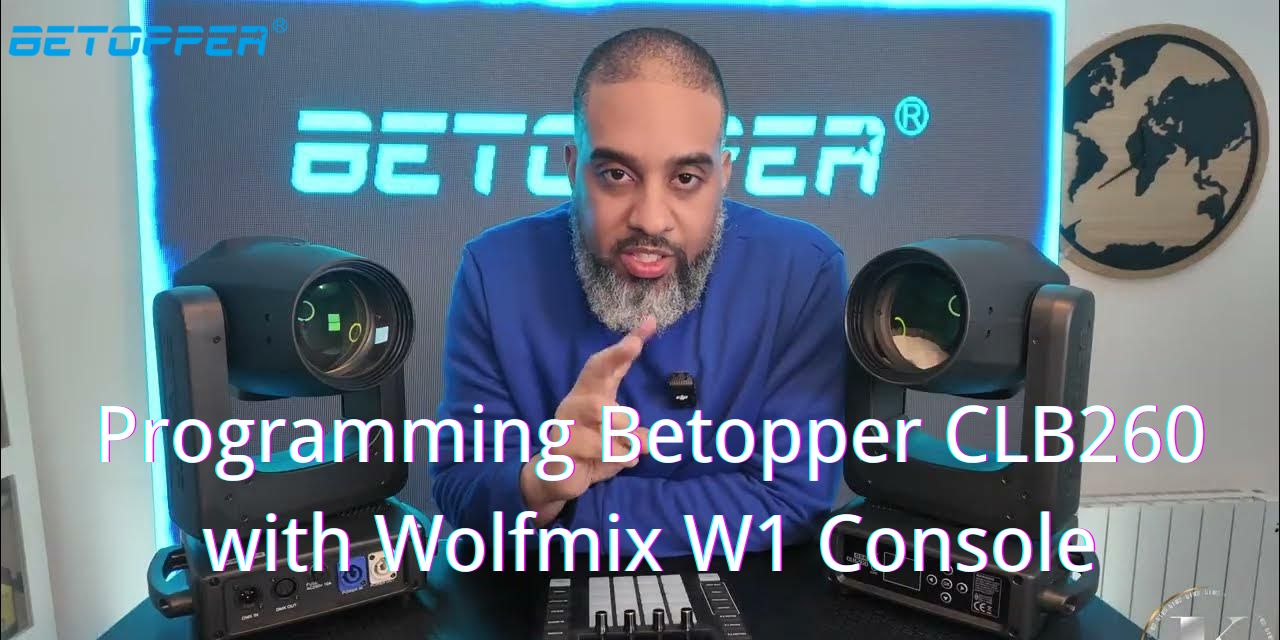
DMX Setup Guide for Betopper CLB260 (with Wolfmix W1)
Step 1 – Connect and Power On
1. Mount the Fixture
- Use 2 clamps to secure the CLB260 on a truss or stand.
- Attach a safety cable.
- Rig must support ≥10× fixture weight.
2. Power Connection
- Plug AC cable into Power IN.
- Connect to AC 100–240V, 50/60Hz.
- Distribute load across circuits if using multiple fixtures.
3. DMX Signal
- Connect W1 DMX OUT → CLB260 DMX IN.
- For multiple units: daisy-chain DMX OUT → DMX IN.
- Add a 120 Ω terminator on the last fixture.
4. Power On Check
- Fixture runs self-test (Pan/Tilt, lamp warm-up).
- LCD display lights up.
- DMX signal indicator:
- Green = OK
- Red/Off = check cable or address
Step 2 – Set DMX Address
Each CLB260 uses 12 channels. Assign unique addresses to each fixture.
1. Enter DMX Mode
- On LCD, press MENU → Run Mode → DMX512 → ENTER.
2. Set Address
- MENU → Addr (Address) → ENTER.
- Use ▲/▼ to pick 001–512.
- Press ENTER to confirm.
3. Address Rule
- Formula: Start Address = (Fixture No – 1) × 12 + 1
- Example:
- Fixture 1 → 001
- Fixture 2 → 013
- Fixture 3 → 025
- Fixture 4 → 037
4. Verify
- Signal indicator Green = OK
- No/Red = check cable, terminator, or address
Step 3 – Patch Fixture in Wolfmix W1
1. Press Fixtures → Add Fixture.
2. Search library for Betopper CLB260.
- If missing, choose a generic 12CH beam moving head.
- Or import CLB260 profile if available.
3. Assign the same DMX start address as set on the fixture.
4. Repeat for more units (addresses 013, 025, 037, …).
5. Save and exit.
Step 4 – Test Basic Functions
Movement
- Pan (Ch1–2): 540°
- Tilt (Ch3–4): 270°
- Use W1 joystick/touch to test.
Dimmer & Strobe
- Ch6 = Dimmer (0–100%), includes strobe.
- Test via W1 dimmer fader.
Color
- Ch7 = Color Wheel (11 colors + rainbow).
- Test via W1 color knob.
Gobo
- Ch8 = Gobo Wheel (13 patterns + shake).
- Test via W1 gobo encoder.
Prism & Frost
- Ch9 = Prism (8-facet).
- Ch10 = Frost (wash effect).
Lamp & Reset
- Ch11 = Lamp ON/OFF.
- Ch12 = Reset functions.
Step 5 – Save Your Show
- Group related scenes into Banks (e.g., Intro, Dance, Finale).
- Use clear names (e.g., “Blue Beam Wash,” not “Scene 1”).
- Backup your show (USB/Wi-Fi) for safety.
Troubleshooting
- No response → Check address, DMX cable, terminator.
- Signal LED red/off → Reconfirm wiring or reassign address.
- Wrong colors/effects → Confirm correct profile & mode.
- Out of sync → Ensure addresses are properly incremented.
- Fixture stuck → Use Ch12 Reset.
CLB260 DMX Channel Reference (12CH Mode)
The Betopper CLB260-O offers multiple DMX channel modes, giving you full control of movement, colors, dimming, strobe, and advanced effects. Below we break down the most important channels so you can understand exactly how each function works when programming your shows.
| Channel | Function | DMX Value Range | Description |
|---|---|---|---|
| 1 | Pan | 0–255 | Horizontal movement (0–540°). |
| 2 | Pan Fine | 0–255 | Precise adjustment of Pan. |
| 3 | Tilt | 0–255 | Vertical movement (0–270°). |
| 4 | Tilt Fine | 0–255 | Precise adjustment of Tilt. |
| 5 | Dimmer | 0–255 | Beam intensity (0 = blackout → 255 = full). |
| 6 | Shutter/Strobe | 0–10 / 11–255 | 0–10 = open; 11–255 = strobe from slow → fast. |
| 7 | Color Wheel | 0–255 | 11 fixed colors + rainbow effect. |
| 8 | Gobo Wheel | 0–255 | 13 gobos + shake effect. |
| 9 | Prism | 0–127 / 128–255 | 0–127 = off; 128–255 = 8-facet prism on. |
| 10 | Frost Filter | 0–127 / 128–255 | 0–127 = off; 128–255 = frost on (wash effect). |
| 11 | Lamp Control | 0–127 / 128–255 | 0–127 = lamp off; 128–255 = lamp on. |
| 12 | Reset Function | 200–255 | Triggers reset (Pan/Tilt, effects, or all). |
⚡ Note: The exact channel mapping may vary depending on the DMX mode (16CH or 20CH). Always confirm with the CLB260-O user manual when programming.
CLB260 Troubleshooting & FAQs
Q1. My CLB260 powers on, but it does not respond to the DMX controller.
- Make sure the fixture is set to Run Mode → DMX512 on the LCD menu.
- Verify that the DMX address matches the one assigned in your controller.
- Check DMX cables and use a 120 Ω terminator on the last fixture.
Q2. The colors or gobos do not match what I select on the controller.
- Confirm that the controller is using the correct 12-channel profile for the CLB260.
- Recheck the fixture’s start address—a misaligned address will shift functions.
- If you are using a generic profile, some channels may need to be remapped.
Q3. The Pan/Tilt movement is jerky or stuck.
- Lower the Pan/Tilt speed channel (CH5) to smooth the movement.
- Check that the fixture is securely mounted and not blocked by clamps or truss.
- If needed, send a Reset command via CH12 to re-calibrate movement.
Q4. The lamp is not turning on, or I’m unsure how to turn it off safely.
Use CH12 (Lamp Control):
- 071–100 = Lamp ON
- 041–070 = Lamp OFF
Always switch the lamp OFF via DMX or the menu and let the fan cool before cutting power.
Q5. Can I use the CLB260 without a DMX controller?
Yes. The CLB260 has built-in modes:
- Auto Run – internal programs.
- Sound Active – reacts to music via microphone.
- Master/Slave – link multiple units for synchronized effects.
- Select these modes via Run Mode in the LCD menu.
Downloadable Resources
📄 Betopper CLB260-O Manual (PDF)
📹 CLB260-O × Wolfmix Demo Video
💡 Explore More Betopper Lighting Solutions:
Shop at the Official https://betopperdj.com for moving heads, wash lights, strobes, and more—engineered for professionals and ready for your next event.
Leave a comment
This site is protected by hCaptcha and the hCaptcha Privacy Policy and Terms of Service apply.