


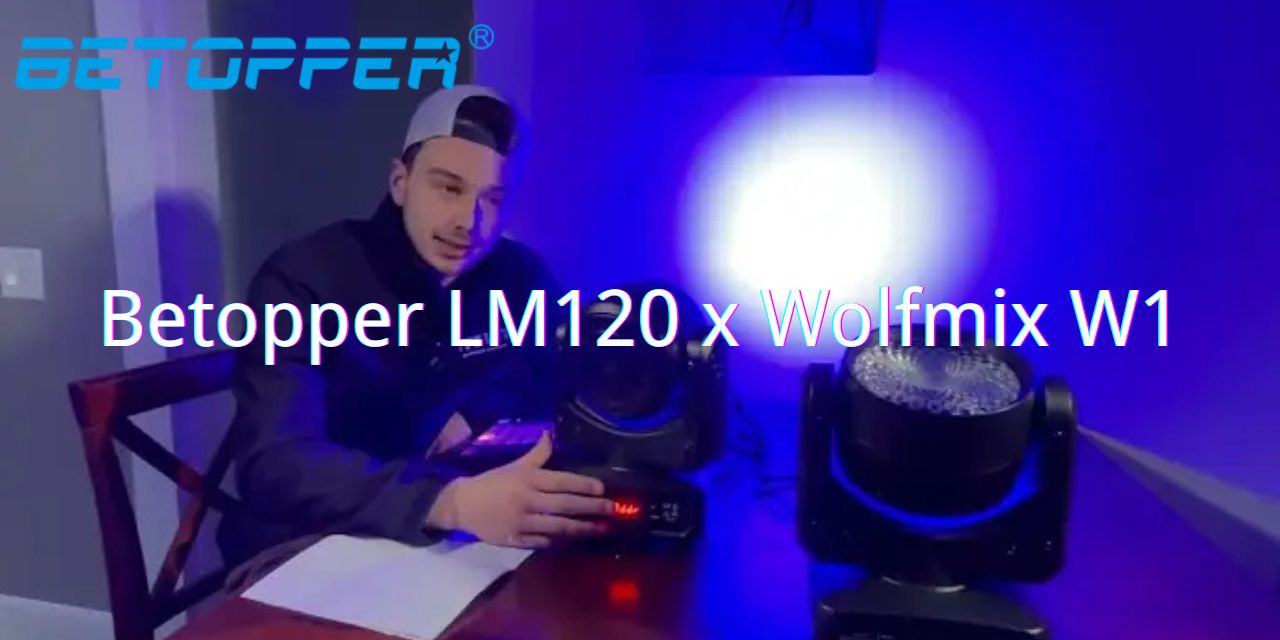
Learn to set up and program the Betopper LM120 moving head light with the Wolfmix W1 controller. From DMX connection to colors, movement, and show-ready effects, this guide covers it all.
Why the Betopper LM120 and Wolfmix W1 Are a Perfect DMX Pair
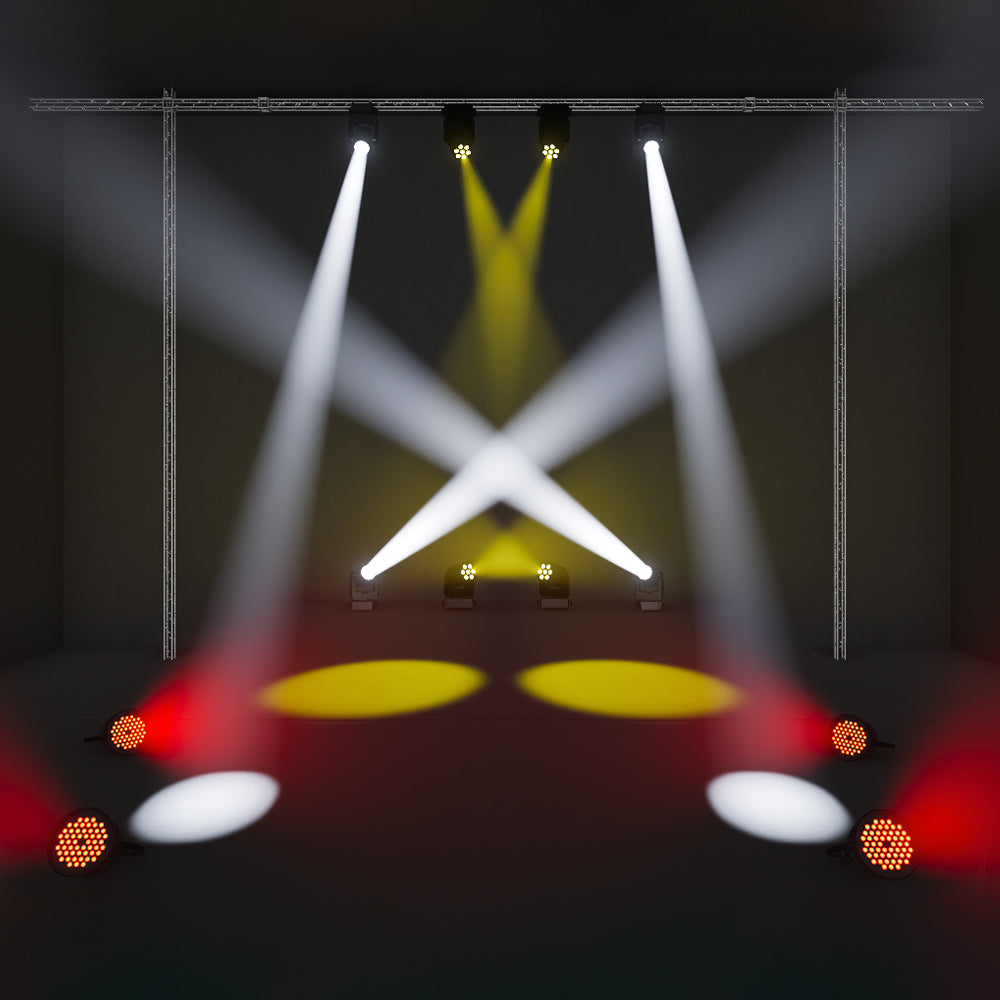
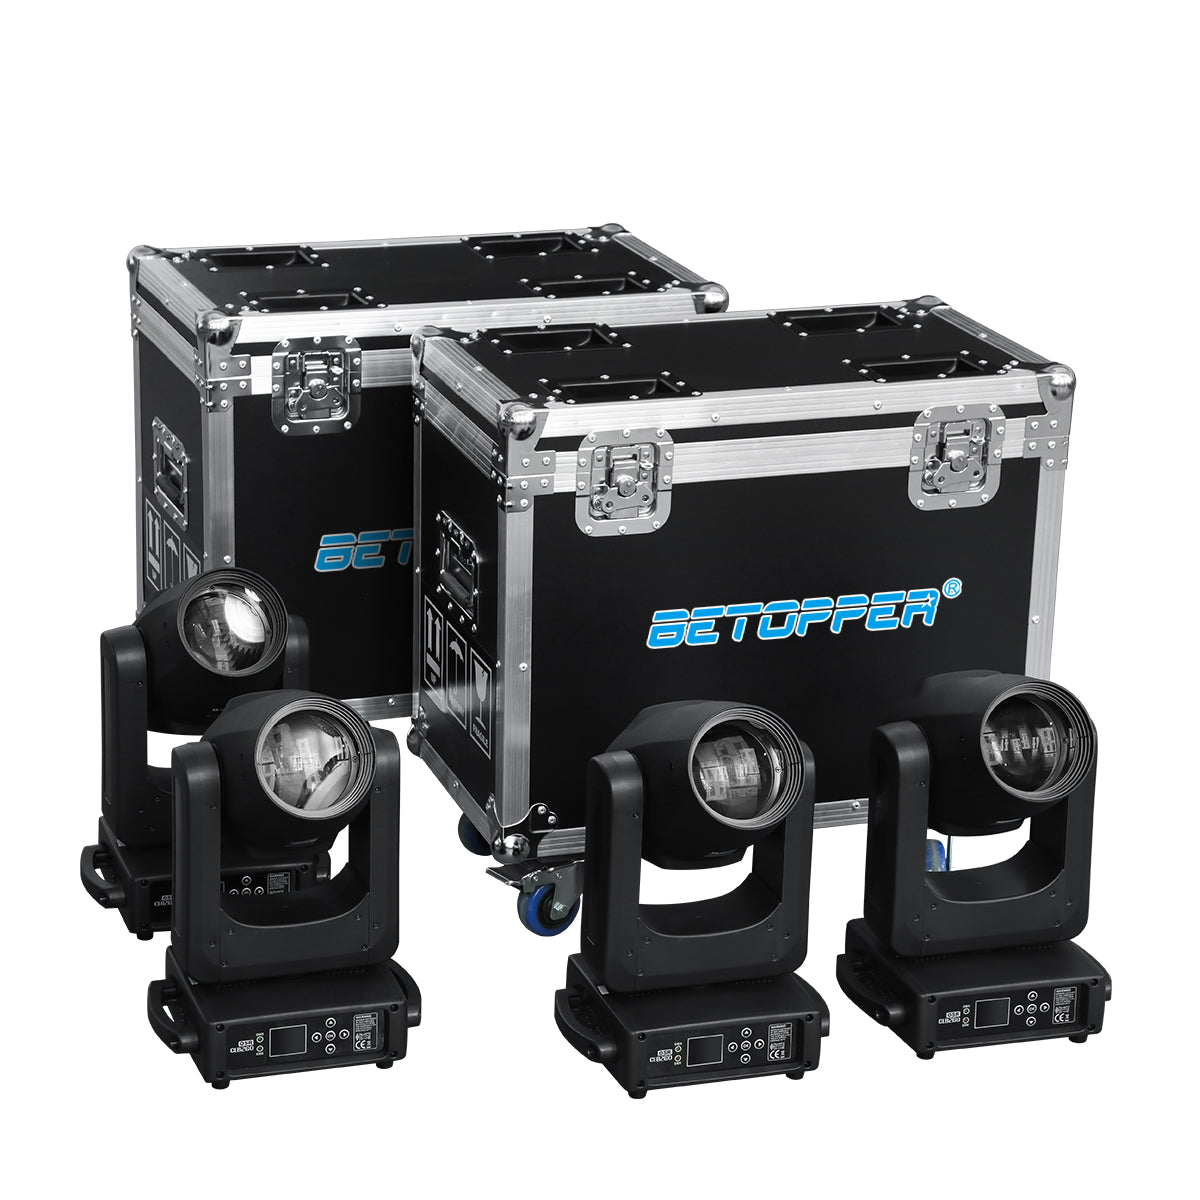
The Betopper LM120 is a 120W RGBW 4-in-1 moving head light featuring bright output, smooth 0–100% dimming, precise motorized focus, and wide Pan/Tilt movement (540° Pan / 270° Tilt). Its versatile zoom range lets you switch from tight beams to broad washes with ease.
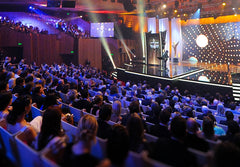
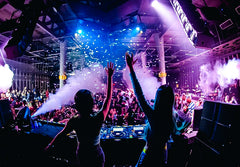
Paired with the Wolfmix W1 DMX controller, you can program professional light shows without a computer, using built-in movement and color FX for real-time control. Perfect for DJs, live performers, small stages, weddings, and event venues looking for powerful, portable lighting.

What You’ll Need for a Smooth Setup
Before you begin, gather the following equipment:
- Betopper LM120 moving head light(s)
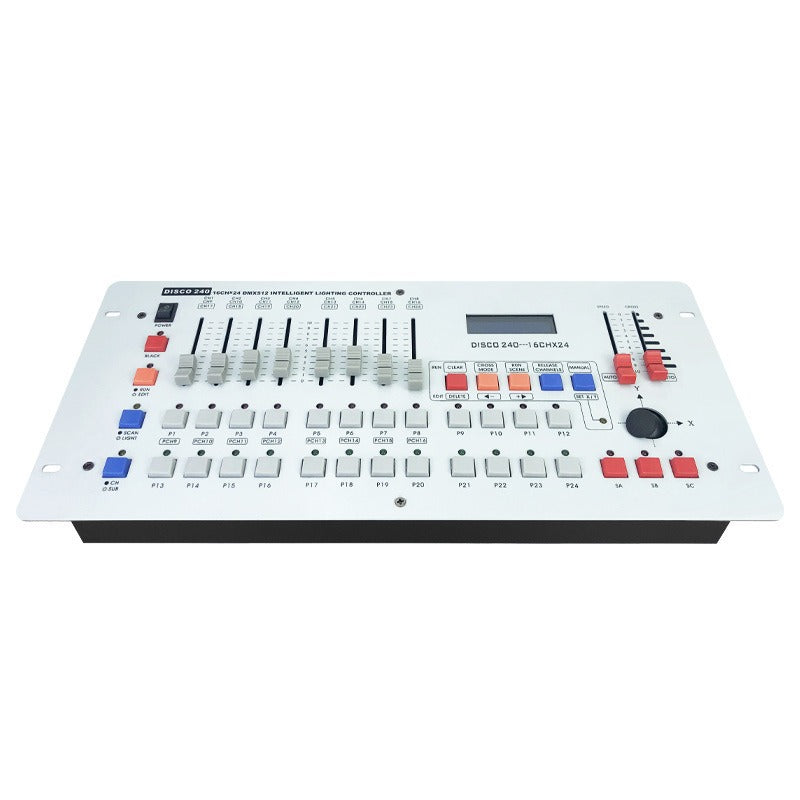
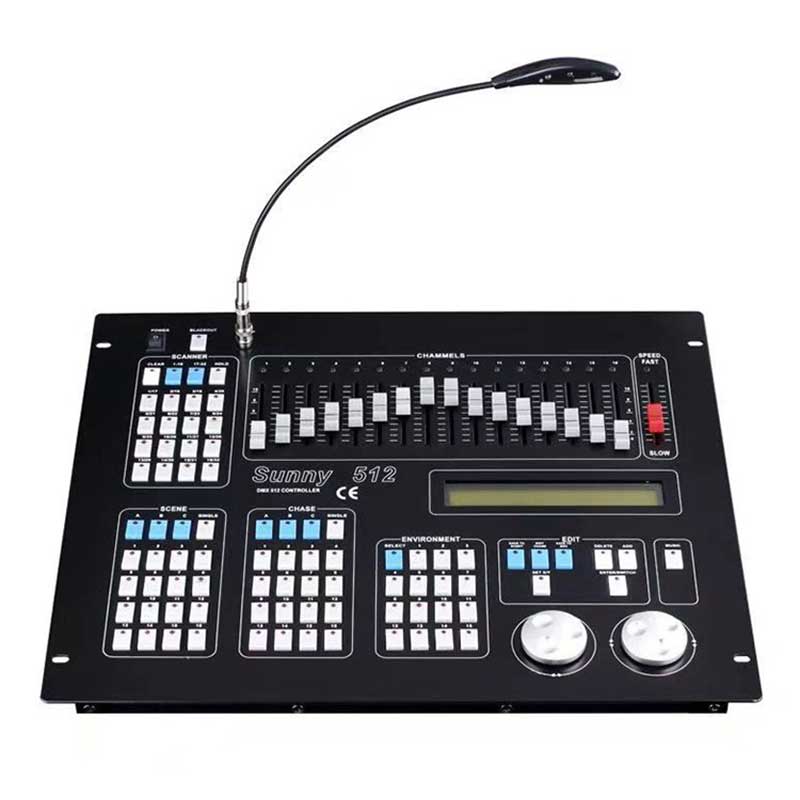
- Wolfmix W1 DMX controller
- DMX cables (3-pin or 5-pin depending on your model)
- Power cables for LM120 and W1
- Optional: Lighting stand or truss
- Optional: USB drive or Wi-Fi module for saving and backing up scenes
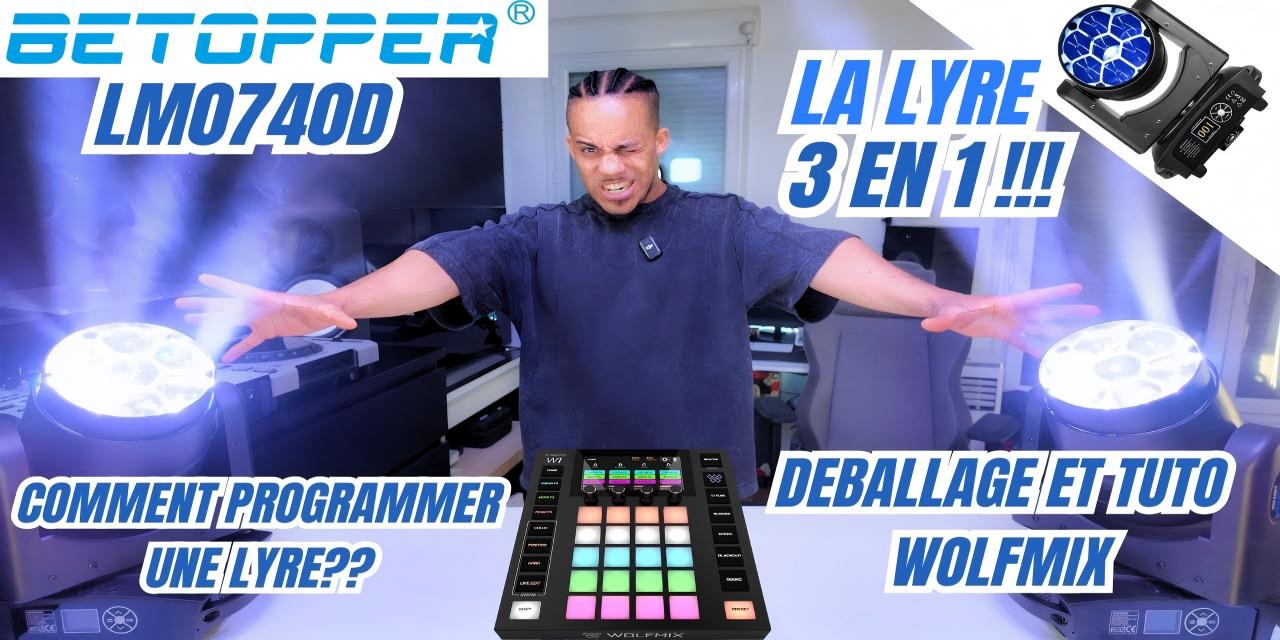
Step-by-Step Setup & Programming for the LM120 with Wolfmix W1
1. Connect and Power On
- Plug your Betopper LM120 into a power outlet.
- Connect a DMX cable from DMX OUT on the Wolfmix W1 to DMX IN on the LM120.
- If you have multiple LM120 fixtures, connect them in a daisy-chain: DMX OUT from the first light → DMX IN on the second light → DMX OUT from the second light → DMX IN on the third light, and so on.
2. Set the DMX Address on the LM120
- On the LM120 display, press MENU until you find Addr (Address).
- Set the starting address:
- 001 for the first fixture.
- For more fixtures, add the number of DMX channels used per light (see the LM120 manual).
- Press ENTER to save.
3. Select the Fixture Profile in Wolfmix W1
- On Wolfmix W1, go to Fixtures → Add Fixture.
- Search for Betopper LM120 in the library.
- If it’s not available, select a similar RGBW Moving Head with Zoom profile.
- Assign the DMX address you set in Step 2.
4. Test the Basic Controls
- Move the joystick or touchscreen pan/tilt controls to check movement.
- Adjust Dimmer to control brightness.
- Change Colors and test Gobos (patterns) to confirm everything responds.
5. Create Your First Scene
- Position the light where you want it.
- Choose a color, gobo, and zoom level.
- Press SAVE and give the Scene a name (e.g., “Blue Wash” or “Stage Spot”).
6. Add Movement and Effects
- Go to the FX Menu in Wolfmix.
- Add Movement Patterns (circle, sweep, tilt, etc.).
- Add Color Chases or Strobe effects.
- You can layer multiple effects for more dynamic looks.
7. Save and Organize Your Show
- Group related Scenes into Banks (e.g., “Intro,” “Dance,” “Finale”).
- Name each Bank clearly so you can find it quickly during a performance.
Pro Tips for a Standout Show
- Use two or more LM120s for symmetrical, professional-looking effects.
- Match effect speed to your music’s BPM.
- Keep backup copies of your Wolfmix show files before every gig.
FAQ – Betopper LM120 × Wolfmix W1 Common Questions
Q1: Why is my LM120 not outputting any light when connected to Wolfmix W1?
- Make sure the correct fixture profile for LM120 is loaded in Wolfmix W1 and that the DMX address matches the one set on the light’s display.
- Check that all DMX cables are firmly connected in the correct order (DMX OUT → DMX IN).
- Ensure the LM120 is set to DMX mode, not Auto or Sound mode.
Q2: Zoom isn’t working – what should I do?
- Verify that the Zoom channel (see the LM120 manual, typically Channel 6) is assigned to a fader or macro in Wolfmix.
- Move the Zoom value across its full range (0–255) to check lens movement.
- Ensure the lens motor is not locked or physically obstructed.
Q3: Colors are not changing smoothly or appear incorrect
- Confirm that Wolfmix’s color macros match the LM120’s color channel settings.
- For smoother fades, use RGBW color mixing in Wolfmix instead of fixed color macros.
- Check if the dimmer channel is fully open, as low dimmer values may cause color inconsistencies.
Q4: Pan/Tilt movement is jerky or uneven
- Review the step timing in your Wolfmix scene—short step times can cause abrupt movement.
- Adjust the Pan/Tilt Speed channel in LM120 or increase fade times in Wolfmix.
- Make sure the fixture is securely mounted with no mechanical interference.
Q5: I can’t access all LM120 functions from Wolfmix
- The loaded fixture profile may not include all DMX channels.
- Add missing channels manually in Wolfmix’s Fixture Builder (dimmer, strobe, zoom, pan/tilt, colors, etc.).
- You can also import the official Betopper fixture profile for full compatibility.
Q6: How can I save and recall my custom lighting scenes?
- After programming, press SAVE in Wolfmix and store the scene in a Bank.
- Give each Bank a clear name (e.g., “Wedding Wash Zoom” or “Club Beam FX”) so it’s easy to find later.
- All scenes are stored in Wolfmix’s internal memory for quick recall at your next event.
Downloadable Resources
💡 Explore More Betopper Lighting Solutions:
Shop at the Official https://betopperdj.com for moving heads, wash lights, strobes, and more—engineered for professionals and ready for your next event.

Leave a comment
This site is protected by hCaptcha and the hCaptcha Privacy Policy and Terms of Service apply.