








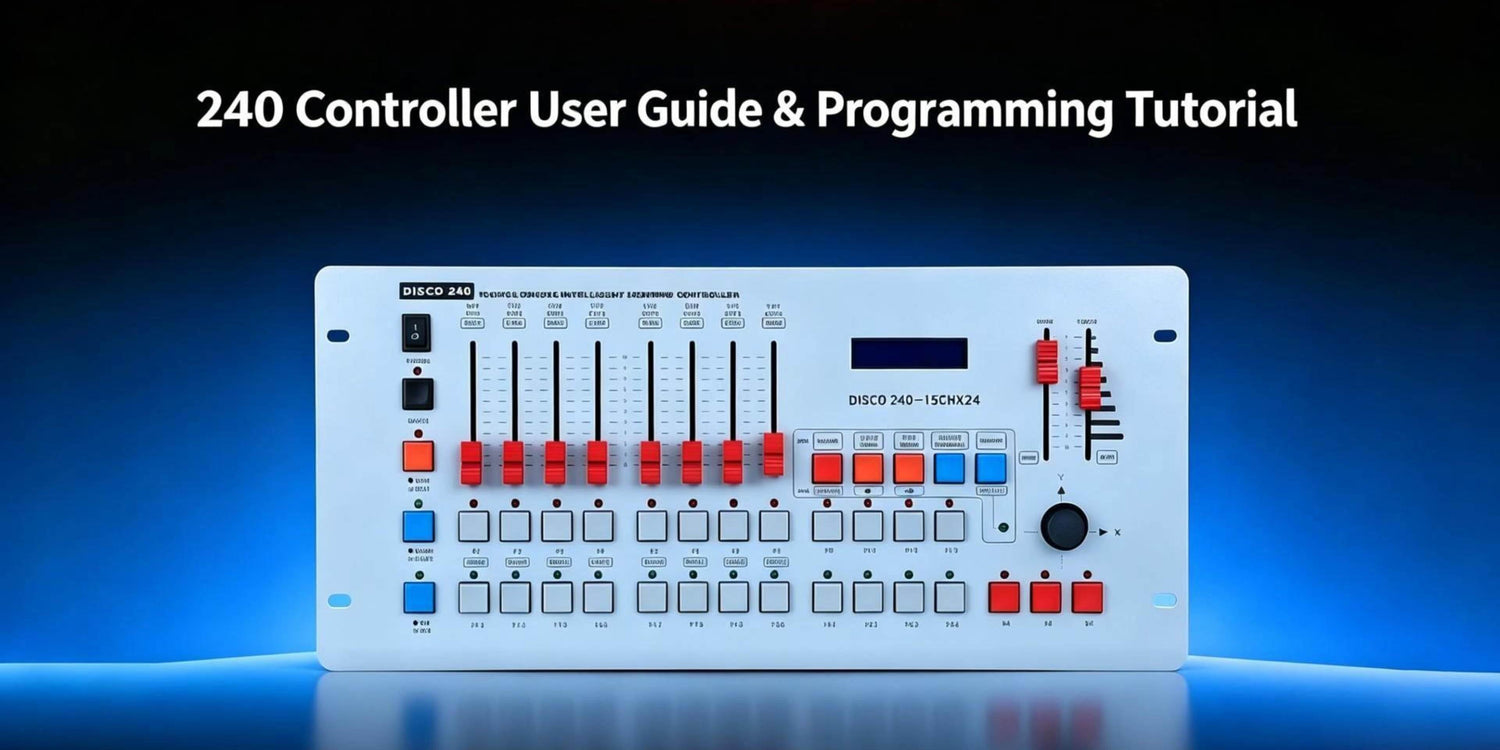
How to Program and Delete Chases on the Betopper DMX Console 240
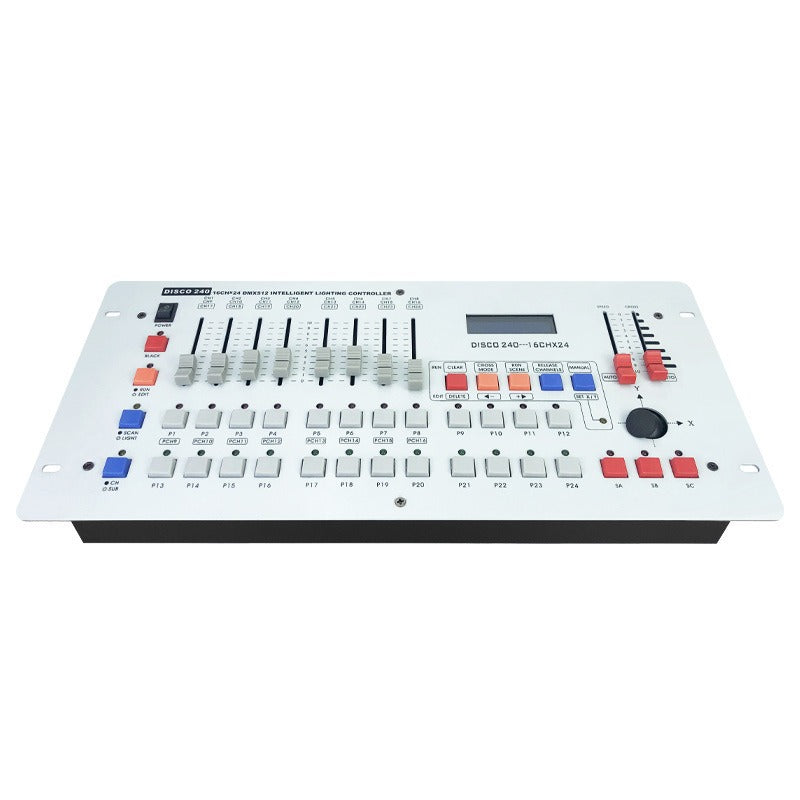
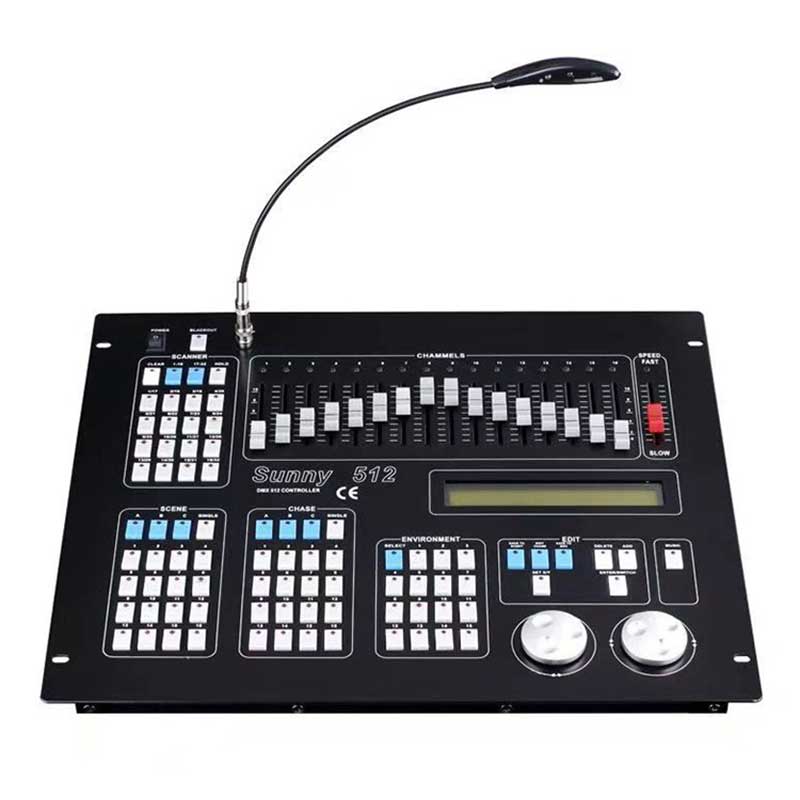
Once your fixtures are wired up and addressed correctly on the Betopper DMX Console 240, the next step is learning how to create and manage chase programs.
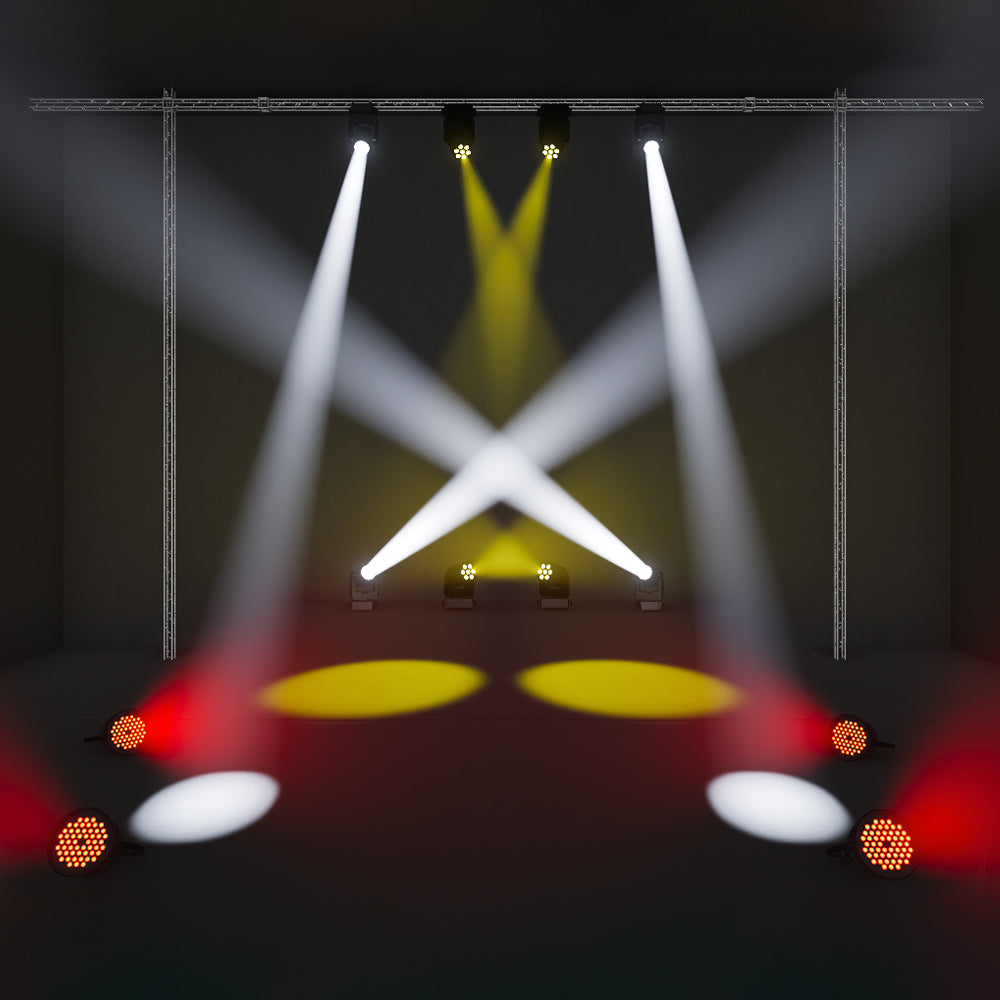
A DMX chase is a sequence of programmed lighting scenes that automatically plays back in order, allowing multiple fixtures to create dynamic effects such as running lights, color changes, and synchronized stage movements.
Instead of manually adjusting every fixture during a performance, you can save lighting sequences, recall them instantly, and modify them whenever your show design changes. This is where a basic lighting setup starts to feel like a professional stage show.
This tutorial is designed for beginners, DJs, stage lighting users, and event operators who want to create professional-looking lighting effects without complicated software.
In this guide, you will learn how to:
- Create a DMX chase program from scratch
- Save lighting effects into P1–P12 memory locations
- Control chase playback speed with the Time fader
- Delete unwanted chase programs
You can also watch the full video walkthrough here: DMX 240 CONTROLLER TUTORIAL #3 | Editing & Deleting Chases | Betopper Official Guide

What Is a Chase Program?
A chase program is a sequence of lighting scenes that plays back automatically, in order. Instead of manually adjusting every fixture during a performance, you save a series of lighting states in advance, and the console plays them back on cue — for example, lights turning on one after another to create a running effect across the stage.
Programming a Chase Effect
Step 1: Enter programming mode and choose a save slot
Press the Program button on the console to enter programming mode, then choose where the chase will be saved. In this walkthrough, we're using P12, but any slot from P1 to P12 works the same way — pick whichever position makes sense for your show.
Step 2: Set each fixture and add it to the chase
With programming mode active, work through your fixtures one at a time:
- Select the first fixture.
- Find its channels — on this console, Channel 1 controls dimmer/intensity and Channel 2 controls red.
- Raise the Channel 1 and Channel 2 faders together so the fixture lights up red.
- Press Add to save that fixture's state into the chase.
- Bring that fixture's light back down and return its faders to zero.
- Select the second fixture, repeat the fader adjustment and lighting setup, and press Add again.
Repeat this select → adjust → add → reset cycle for all six fixtures, pressing Add after each one.
Step 3: Close programming mode
Once all six fixtures have been added, press Program again to exit programming mode. Your chase is now saved.
Step 4: Test the chase
Before testing, return all channel faders to their zero position — leftover manual fader values can interfere with how the saved chase plays back.
Now press the button for the slot you just programmed (P12 in this example) and move the Time fader to run it. This fader controls playback speed:
Time fader down (low) → chase runs slower Time fader up (high) → chase runs faster
Use the Time fader to dial in the pace live, without needing to reprogram anything.
Deleting a Chase
Program slots are limited, and sooner or later you'll want to clear out an old chase to make room for a new one.
Step 1: Identify the chase you want to remove
Confirm which slot holds the program you're deleting. In this example, pressing P1 shows that fixtures respond — confirming a chase is saved there.
Step 2: Enter programming mode and select it
- Press Program to enter programming mode, and make sure the chase is not currently running.
- Select the slot you want to delete — P1 in this case.
- Press Delete.
- The console screen will display two model numbers, confirming the chase has been deleted.
Step 3: Verify the deletion
Exit programming mode by pressing Program again, then trigger that slot once more. If no fixtures light up, the chase has been fully removed.
Tips for Programming the DMX Console 240
- Keep your program locations organized. Rather than saving chases at random, group them by type — for example, basic colors in P1–P5, movement effects in P6–P8, and full performance chases in P9–P12.
- Reset faders before saving each fixture. Leaving a previous fixture's faders raised can carry unwanted values into the next scene.
- Test before the show. Run through your saved chases and check playback speed before you're live — it's much easier to fix a chase in a quiet room than mid-performance.
Frequently Asked Questions
What is a chase program in DMX lighting?
A chase program is a saved sequence of lighting scenes that plays back automatically in order, creating a running or moving light effect.
How do I program lights on the DMX Console 240?
Press Program, choose a save location (P1–P12), select a fixture, adjust its channel faders, press Add to save that step, repeat for each fixture, then exit programming mode.
How do I control how fast a chase runs?
Use the Time fader — low position runs the chase slower, high position runs it faster.
How do I delete a chase program on the DMX Console 240?
Enter programming mode, select the program location you want to remove, press Delete, then exit and re-trigger that location to confirm the fixtures no longer respond.
Wrapping Up
That covers the two core skills for managing chases on the DMX Console 240:
- Programming: Program → pick a save slot → set faders and add each fixture in sequence → close programming → control playback speed with the Time fader.
- Deleting: Program (with playback off) → select the slot → Delete → exit programming to confirm.
With these two workflows down, you can build, adjust, and clean up chase effects as your show design evolves — keeping your console organized and your programming workflow fast.
Stay tuned for the next episode, where we'll cover more advanced console techniques.

Leave a comment
This site is protected by hCaptcha and the hCaptcha Privacy Policy and Terms of Service apply.